Budget Vintage Mad Hatter Tea Party Ideas

So yesterday I shared the Tea Party Themed Candy Station for this vintage Mad Hatter tea party I have been working on. In that post, I shared my problem and fiasco with mixing up important dates. Well, my problem didn’t stop there. I am far from a procrastinator. I do things WAY in advance. I’ve always been that way. Well, when I first found out that I was going to decorate this baby shower, I had these tea party centerpieces in mind. Well, once I saw the venue (thank goodness I went early to see), the tables were much smaller than I envisioned in my head. So, I had to rework the existing centerpieces so that the guests could actually see each other over these giant centerpieces I had.
So, I thought I’d share some tips and budget saving ideas for how I made these Mad Hatter party decorations come to life and made them as thrifty as possible. Let me start by showing you the five centerpieces for the five tables. All the items shown I made, thrifted, borrowed, or already had.
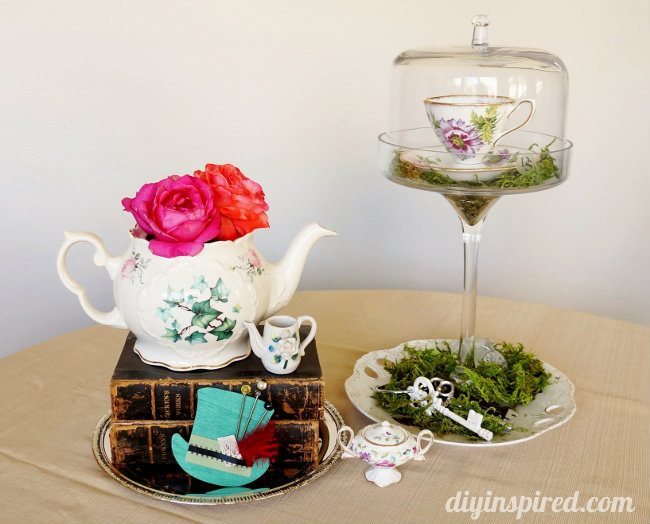
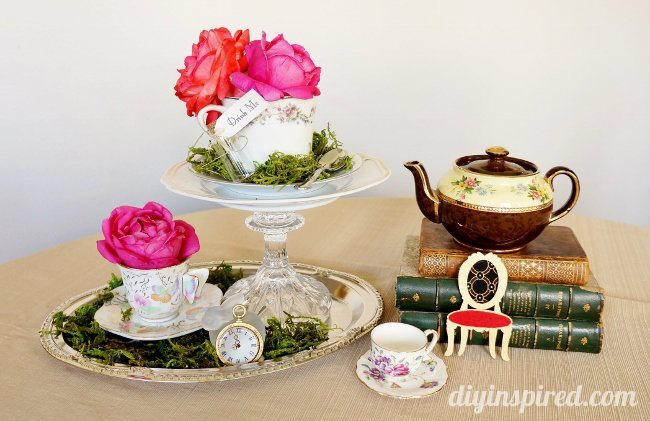
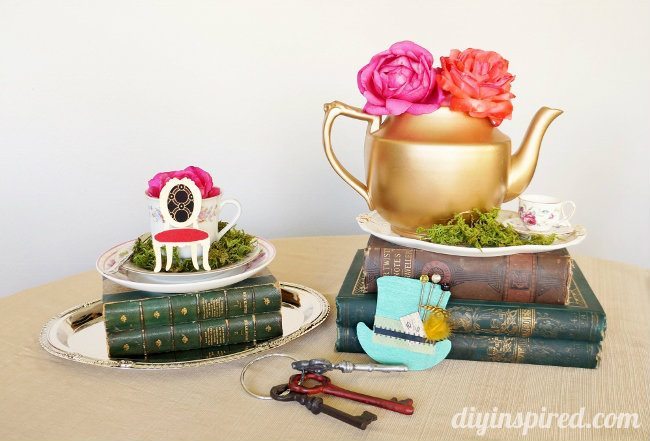
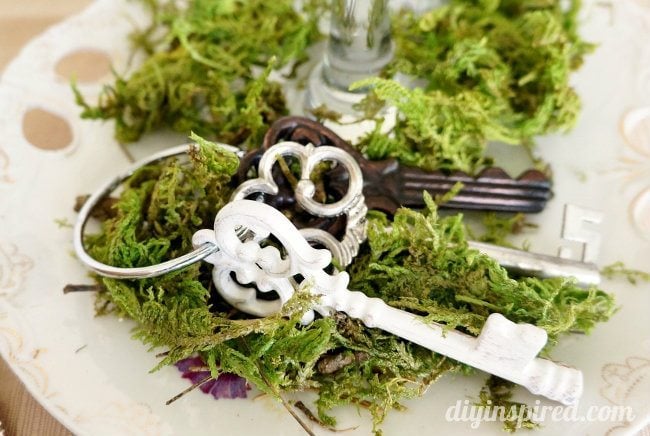
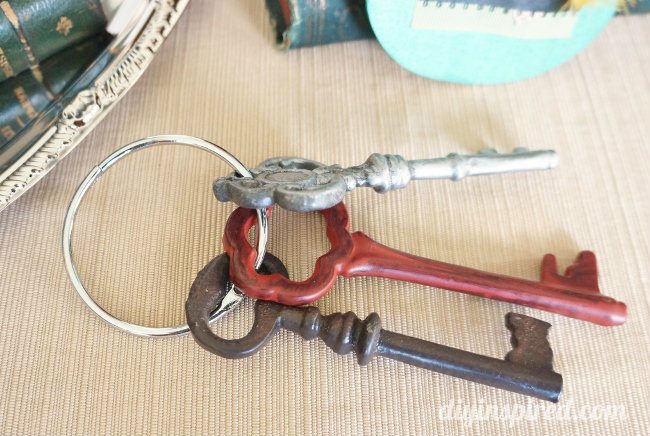
I loved how they turned out much better than my first centerpieces. Now, let’s take a closer look. I bought these keys in the dollar bins at Michael’s and attached them to some curtain rings that I had.
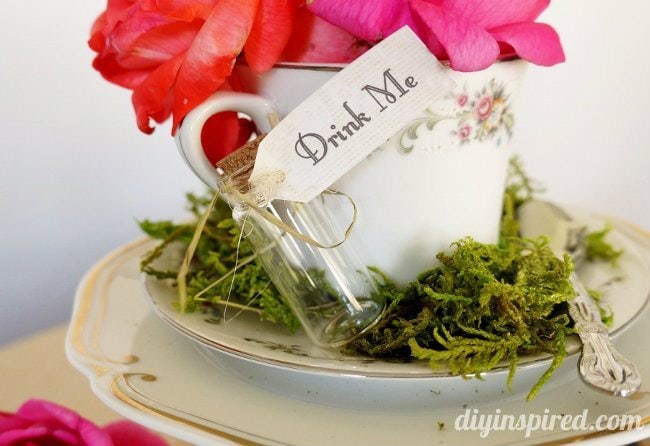
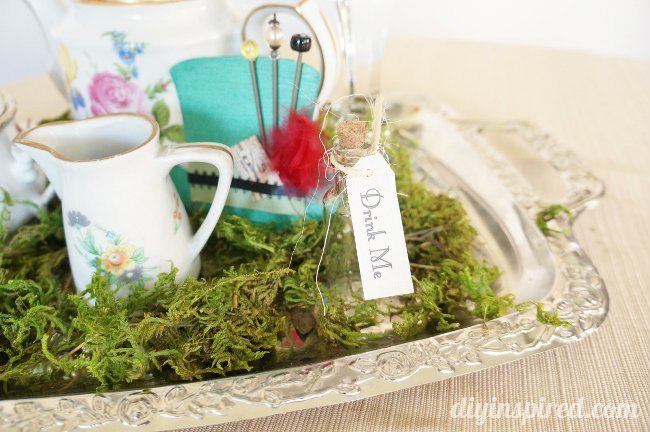
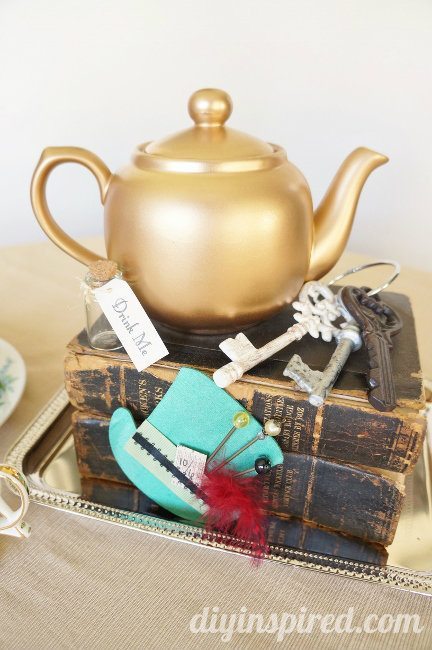
At Michael’s I also bought some little bottles and made “drink me” signs.
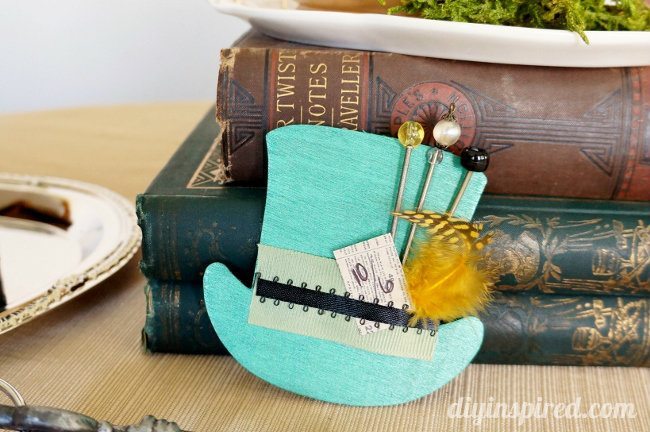
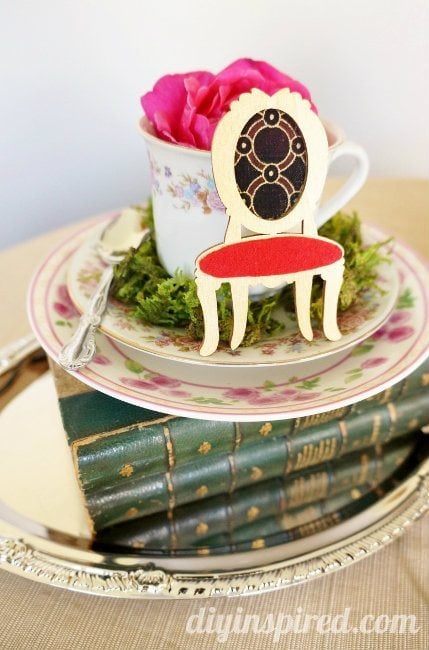
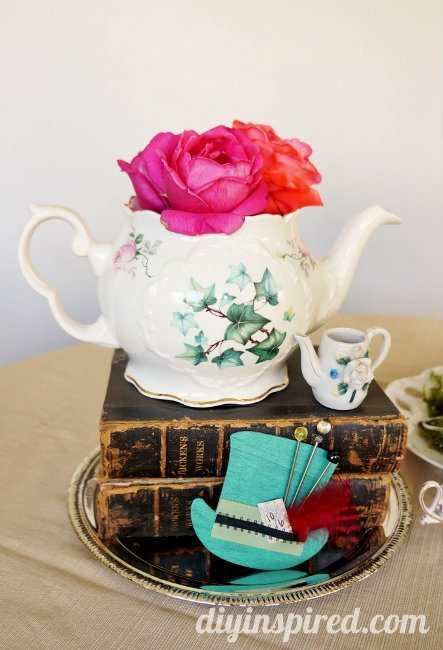
I also made these little Mad Hatter Hats {tutorial} and little Tea Party Chairs {tutorial} out of some wood cut-outs that I purchased for less than a dollar a piece.
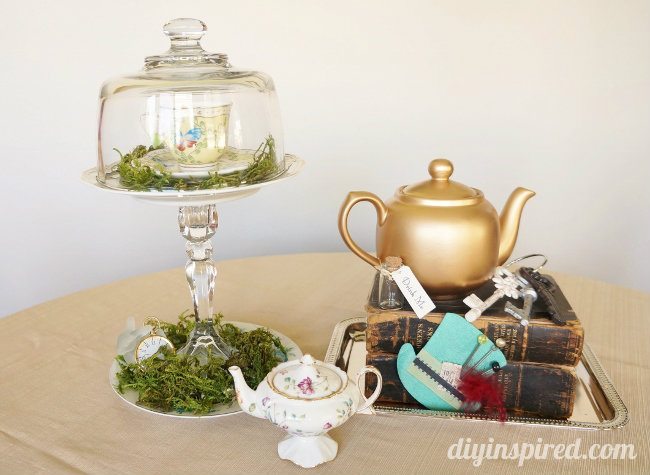
I raided the Goodwill and other thrift stores for all the teacups and teapots. Here are some of the teapots. I spray painted some gold. It was much cheaper to buy an inexpensive ugly thrift store teapot and spray paint it, than buy a nice one.
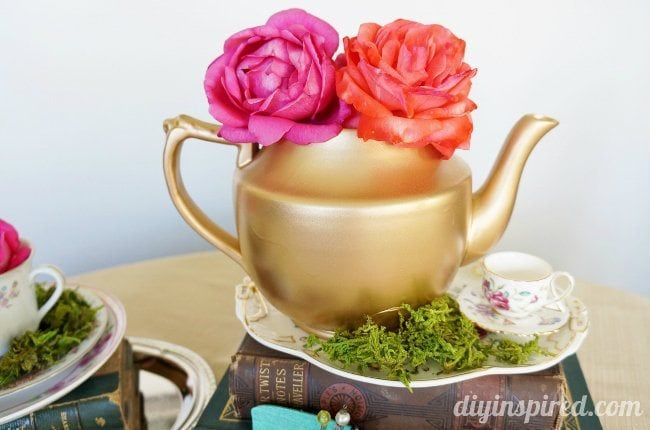
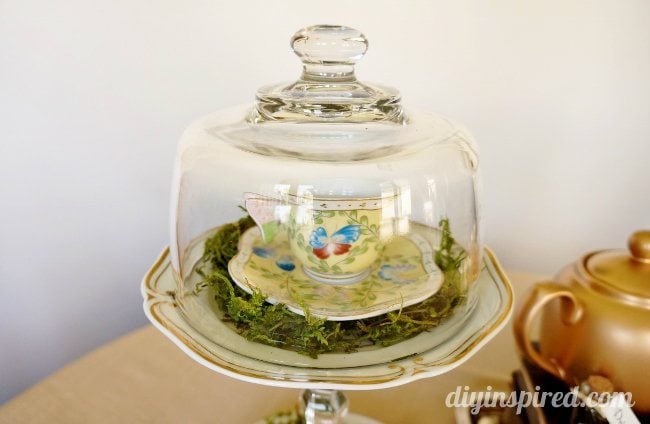
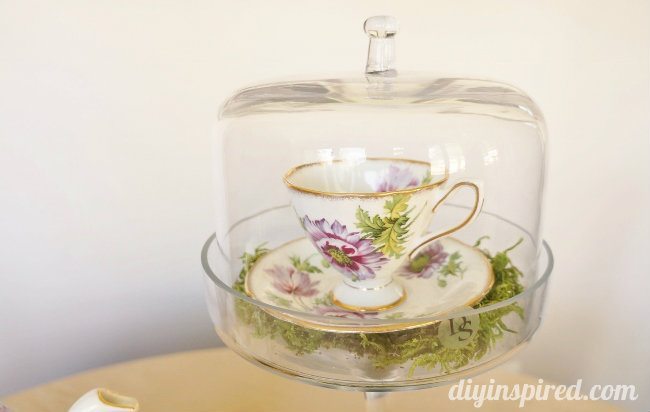
I also bought all the teacups at the thrift store and put them in the upcycled dessert stands that I made.
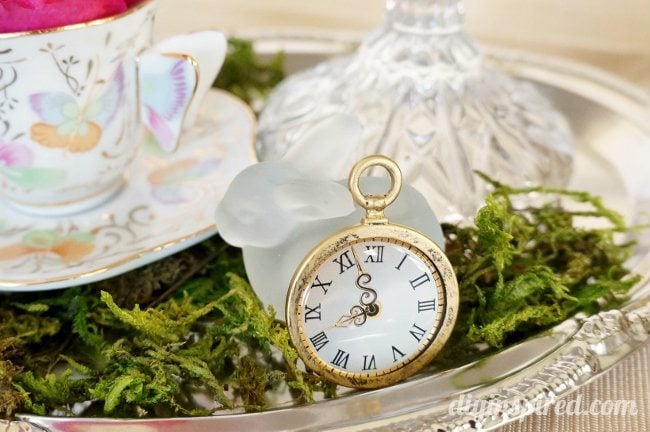
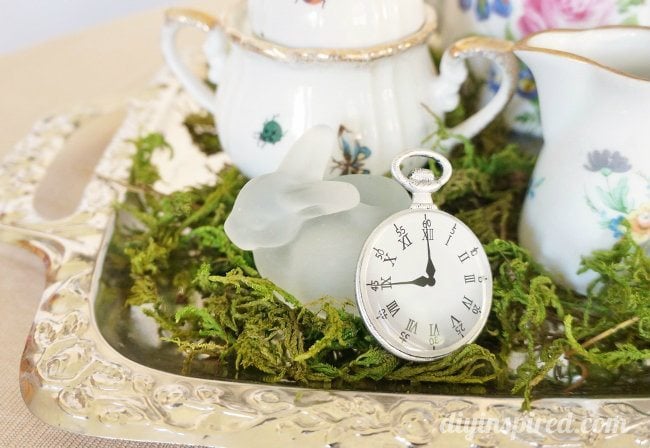
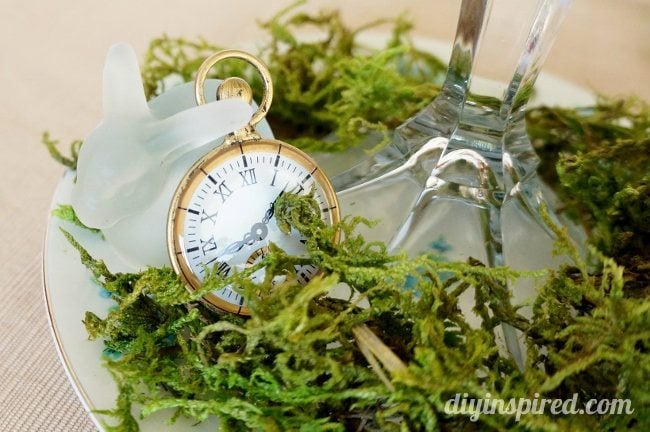
Lastly, I found these little white rabbit tea lights on sale for a dollar and bought scrapbook sized clocks and hid them within some moss in each centerpiece.

Phew! So, read why I did this so early for a party that’s not until this weekend! In case you missed my other Alice in Wonderland Tea Party posts and how-tos, here they are!
- Tea Party Themed Candy Station
- Upcycled Thrift Store Teapots
- Upcycled Thrift Store Tea Cups
- Upcycled Thrift Store DIY Dessert Stands
- Mad Hatter Tea Party Hat Decoration
- Mad Hatter Tea Party Chair Centerpieces
- Mad Hatter Tea Party Centerpieces & Ideas
Pin Me!
Love your vintage party!
Thank you so much, Sarah!
Absolutely gorgeous party ideas, thank you for sharing! May I ask what type of moss you used?
Thank you, Kelly! I honestly don’t know! I picked up a pack at Hobby Lobby.