Skip to content
Join my newsletter list to be the first to hear our latest news!
Yes Please!
Shop
Expand
Elf Instant Downloads
Funny Money Envelope Downloads
Amazon Store
DIY
Expand
Recycled DIY
Upcycled DIY
Repurposed DIY
Refurbished DIY
DIY Furniture
Repurposed Furniture
Thrift Store Transformations
Crafts
Expand
Wood Crafts
Paper Crafts
Photo Crafts
Kids Craft Ideas
Doll Crafts
Felt Crafts
Stenciling
Gift Wrapping
Printables
Party
Expand
Birthday Party
Wedding
Baby Shower
Bridal Shower
Team Sports
Sweets and Treats
Cocktail Corner
Holidays
Expand
St. Patrick’s Day
Easter
Earth Day
Teacher Appreciation
Mother’s Day
Father’s Day
Fourth of July
Back to School
Halloween
Halloween Costumes
Thanksgiving
Elf on the Shelf
Christmas
New Years
Valentine’s Day
Home & Garden
Expand
Storage & Organization
Cleaning Tips
Gardening
Makeovers
Kid Stuff Makeovers
DIY Tips & Tricks
DIY Artwork
Curb Appeal
Health & Beauty
Expand
Health & Wellness
Bath & Body
About
Expand
Advertising
Featured
Disclosure
Contact
Blog
Facebook
Instagram
Pinterest
Twitter
YouTube
TikTok
Search ...
Search
Toggle Menu
Crafts
Craft ideas and tutorials for home decor, gifts, parties, and more.
Crafts
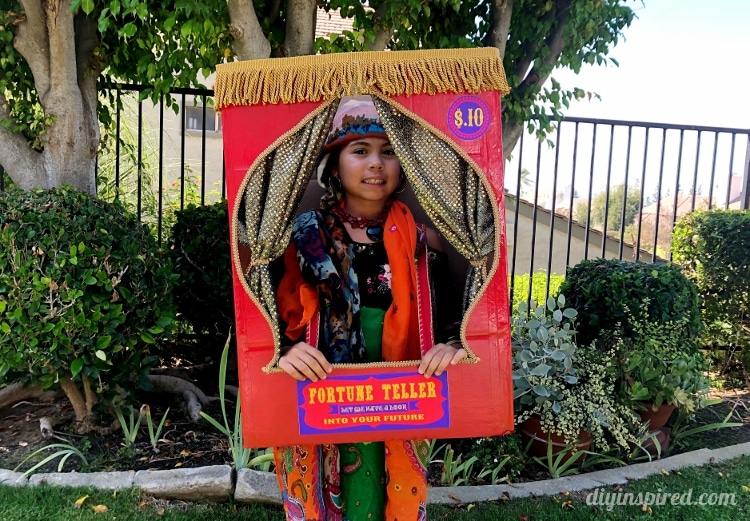
DIY Fortune Teller Booth Halloween Boxtume
Crafts
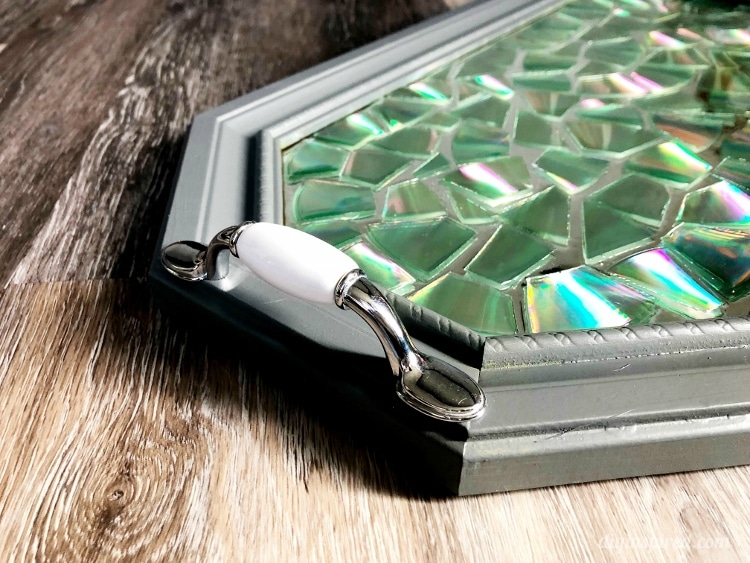
Resin Mosaic Tray with Recycled CDs and DVDs
Crafts
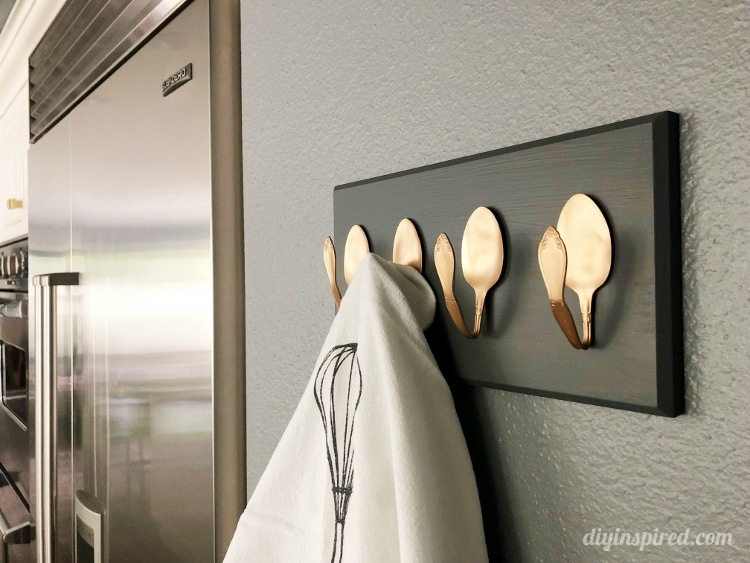
DIY Repurposed Spoon Hooks
Crafts
|
Kids Craft Ideas
How to Tie Dye Shirts
Crafts
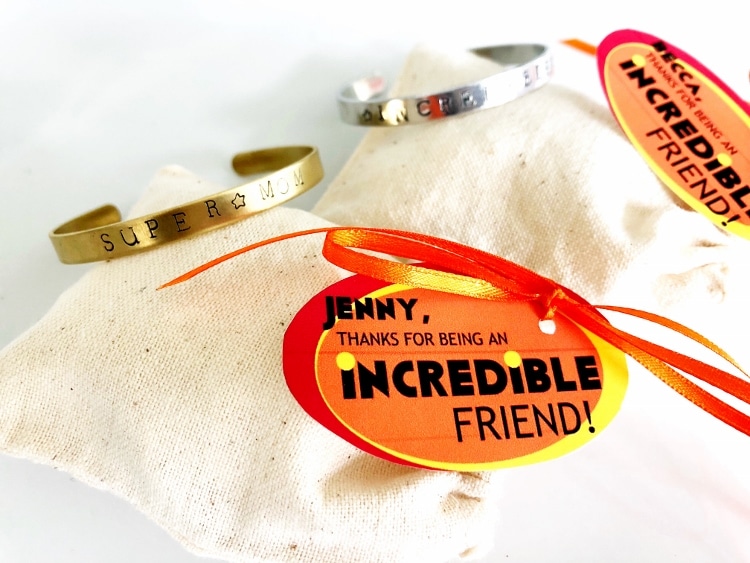
DIY Stamped Metal Bracelets
Crafts
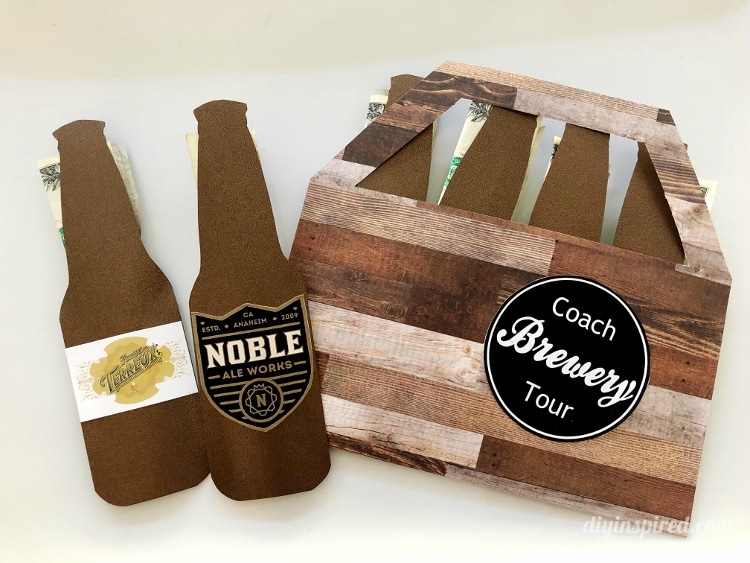
DIY Brewery Tour Gift for Coach or Dad
Crafts
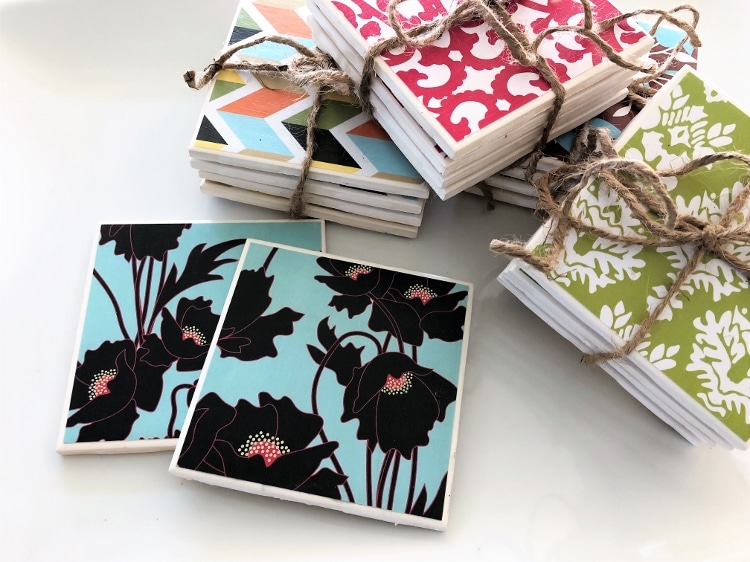
DIY Repurposed Ceramic Tile Coasters
Crafts
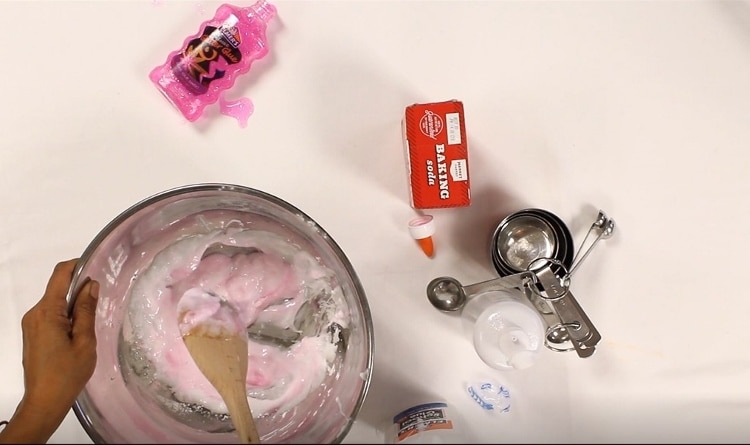
How NOT To Make Slime
Crafts
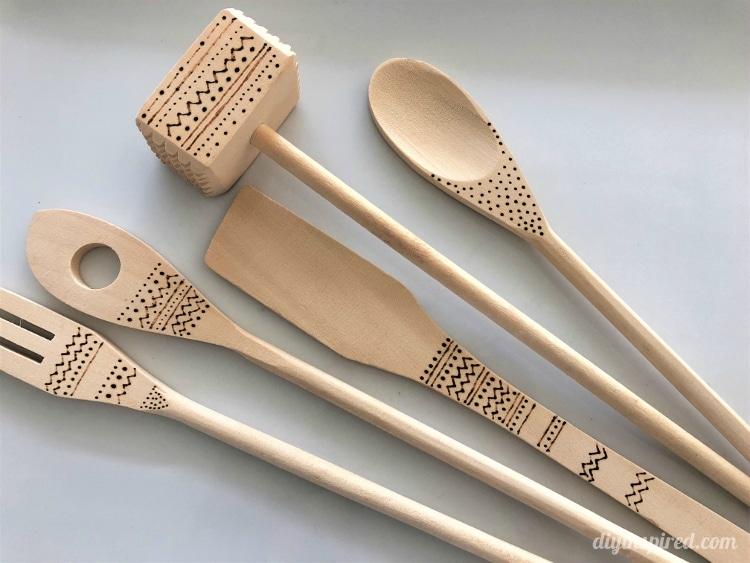
DIY Wood Burned Wooden Utensils
Crafts
|
Trash To Treasure
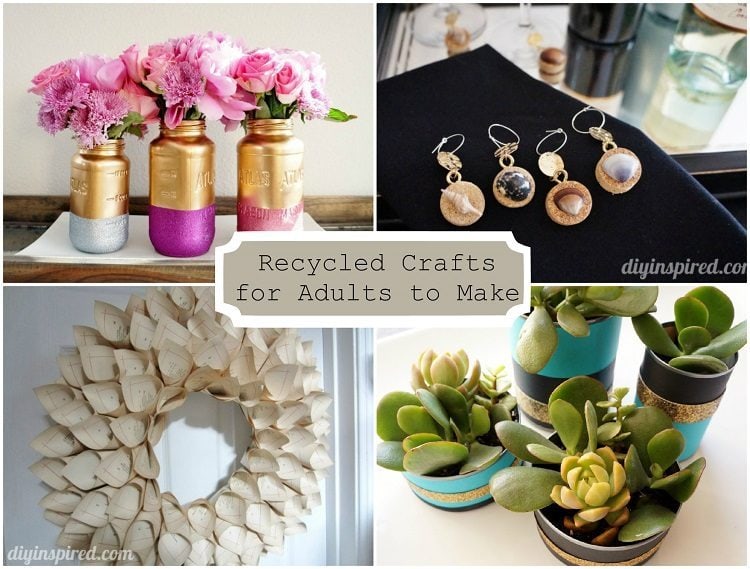
24 Cheap Recycled Crafts for Adults to Make
Crafts
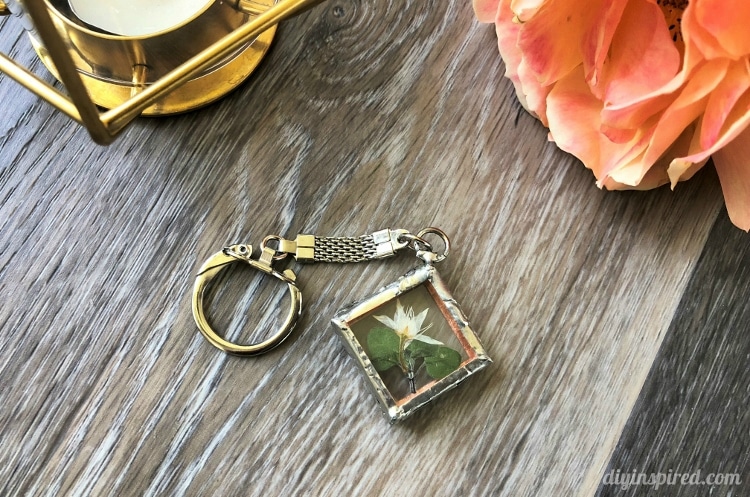
DIY Pressed Flower Soldered Jewelry Pendant
Crafts
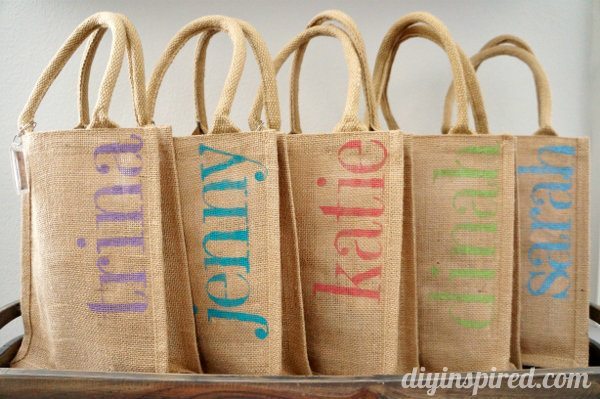
DIY Bachelorette Party Favor Bags
Crafts
|
Holidays
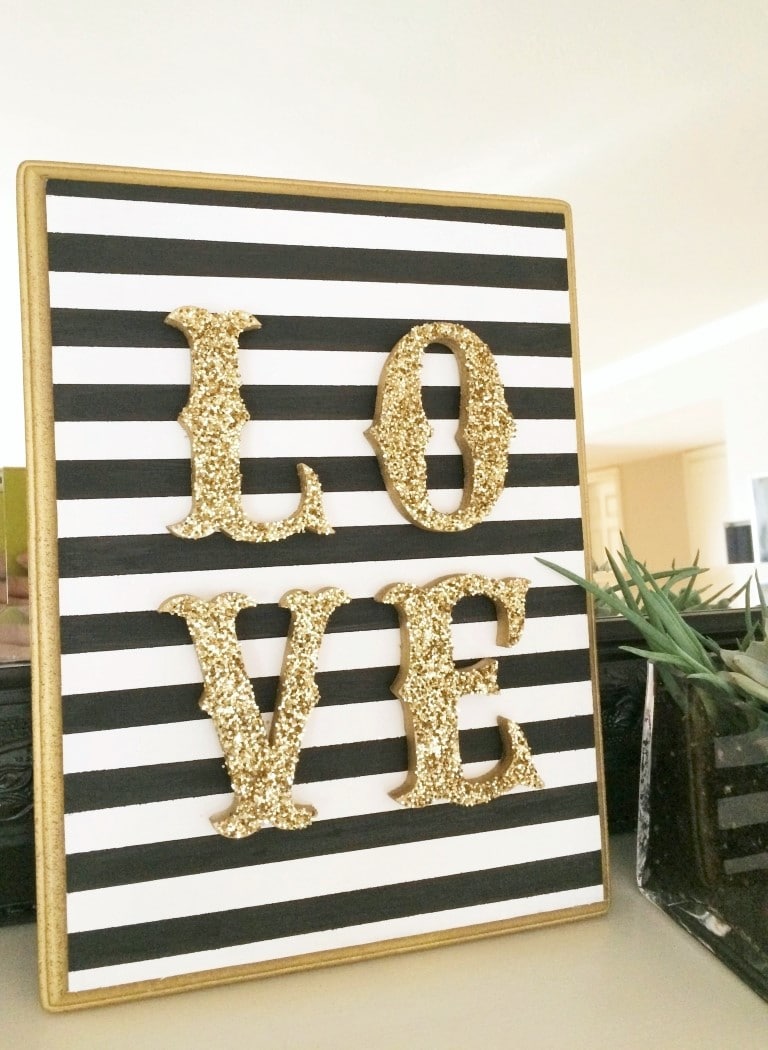
DIY Wooden LOVE Sign
Crafts
|
Holidays
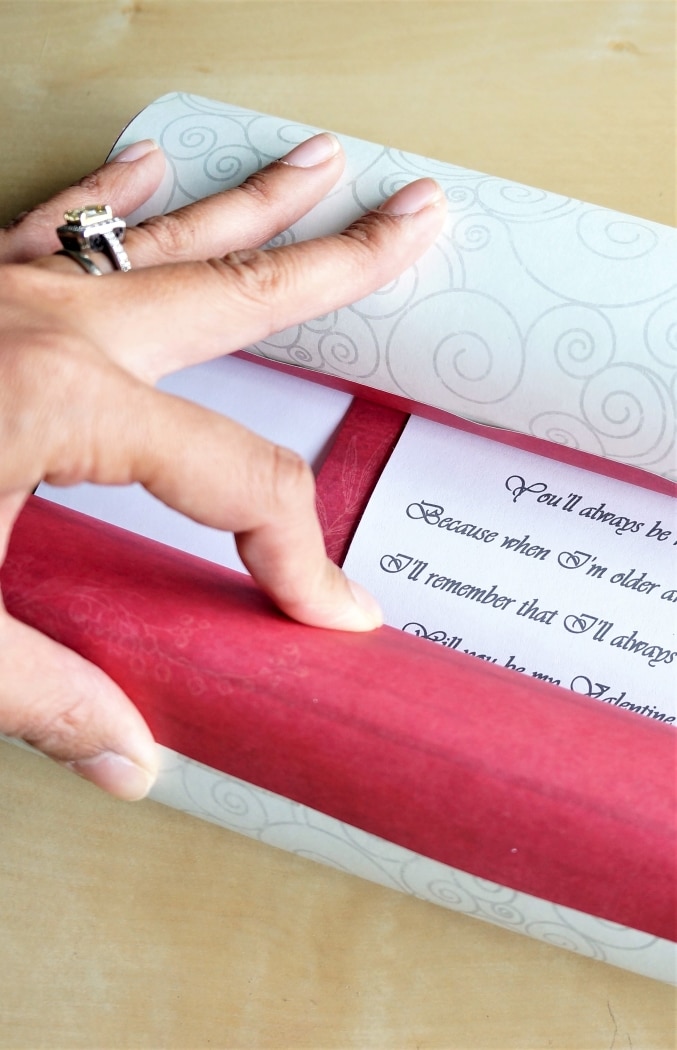
15 Minute Craft: Paper Towel Roll Valentine Scroll
Crafts
|
Holidays
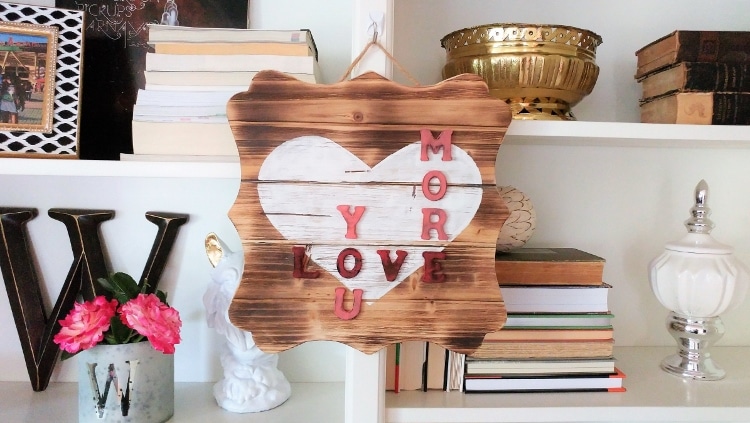
Love You More Wood Sign DIY
Crafts
|
Holidays
|
Kids Craft Ideas
Valentines Day Craft DIY Garland
Crafts
Mickey Mouse Inspired DIY Gift Card Holder
Crafts
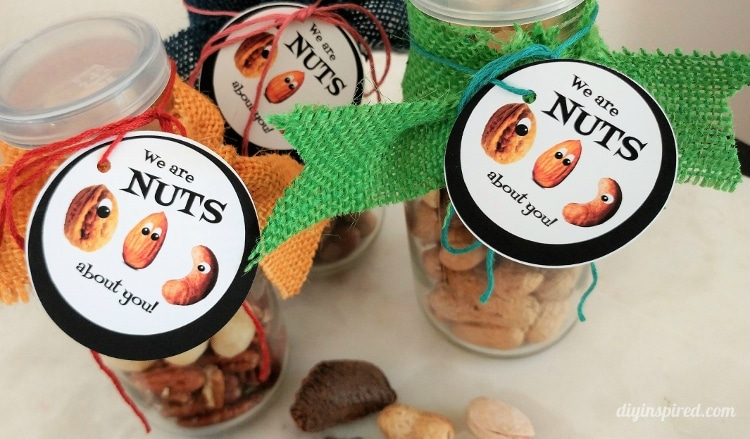
We Are Nuts About You Gift Idea
Page navigation
Previous Page
Previous
1
…
4
5
6
7
8
…
22
Next Page
Next
Search ...
Search
About DIY Inspired
Toggle child menu
Expand
Advertising
Disclosure and Privacy Policy
Featured
Contact
Project Gallery
DIY
Toggle child menu
Expand
Recycled DIY
Upcycled DIY
Repurposed DIY
Refurbished DIY
DIY Furniture
Repurposed Furniture
Thrift Store Transformations
Crafts
Toggle child menu
Expand
Wood Crafts
Paper Crafts
Photo Crafts
Kids Craft Ideas
Doll Crafts
Felt Crafts
Stenciling
Gift Wrapping
Printables
Party
Toggle child menu
Expand
Birthday Party
Baby Shower
Bridal Shower
Wedding
Team Sports
Sweets and Treats
Cocktail Corner
Holidays
Toggle child menu
Expand
Father’s Day
Fourth of July
Back to School
Halloween
Halloween Costumes
Thanksgiving
Elf on the Shelf
Christmas
New Years
Valentine’s Day
St. Patrick’s Day
Easter
Earth Day
Teacher Appreciation
Mother’s Day
Home & Garden
Toggle child menu
Expand
Storage & Organization
Cleaning Tips
Gardening
Makeovers
Kid Stuff Makeovers
DIY Tips & Tricks
DIY Artwork
Curb Appeal
Health & Beauty
Toggle child menu
Expand
Health & Wellness
Bath & Body
Facebook
Instagram
Pinterest
Twitter
YouTube
TikTok
Toggle Menu Close
Search for:
Search