Trash To Treasure
Upcycled and repurposed project tutorials from treasures found at flea markets, thrift stores, and garage sales.


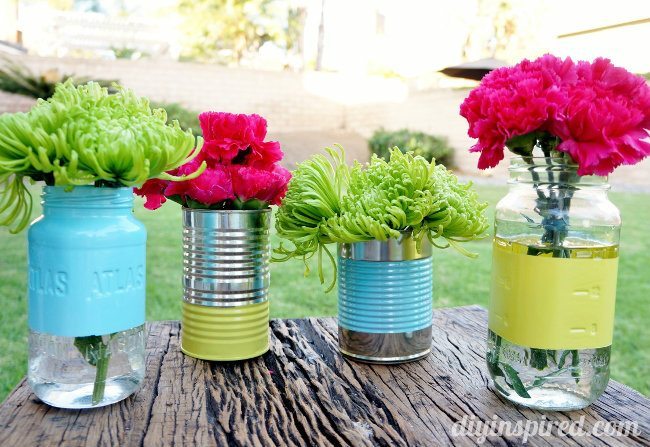
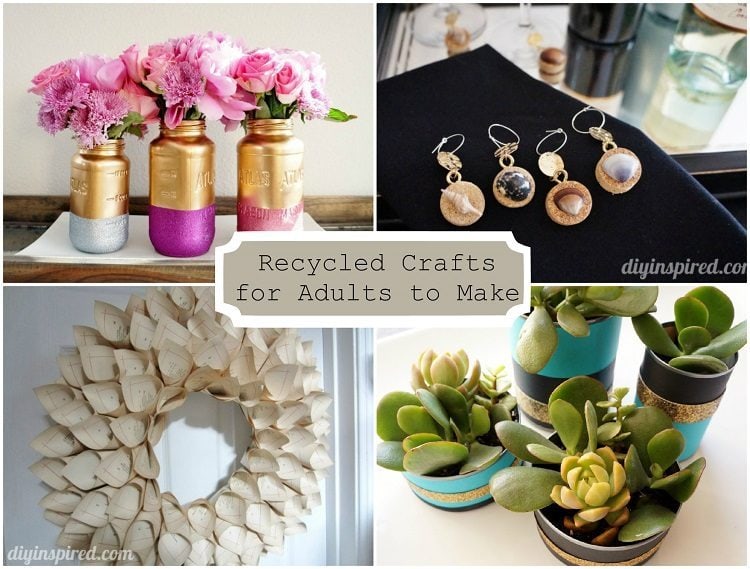
Upcycled and repurposed project tutorials from treasures found at flea markets, thrift stores, and garage sales.