DIY Mad Hatter Top Hat
Make a DIY Mad Hatter Top Hat Out of a Cardboard Box
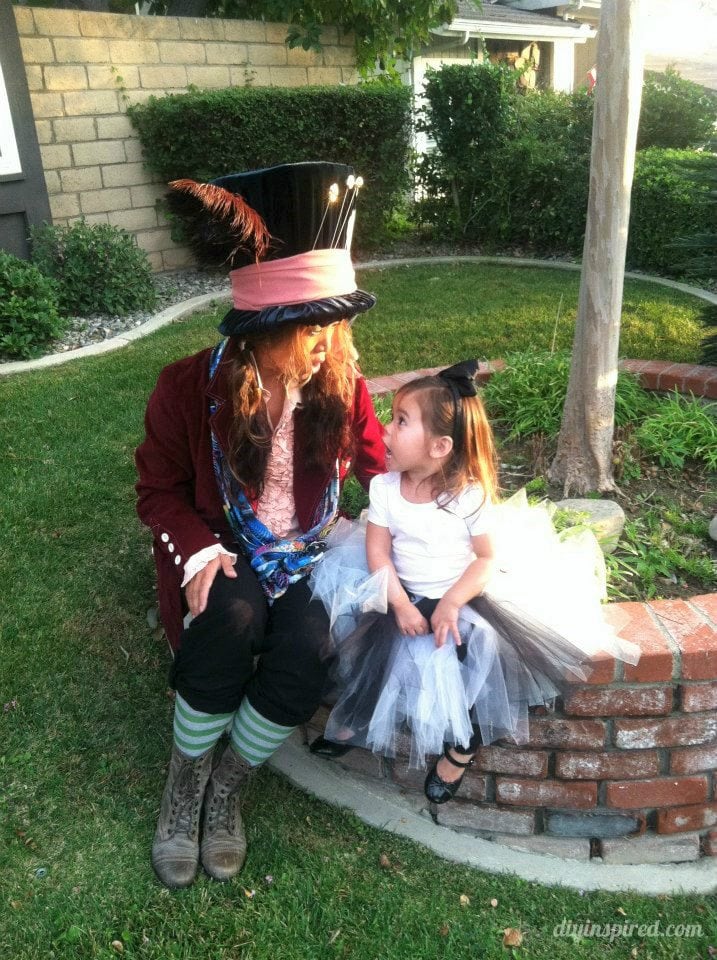
Every year, it always takes several days, even months, to figure out what my family is going to be for Halloween. I actually think the brainstorming starts on November 1st! This year we decided on a popular theme, Alice in Wonderland. My husband will be the Mad Hatter, I will be the Queen of Hearts, and my daughter will naturally be Alice. So over the next few days, I’ll show you the progression of our costumes as I make them. Let’s start with the DIY Mad Hatter Top Hat.
Note: This tutorial post was originally published on September 28, 2012 but has since been updated and improved.
I did a Google search and found an amazing tutorial on how to make a cardboard top hat on the Instructables, one of my favorite DIY sites. I edited it a little bit as I went. Here is my tutorial on a DIY Mad Hatter Top Hat.
Step One: Construct the Cardboard Top Hat
Materials:
This list and instructions below contains affiliate links to recommended products.
- Cardboard
- Duct Tape
- Pencil
- Bowls or plates (any circular object for tracing in the desired size)
- Scissors
I cut four pieces with the help of the bowls in my cupboard, a pencil, and scissors. The size will depend on the Mad Hatter’s head size.
- Large circle for the top of the hat
- Small circle for the interior of the hat to hold shape
- Large ring for the rim of the hat
- Rectangular piece for the cylinder
Using duct tape, create the cylinder. Cut 1-2” wide slits for the bottom of the hat and cut longer 1-2” slits for the top of the hat. Insert the small circle in the top of the hat as shown and secure with tape. Add the rim by folding each slit and taping the cylinder to the rim as shown. Do the same for the top using the larger circle as shown.
Step Two: Decorate Your Hat
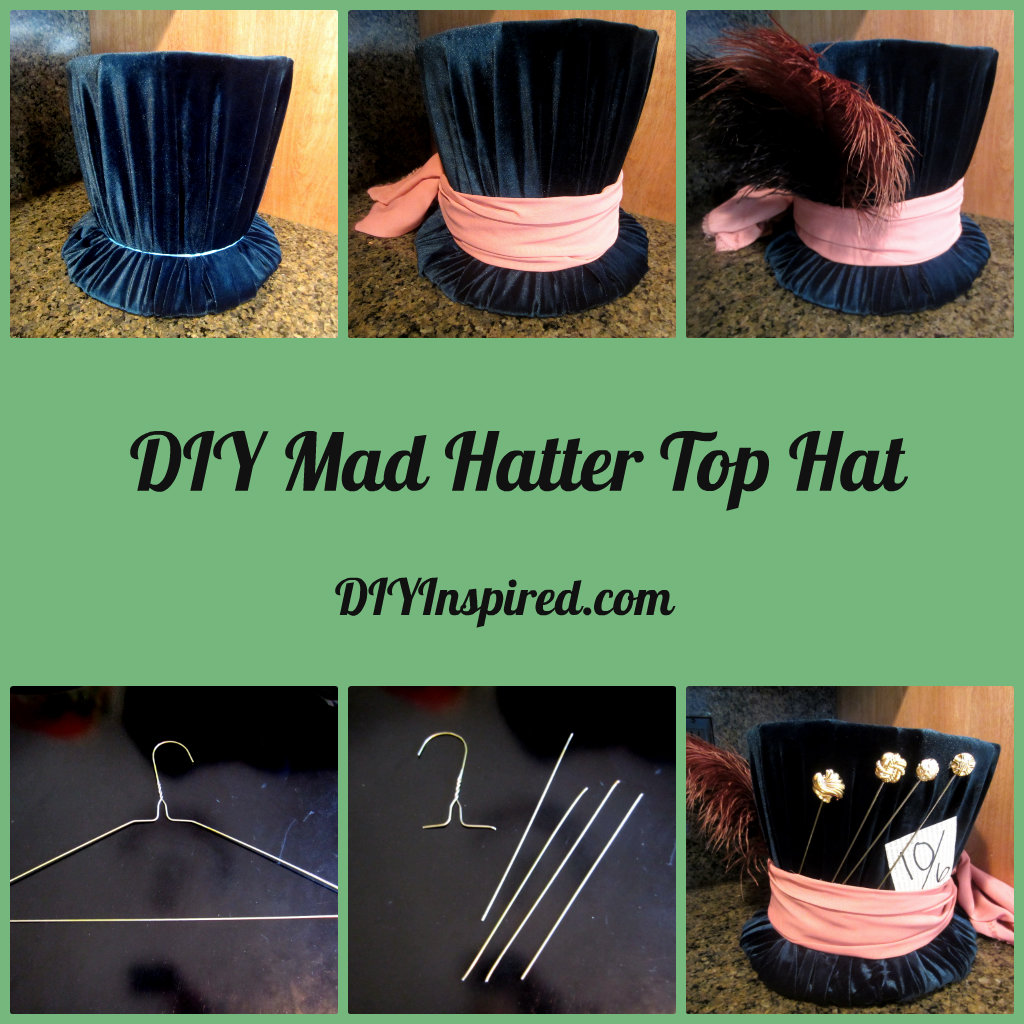
Materials: The materials are up to you, as the possibilities are endless! Here is what I used.
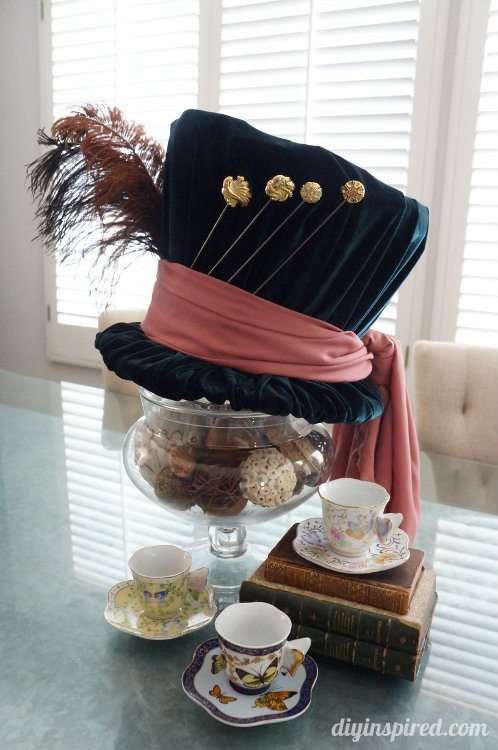
- Green velvet fabric
(I chose this because it’s easy to stretch and maneuver)
- Salmon fabric for the scarf
- Two feathers
, one brown and one black
- A wire coat hanger and a wire cutter for the pins
- Old buttons for the top of the pins (attached with hot glue)
- Recycled book page and a black marker for the infamous 10/6 price tag
- Rubber band to secure fabric to the base of the hat
The pictures and materials speak for themselves. I did not use glue, rather duct tape because: 1) it’s easier to use, 2) it’s easily removable if I made a mistake, and 3) it’s less messy, and cheaper!
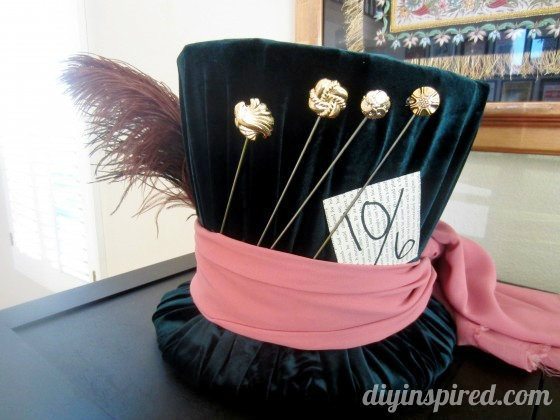
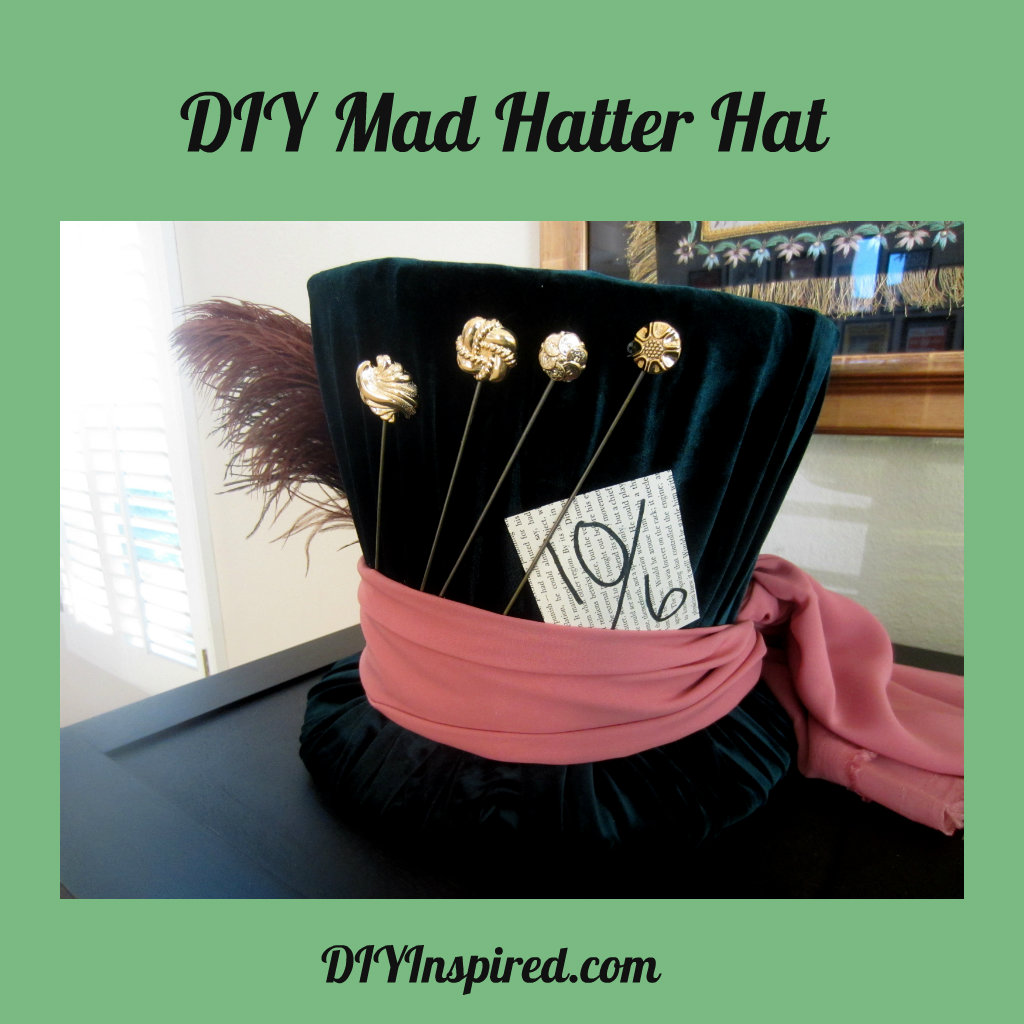
Here is an after photo:
More Alice in Wonderland DIY Costume Ideas:
More Alice In Wonderland:
- Alice in Wonderland First Birthday Party
- Alice in Wonderland Flowers
- Mad Hatter Top Hat Gift Basket
- Tea Party Ideas by the Sea
- Mad Hatter Tea Party Centerpieces & Ideas
- Alice in Wonderland Theme Party: Red Paper Flowers
Before you go, here are some fun Trunk or Treat ideas I did for KTLA news!


This is the best tutorial I’ve seen! I love Alice in Wonderland anything! Thanks for this.
Hey, thanks for the tutorial, saved me lots of money, not to buy a hat.
But I’ve got one question, how did you manage that the velvet sticks to the hat itself?
Hi Ariane, Lots and lots of duck tape! I still have that hat and it’s holding up great!
I tried making it – what a wonderful Top Hat!!! so pretty and so grand!
Thant fantastic!! I’d love to see a picture! If you’d like, post it on my FB page: https://www.facebook.com/DIYInspired
hey I love this hat and have made it myself, just wondering how you got the wire with the buttons to stay on the hat, having some trouble with it.
Hi Nicola,
So glad you tried it! Try a little hot glue behind the scarf.
Hi, how much of the fabric did you use? Did you use 1 yard?
I’m making multiple hats in different colors and im actually also making a card holder so im going to put a slit on the top of the hat and make the bottom of the hat be able to re-open.
Great idea, Khalia! I think it was about a yard. Maybe a little less. It helped that it was velvet because it stretches so easily. I’d love to see pictures of your project! Feel free to email me if you want or even post them on my Facebook page! http://www.facebook.com/diyinspired or dwulf@diyinspired.com
brilliant make im making a few of these to put on a shelf not the same colour of course but always wondered how u make them and thought it would tuurn out rubbish the slits help alot in the card to position everything its really easy to make:) ty ever so much xx
You are welcome! I’m so glad you like the tutorial!
What did you do with the fabric at the bottom?
To attach it to the bottom of the hat? I duct taped it! 🙂
Like you, I spend all year looking for inspiration and instructions to make my next costume possible…this hat looks amazing, yet completely “do-able”! But how did you keep it from falling off your head? Some kind of headband? Attached how? Thanks so much for sharing!
Thanks, Volo! It’s stays on great! When you are making it and cutting the cardboard for the ring, just keep trying it on to make sure it will fit snugly. BUT make sure to leave room for the fabric. It will fit perfectly and you won’t need to worry about it falling off!
I’m in the process of making this for my Alice in Wonderland themed 30th Birthday party.
I tried following a few other tutorials on how to make this hat, but this one most definitely made the most sense and the steps were clear and easy to follow. I’ve just got to cover with fabric now so that’s a job for next weekend!
Thanks for a great tutorial!!
Oh my gosh! I am so excited to hear that!! Thanks so much. Have fun at the parties and send a picture! I’d love to see it.
I will definitely try making my own mad hatter hat. Thank you for this very helpful and detailed tutorial.