Five Dollar Thrift Store Ottoman Makeover
Easy Furniture DIY Makeover: Five Dollar Thrift Store Ottoman Makeover
I can’t believe that I found this ottoman on a recent thrift store shopping mission for five dollars! Which reminds me, check out my trash to treasure guide for why you should buy furniture secondhand. It also includes a list of trash to treasure tips and project ideas.
This was the perfect trash to treasure project. I couldn’t wait to get it home to get started on my makeover. Now, this post is more than a simple ottoman makeover, because there was one EXTREMELY annoying issue I had while trying to take it apart.
Materials:
- Drop cloth

- Sander and sand paper
- Clean rags
- Spray paint
- Fabric
- Scissors
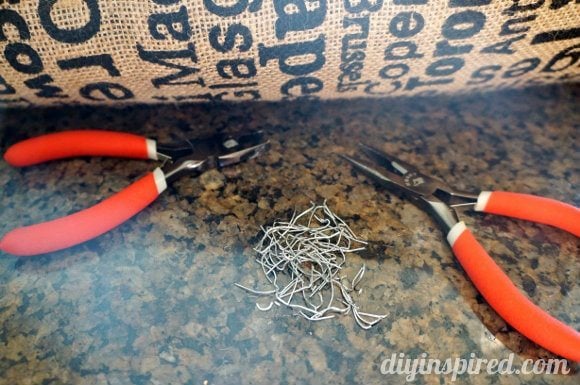
- Pliers
- Staple gun and staples

 and
and 


Here is what the ottoman looked like BEFORE. The fabric was damaged at the top and the legs and several nicks and scratches.
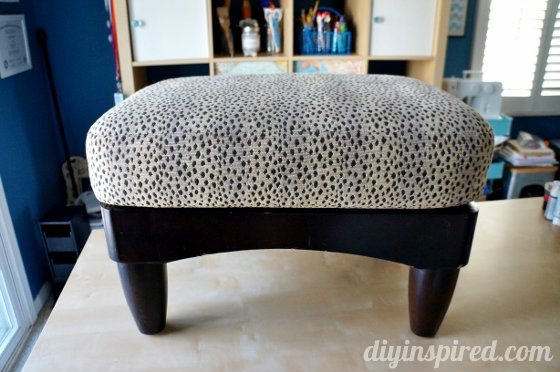

I turned it over to find that it would be easy to recover (do this before you buy it at the store).

One by one I pulled out what seemed like hundreds on staples.

Here is what it looked like underneath. Initially I was excited because it looked like it was going to be a quick and easy project. Next, at this point (I thought) all I needed to do was unscrew the top from the base and I can get to reupholster the cushion… WRONG!

I could NOT get the fourth and final screw out of this thing! I tried unscrewing it with a manual screw driver as well as a drill. I tried using a socket wrench. I even went to Home Depot and bought a screw extractor and THAT didn’t work. I ended up drilling around the hole and manually pulling t out with pliers.

I mean, look at it! Yikes!

And look at the giant hole! Oooops! BUT I got the sucker out. I figured it will be covered anyway and there are other areas where I can drill a new screw in.

Finally I was able to remove the top from the base. I first took the base and sanded it with an electric sander. You can see all the nicks and scratches.


After I wiped down the base with a clean rag to remove all the dust and debris, I spray painted it using a brushed metallic spray paint in an oil bronze finish. I wish I could capture the color better in the pictures, but it turned out great.

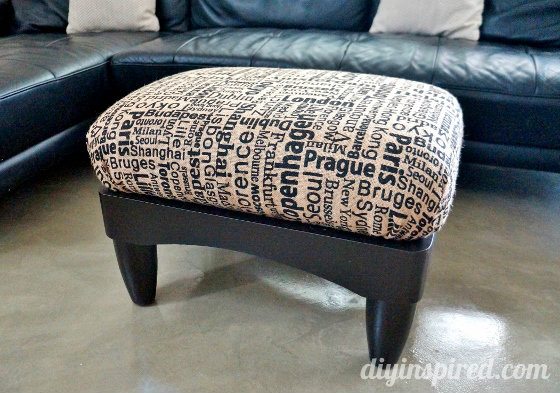
While the paint was drying I simply recovered the cushion in a more updated burlap printed fabric using a staple gun. It was super easy.


Once the base was dry, I screwed in the top to the base with four new wood screws and reused the black cover and staple it in for a finished look underneath. Here is an AFTER.


Love it so much! Still can’t believe you got it for $5 and it looks SO GOOD!
It was such a good deal!! I can’t believe it either!
It looks amazing. Great job! I have an old ottoman staring at me right now, so this came in very handy. I’m going to try to do something similar…fingers crossed!
Thanks for sharing 🙂
http://www.ellaplays.wordpress.com
Thank you so much, Ana! I’m already thinking of changing the fabric again! LOL
I like that you did not let the fourth screw keep you down.
Ha! Thanks, Diana!
Looks chic and fancy! Where did you buy the printed burlap fabric?
Thank you Camille! I bought it at Joann Fabric and Craft Stores.