How to Make a Tulle Bow
How to Make a Tulle Bow for Gift Wrapping
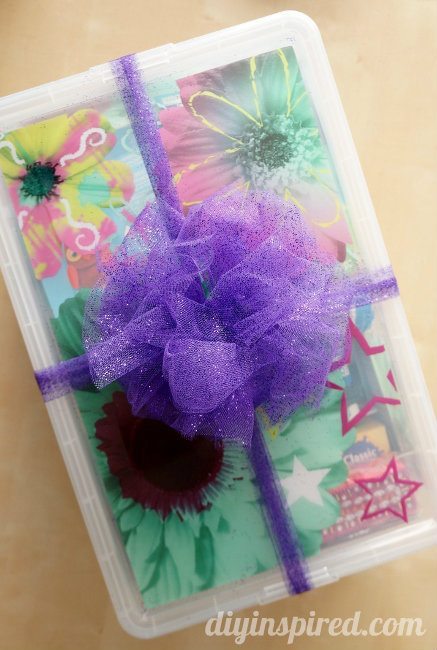
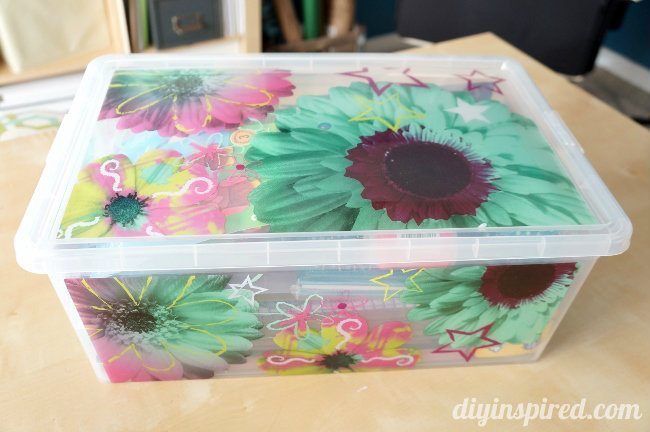
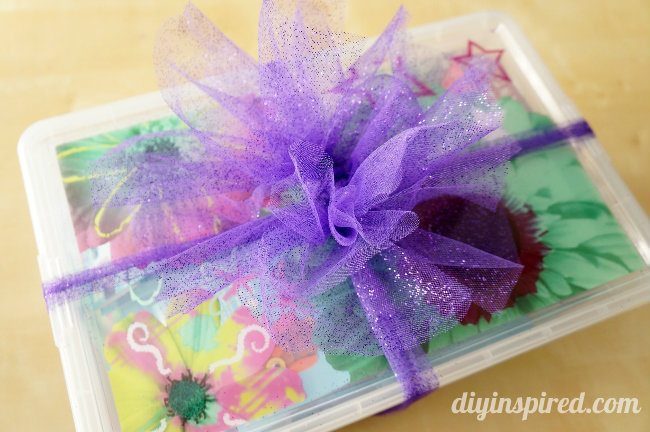
My daughter’s best friend’s birthday is coming up and we decided to buy her…craft supplies, of course! We raided a few stores and bought a colorful floral plastic bin to keep everything inside. This way, she would have her own storage bin separate from her three sisters. The plastic bin was beautiful in itself, so I didn’t want to cover it in wrapping paper. I ended up making a tulle bow in her favorite color, purple. Here is a quick tutorial on how to make a tulle bow.
You only need two things:


The plastic bin is so cute, right? No need to cover it up!
You can find spools of 6 inch by 10 yard rolls at any craft store. We chose glitter tulle, which was probably a bad idea mess-wise. It’s pretty, but the glitter goes EVERYWHERE when you are tying your bow.
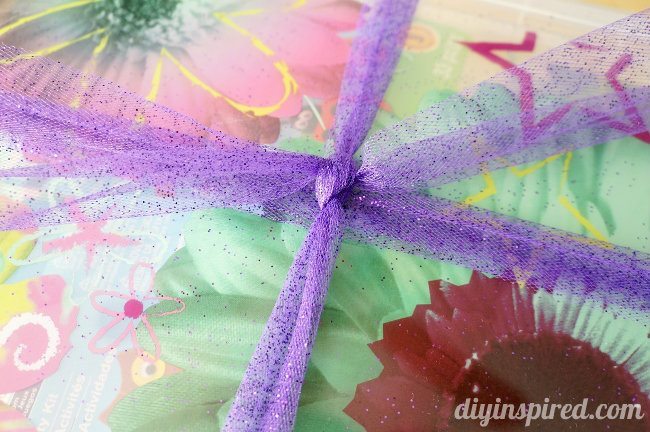
I started by wrapping the plastic bin with the tulle like a standard ribbon as shown. This was my first time attempting this so I played with the length.
Next fold the tool in layers. The length you use depends on the size of your bow.
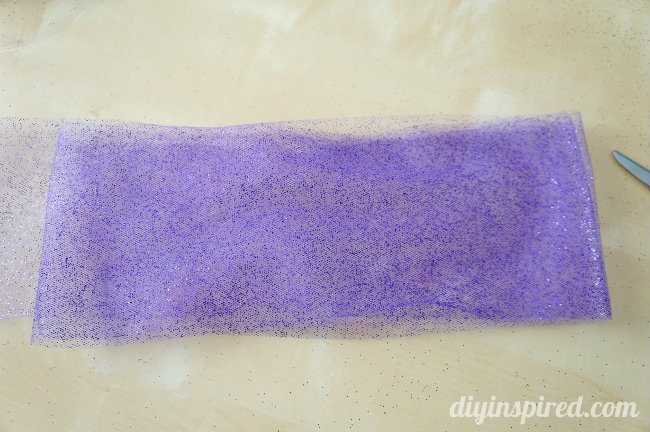
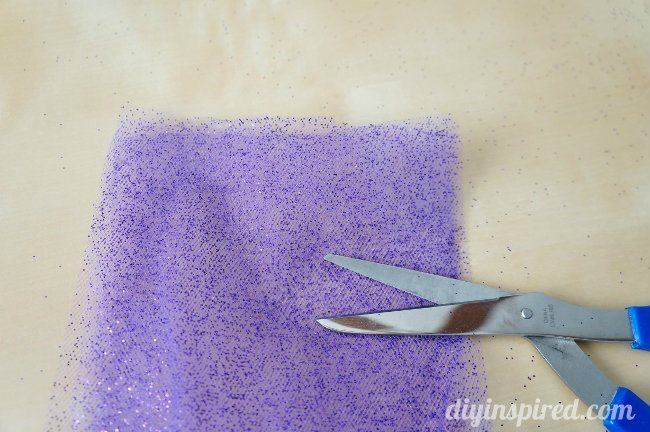
My layers were about ten inches long. I made layers of three (and four) and cut the ends to make three separate pieces.
Tie the three layers in a standard knot.
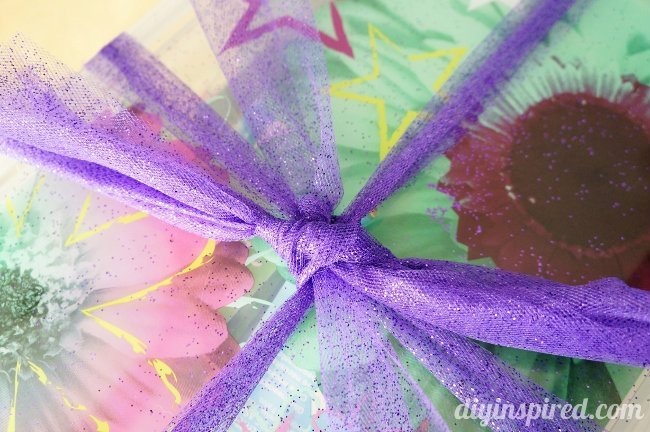
Then repeat with another three layers.
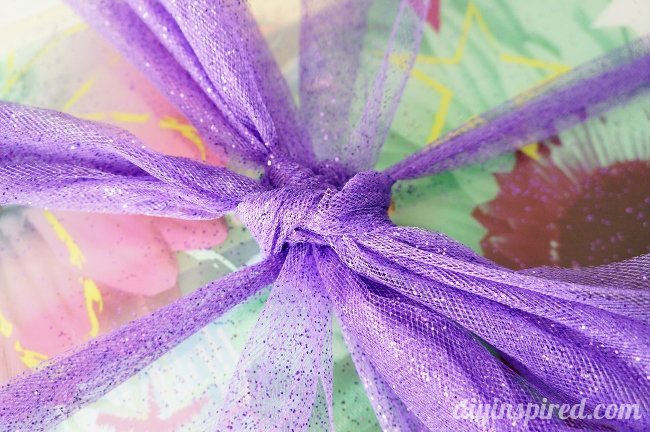
Fluff up and separate each layer of tulle.
Lastly, curve the ends of each layer as you wish; the beauty of tulle is that it is easy to maneuver and the shape will hold.