Vintage Themed Baby Shower
Party Decorating Ideas: Vintage Themed Baby Shower with Printables
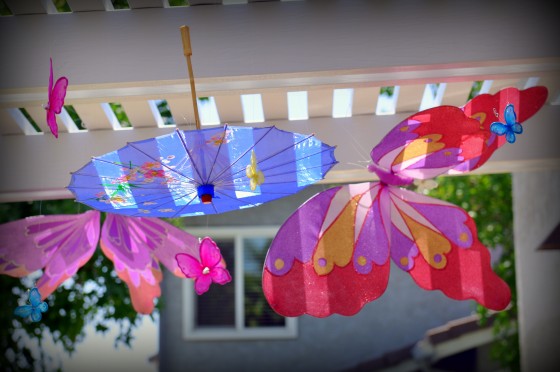
FINALLY! I get to share the vintage themed baby shower that I have had the honor of working on for my best friend’s brother and sister-in-law. It was a beautiful day and my friend had the perfect back yard for it.
I know I already shared:
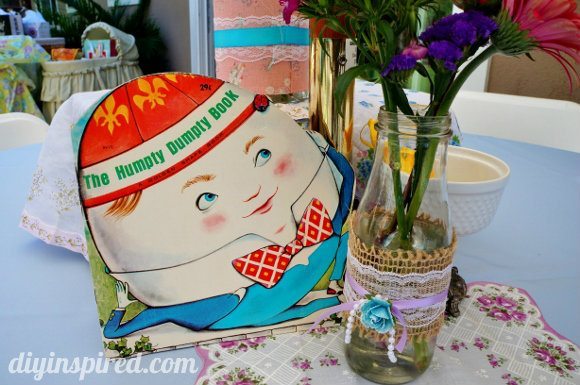
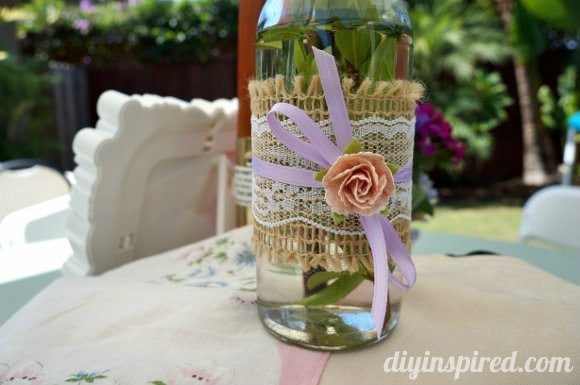
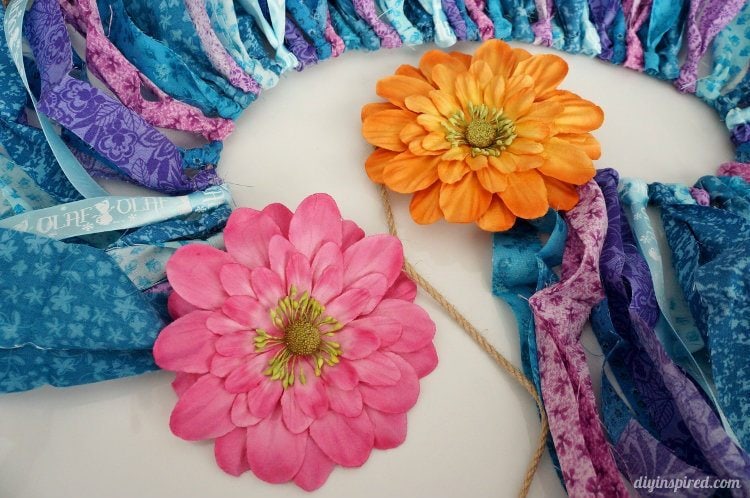
- Some baby shower decorations I made out of recycled bottles and scrap fabric
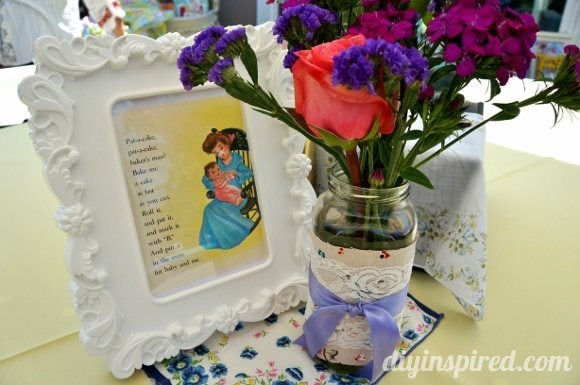
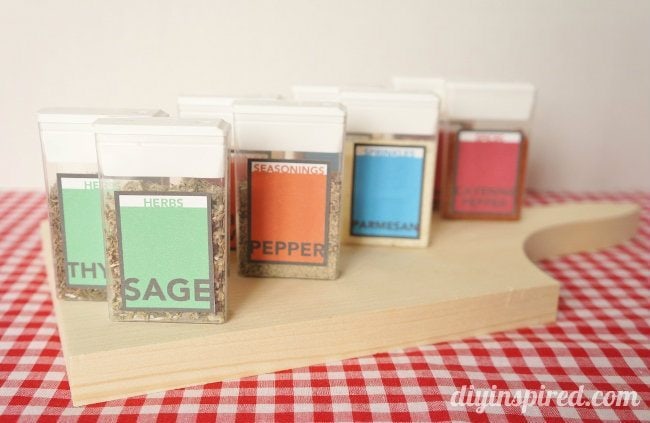
- Some easy framed decorations you can make for any baby shower
- And some FREE Vintage Inspired Printables my friend Jill made
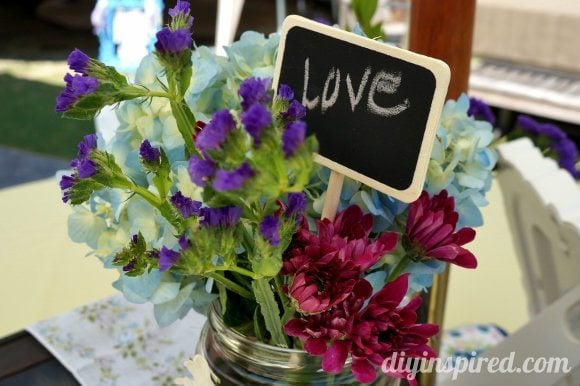
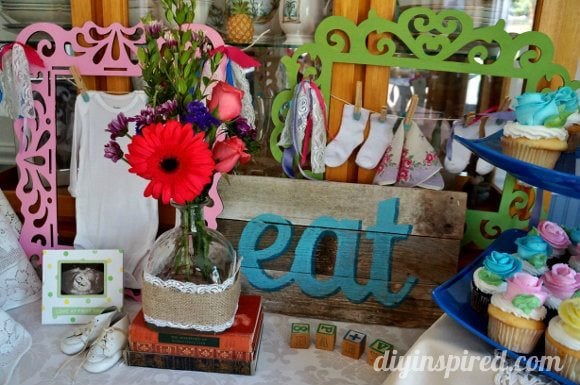
I had such a great time decorating for this party. I bought some flowers and arranged them all before I left. I loaded the car and brought all my decorations including the thrift store shelf I made over. I wasn’t sure exactly how I was going to decorate because I had no idea how the venue would be set up. There were five tables, so I needed five centerpieces. I brought some toys, vintage books, small decorative suitcases, several handkerchiefs I bought while antique shopping, and of course the flowers.
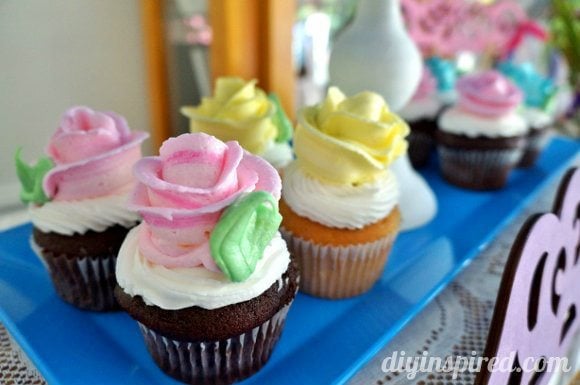
I also had the food table to decorate. I layered the table with boxes to create some height. I also brought some cupcake stands I made. The table was quite the hodge-podge, but I think I made too many decorations!
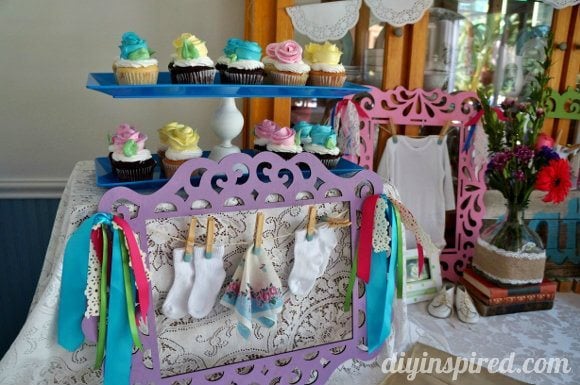

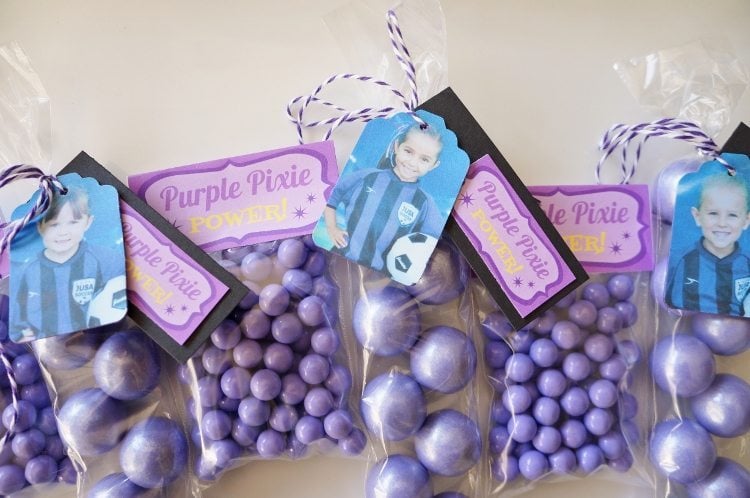
I ended up using my thrift store shelf to place the favors on. I brought my DIY pedestal trays, some antique books, and more handkerchiefs. I purchased small flower boxes from the craft store and put chocolates inside.


I wish I took more pictures of the backyard in total but I forgot! There was too much going on and I was trying to enjoy myself. Oh well!

ohhhh SO pretty!! i love this.
Thank you, Holly!
This is so lovely and different! I will share it with all my followers.
Thanks for such a great blog.
Christelle
Yoga4Mothers.com
Thank you so much, Christelle!