Christmas
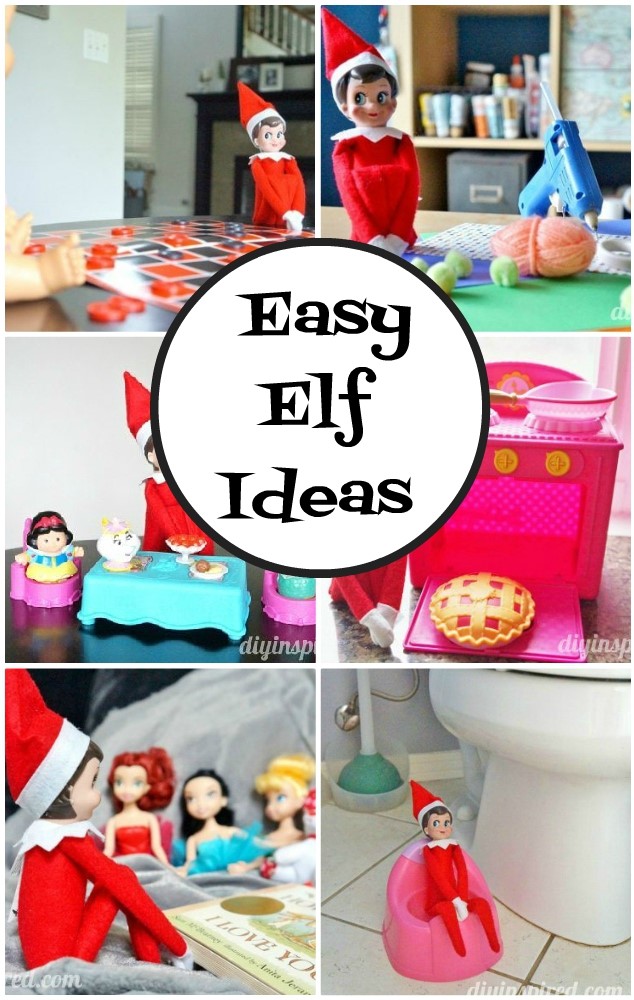
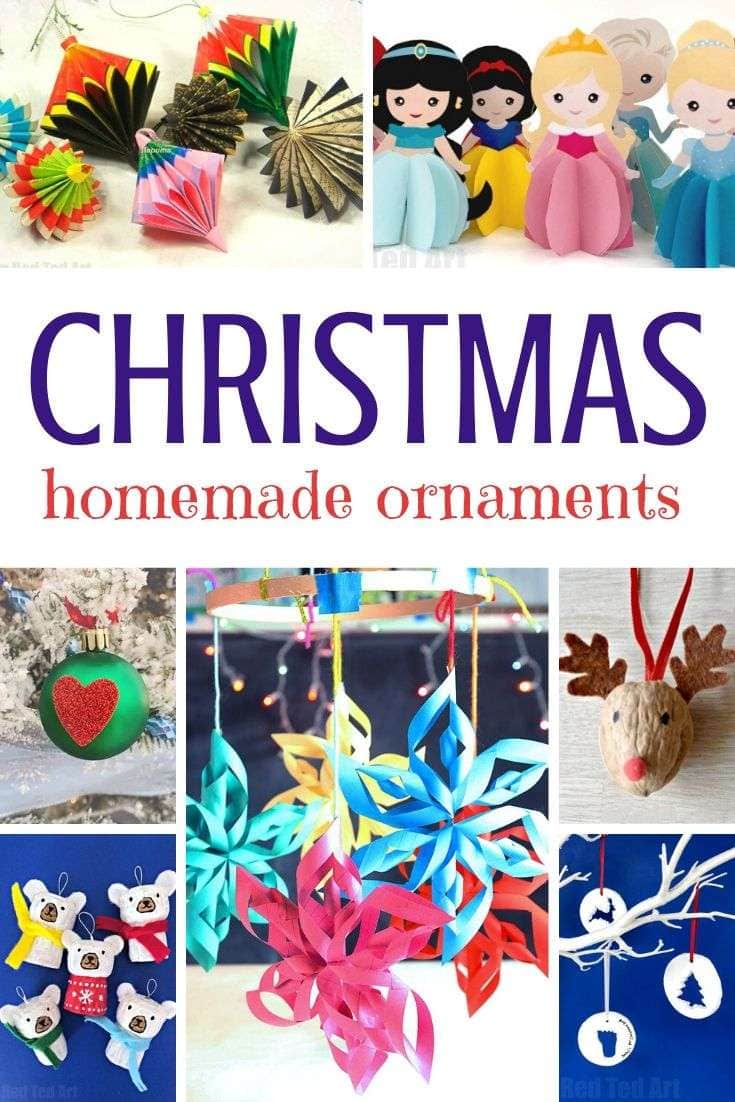
Holiday crafts, decorations, homemade gifts, party favors, handmade ornaments, and centerpieces for Christmas.


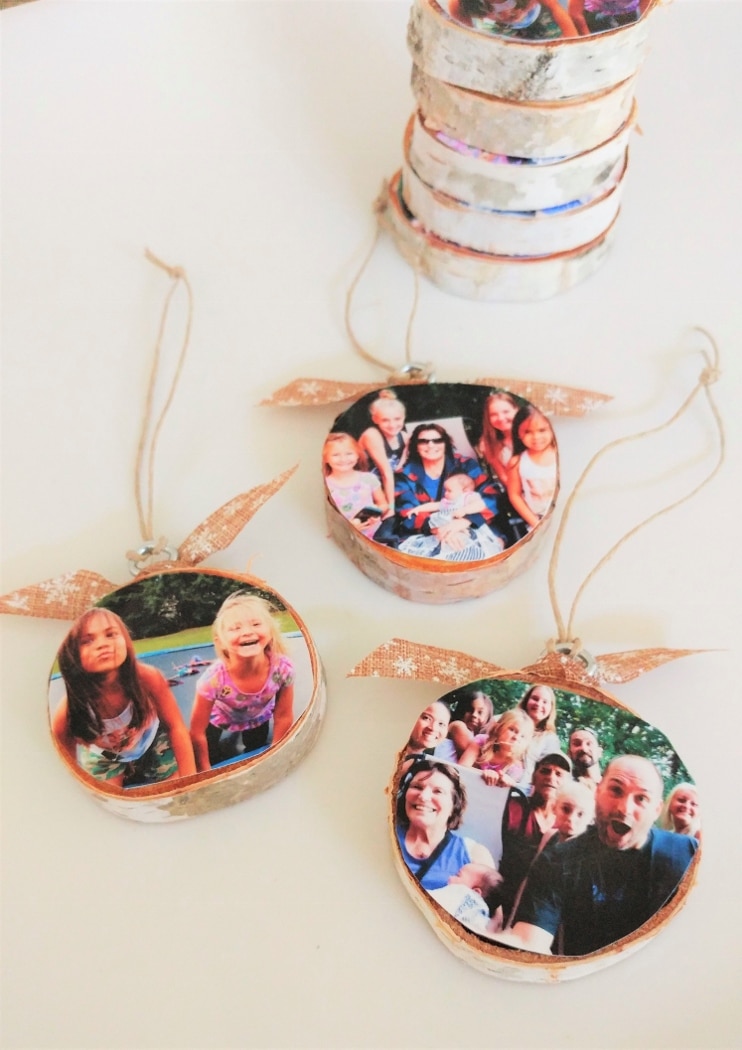
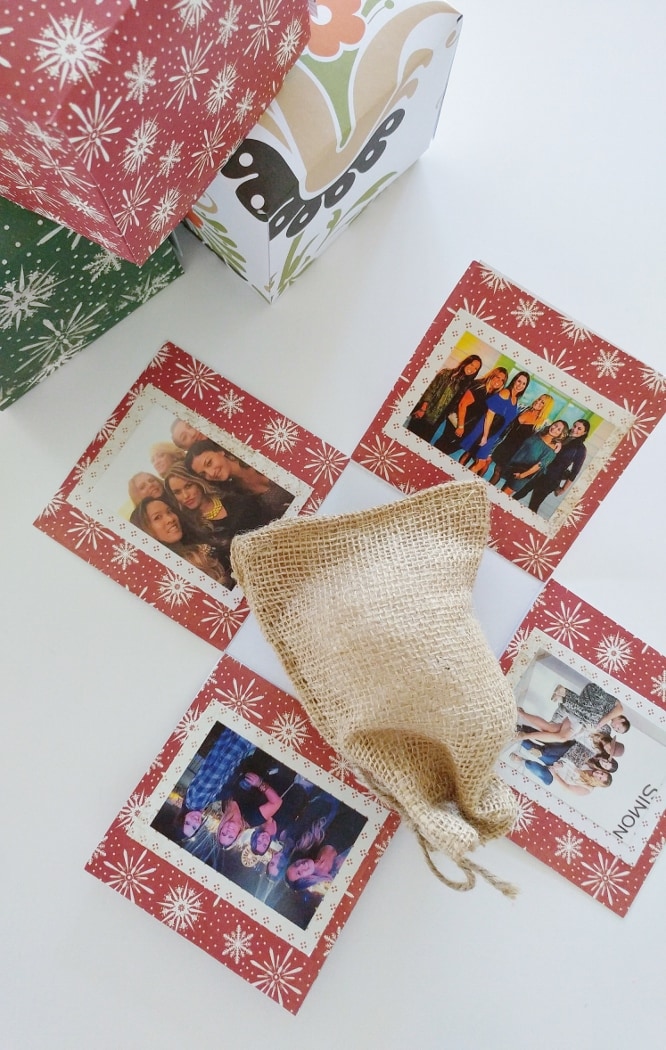
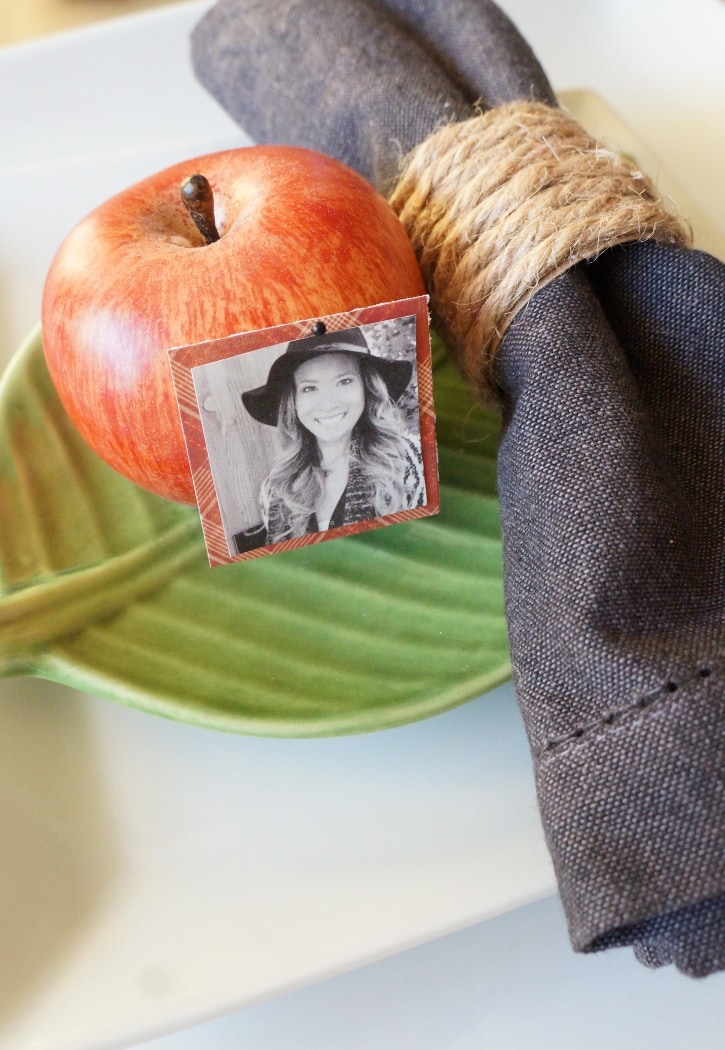
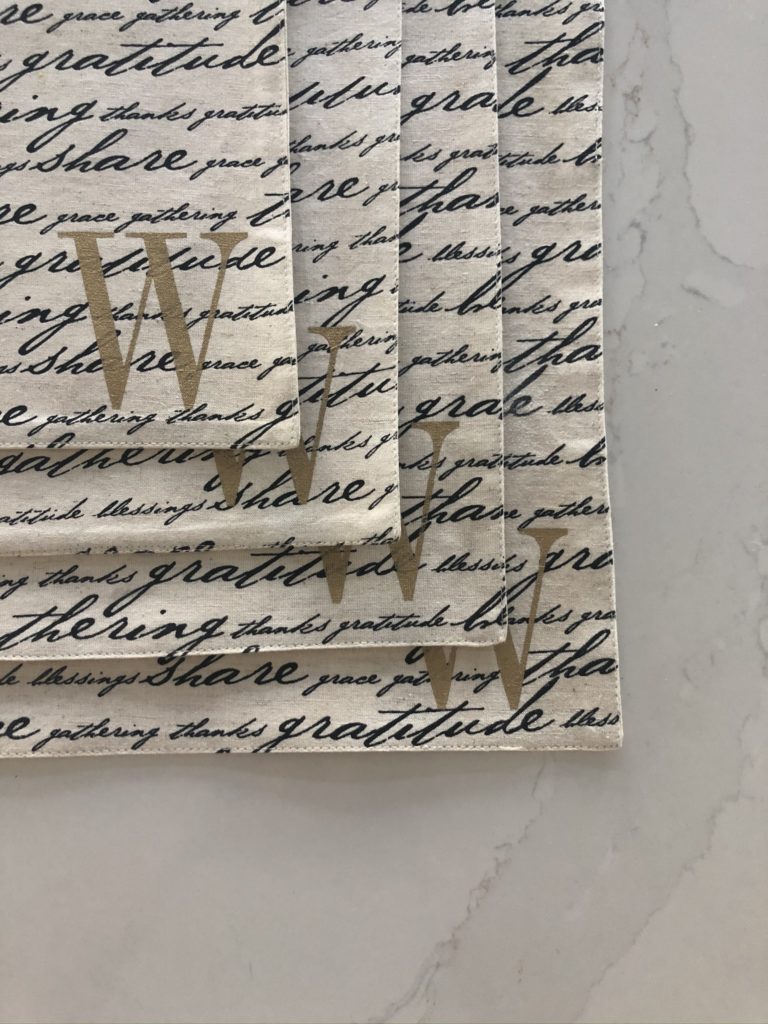

Holiday crafts, decorations, homemade gifts, party favors, handmade ornaments, and centerpieces for Christmas.