Paint Stick Crafts
Fun and Clever Paint Stick Crafts Ideas
Paint sticks are super versatile and can be used for all kinds of creative projects! Here are some ideas:
Abstract Art
Create a modern, textured abstract piece by layering paint sticks in different directions. You can scrape them with a palette knife or use a brush to add fine details.

DIY Home Décor
- Wooden Signs: Paint sticks are great for creating personalized signs (like a “Welcome” sign or a family name plaque). You can glue the sticks onto a board and paint over them with different colors and patterns.
- Coasters: Cut and glue paint sticks together to make rustic coasters. Sand them for a smooth finish, then paint designs or add a wood stain for a more natural look.
- Picture Frames: You can frame pictures using paint sticks by gluing them together to form a frame, and then painting or decorating it as you like.

Keychains
Cut down the paint sticks, drill holes, and add a keyring. You can paint designs on them or even write fun little messages.
Planters
Make a fun little planter box by gluing paint sticks to create a frame for a small wooden box or a container. Paint the sticks for an added pop of color. Here is an example from Today’s Fabulous Finds.

Bookmarks
Cut the sticks into shorter pieces and decorate them with fun designs, patterns, or even inspirational quotes.
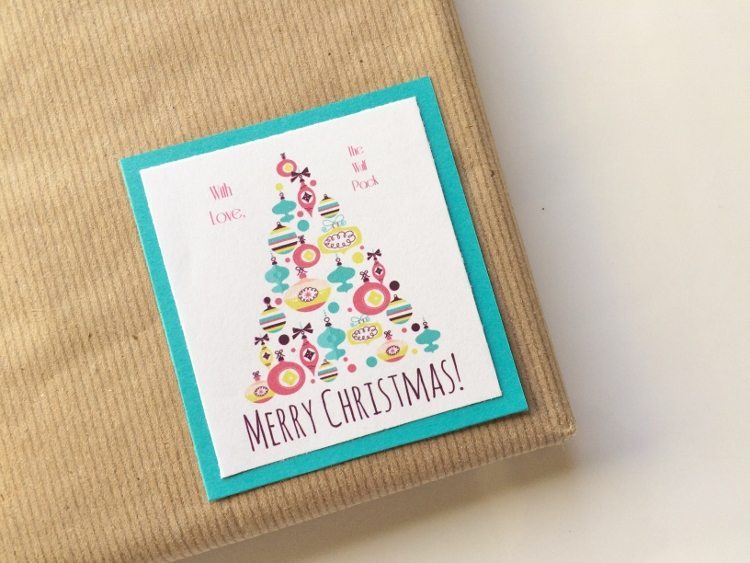
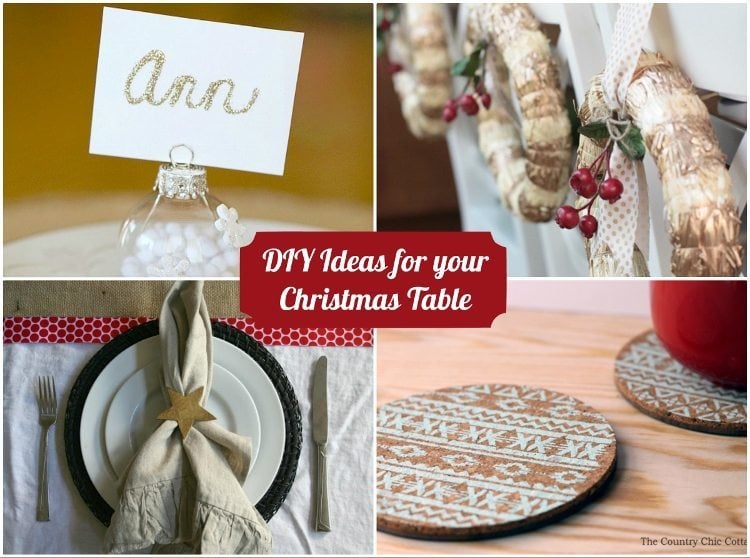
Gift Wrapping & Tags
Use the paint sticks to create unique gift tags. Just cut them down to size and decorate with stamps, paint, or even stickers! You can also turn them into paint stick ornaments like these.

Bird Feeders
Glue the sticks together to create a simple bird feeder by adding some twine and peanut butter with bird seeds. Hang it in the yard for the birds to enjoy!
Wall Art
Create a geometric design on a large canvas by gluing the paint sticks down in rows or at different angles, then painting or staining them for a cool effect. This black starburst mirror is from OurHumbleAbowed and the white one from CentsationalGirl.


Fun Craft Projects with Kids
- Stamps: Dip the flat ends in paint to create stamps. Kids can make patterns or just have fun with different colors.
- Picture Hangers: Use them to make little DIY frames to hang up their artwork.
Coat Rack or Hooks
Glue several paint sticks together to form a long horizontal piece, then add hooks for a rustic, DIY coat rack.
Lampshade
How cool and clever is this paint stick lampshade from Shelterness?

Anything from this list catch your eye?
12/11
Those little ornaments are so cute. Great ideas!
Aren’t those adorable? I think I’m going to have to try the light fixture or the letters.
Don’t forget to vote for DIYInspired.com on Top Mommy Blogs! Just click on the “Vote For Us!” icon on the right sidebar. One click and you’re done! You can vote once a day! Thank you in advance for your support!
I love the light fixture idea! I too have to agree the ornaments are so cute.
I love these ideas! At one time I saw someone do similar things with different old yard sticks. They covered a table top with them. You could easily apply these concepts to the yard sticks as well, a lot of times they’re free at hardware stores as well!
Yes! That is a great idea to use yard sticks or wooden rulers!
I like the starburst mirrors. Great idea!