Skip to content
Join my newsletter list to be the first to hear our latest news!
Yes Please!
Shop
Expand
Elf Instant Downloads
Funny Money Envelope Downloads
Amazon Store
DIY
Expand
Recycled DIY
Upcycled DIY
Repurposed DIY
Refurbished DIY
DIY Furniture
Repurposed Furniture
Thrift Store Transformations
Crafts
Expand
Wood Crafts
Paper Crafts
Photo Crafts
Kids Craft Ideas
Doll Crafts
Felt Crafts
Stenciling
Gift Wrapping
Printables
Party
Expand
Birthday Party
Wedding
Baby Shower
Bridal Shower
Team Sports
Sweets and Treats
Cocktail Corner
Holidays
Expand
St. Patrick’s Day
Easter
Earth Day
Teacher Appreciation
Mother’s Day
Father’s Day
Fourth of July
Back to School
Halloween
Halloween Costumes
Thanksgiving
Elf on the Shelf
Christmas
New Years
Valentine’s Day
Home & Garden
Expand
Storage & Organization
Cleaning Tips
Gardening
Makeovers
Kid Stuff Makeovers
DIY Tips & Tricks
DIY Artwork
Curb Appeal
Health & Beauty
Expand
Health & Wellness
Bath & Body
About
Expand
Advertising
Featured
Disclosure
Contact
Blog
Facebook
Instagram
Pinterest
Twitter
YouTube
TikTok
Search ...
Search
Toggle Menu
DIY Tips and Tricks
DIY tips and tricks every crafter and do-it-yourself’er should know.
DIY Tips and Tricks
Five Tips for Hiring a Contractor
DIY Tips and Tricks
DIY Projects to Add Home Value
DIY Tips and Tricks
|
Home Decor
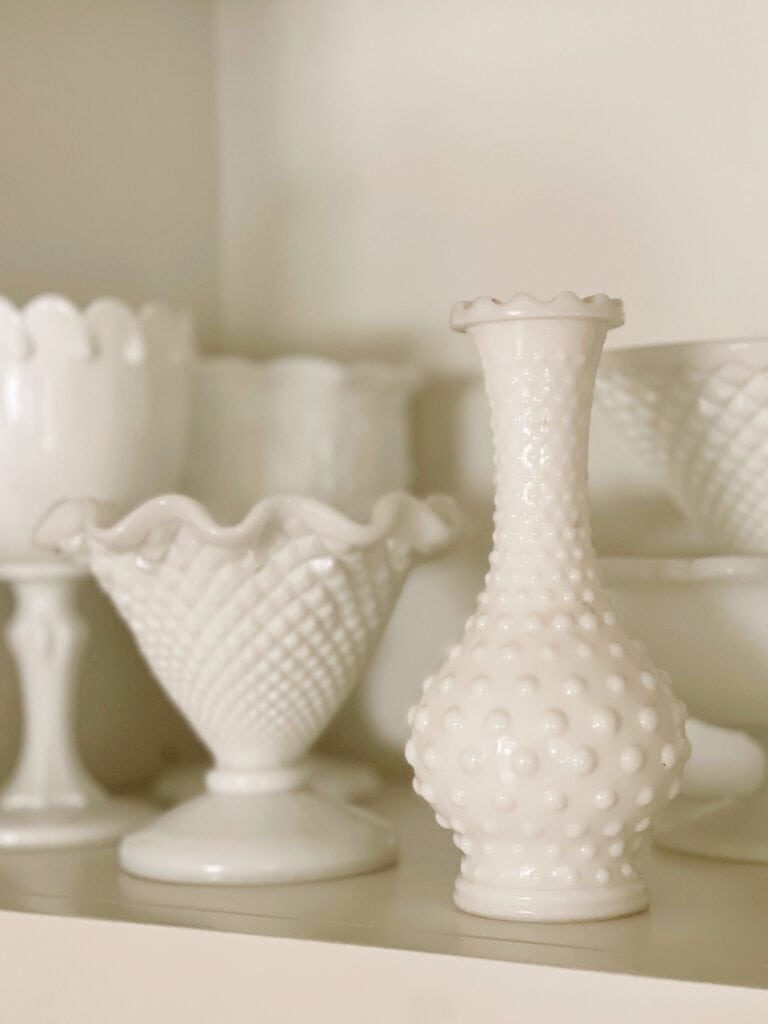
A Guide to Collecting, Buying, and Selling Milk Glass
DIY Tips and Tricks
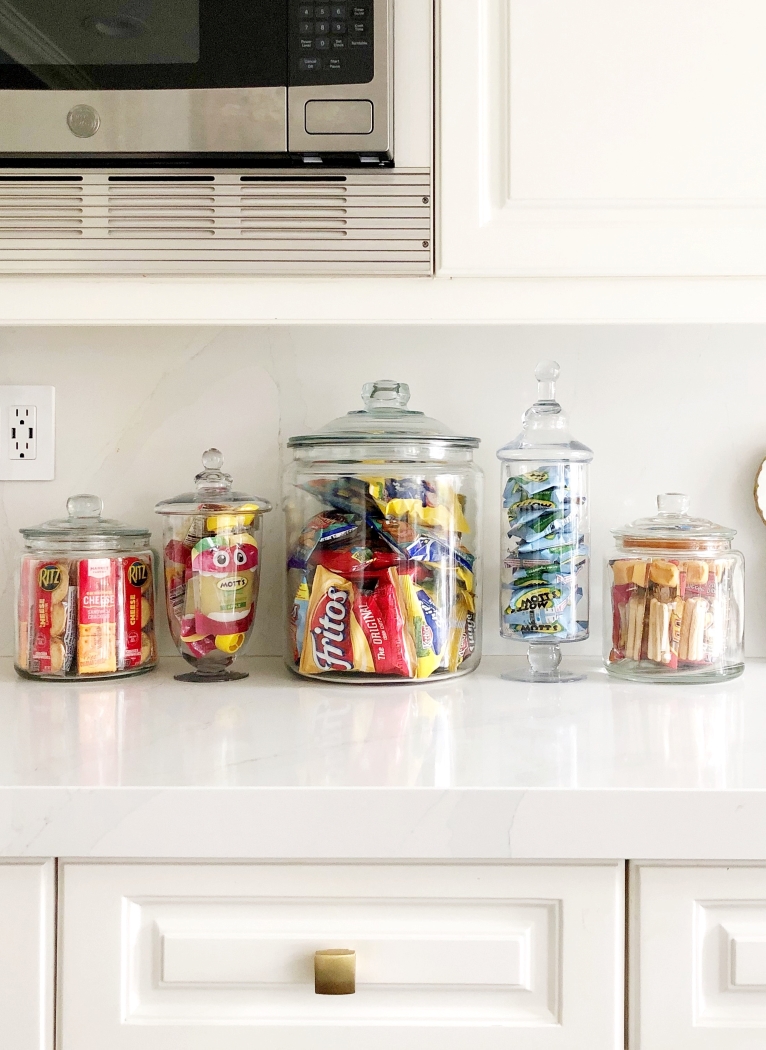
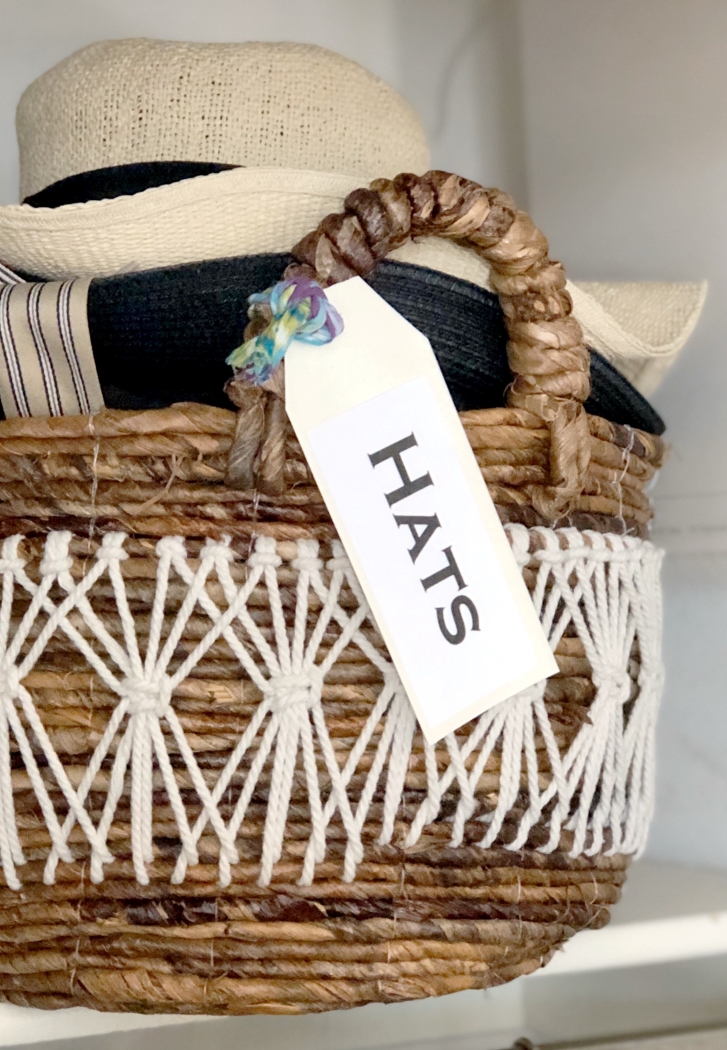
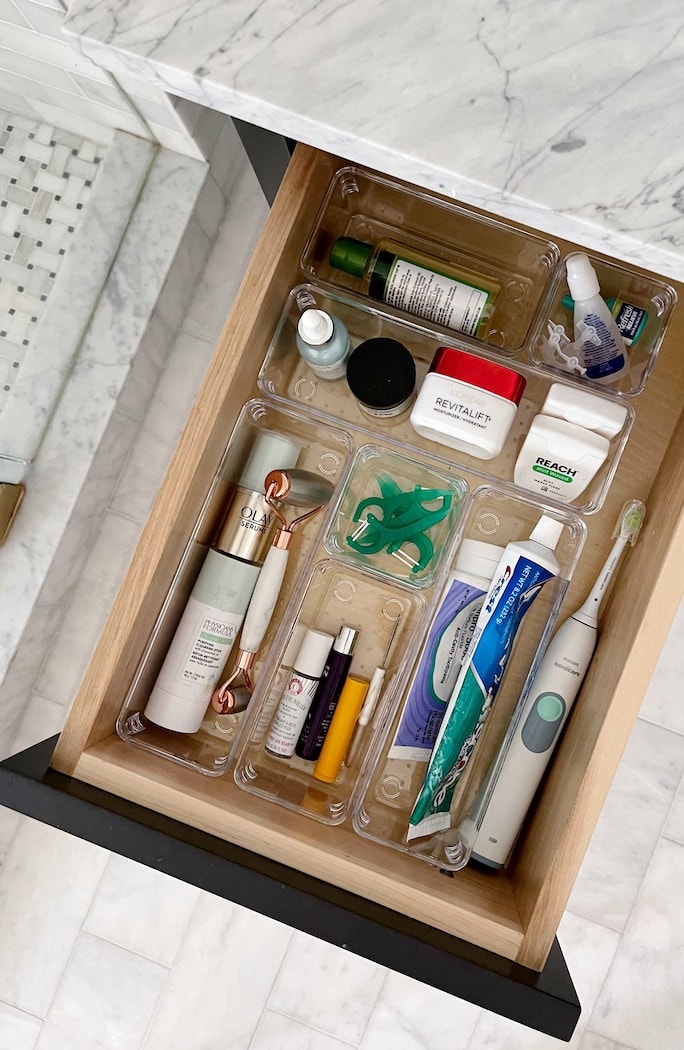
Clever Kitchen Storage and Organization Ideas
DIY Tips and Tricks
How to Remove Wax from Glass
DIY Tips and Tricks
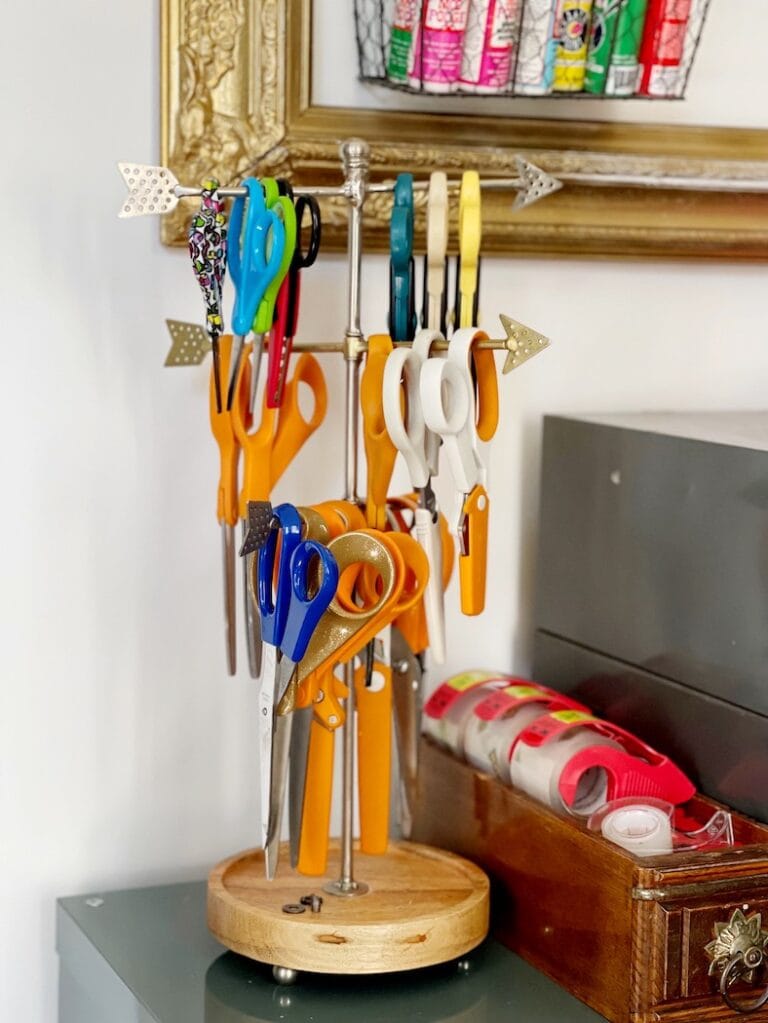
Best Craft Scissors
DIY Tips and Tricks
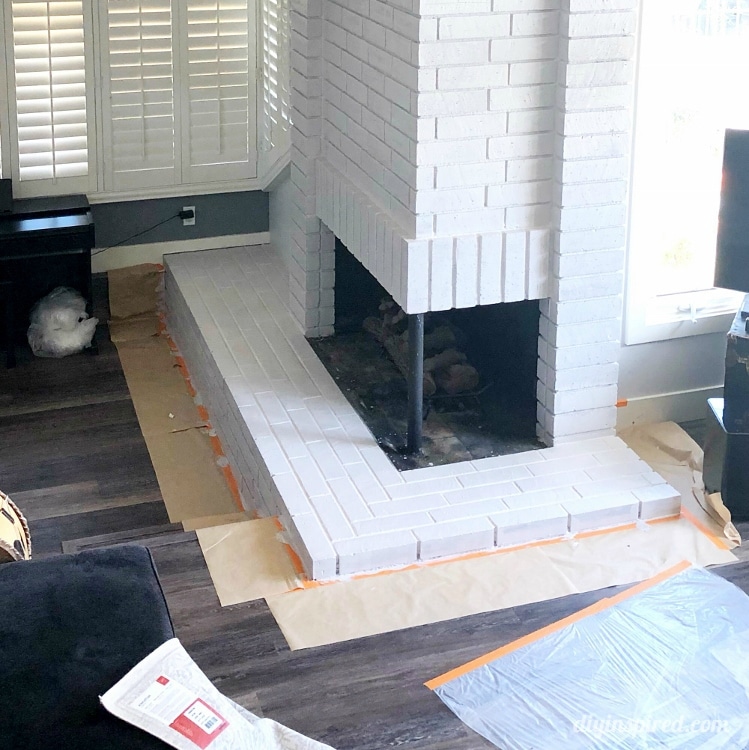
When and How to Use Primer
DIY Tips and Tricks
4 Furniture Cleaning Tips
DIY Tips and Tricks
Top 7 Tips to Organize Your Bedroom
DIY Tips and Tricks
Let’s Connect with Thank with Google
DIY Tips and Tricks
Storage and Organization Ideas for Your Home
DIY Tips and Tricks
Cricut Explore 3 Review
DIY Tips and Tricks
|
Home Decor
How to Remove Tough Labels from Glass
DIY Tips and Tricks
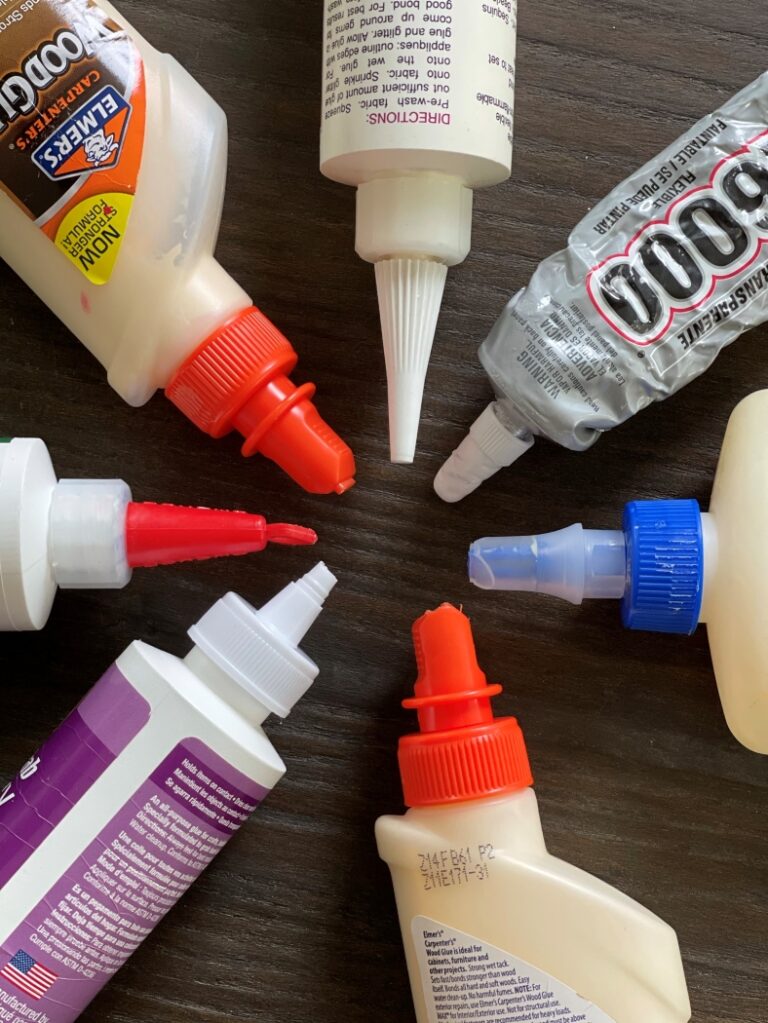
Top Ten Wood Glues
DIY Tips and Tricks
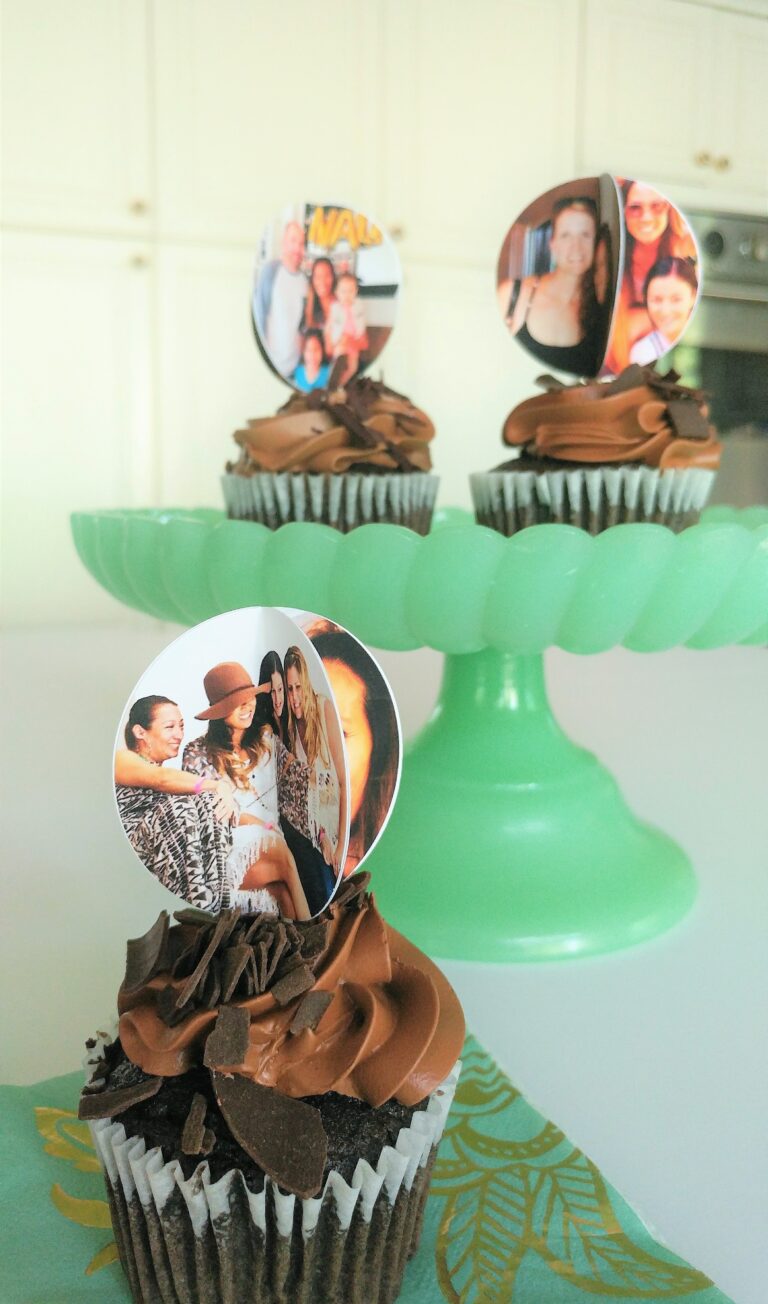
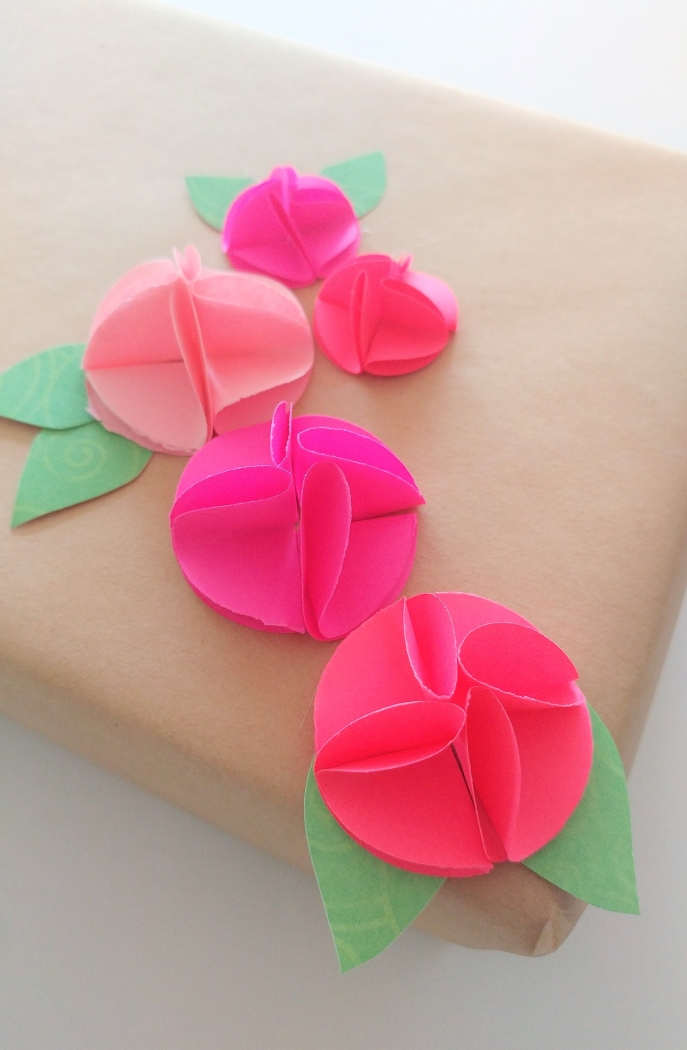
Creative Gift Wrapping Tips and Ideas
DIY Tips and Tricks
|
Trash To Treasure
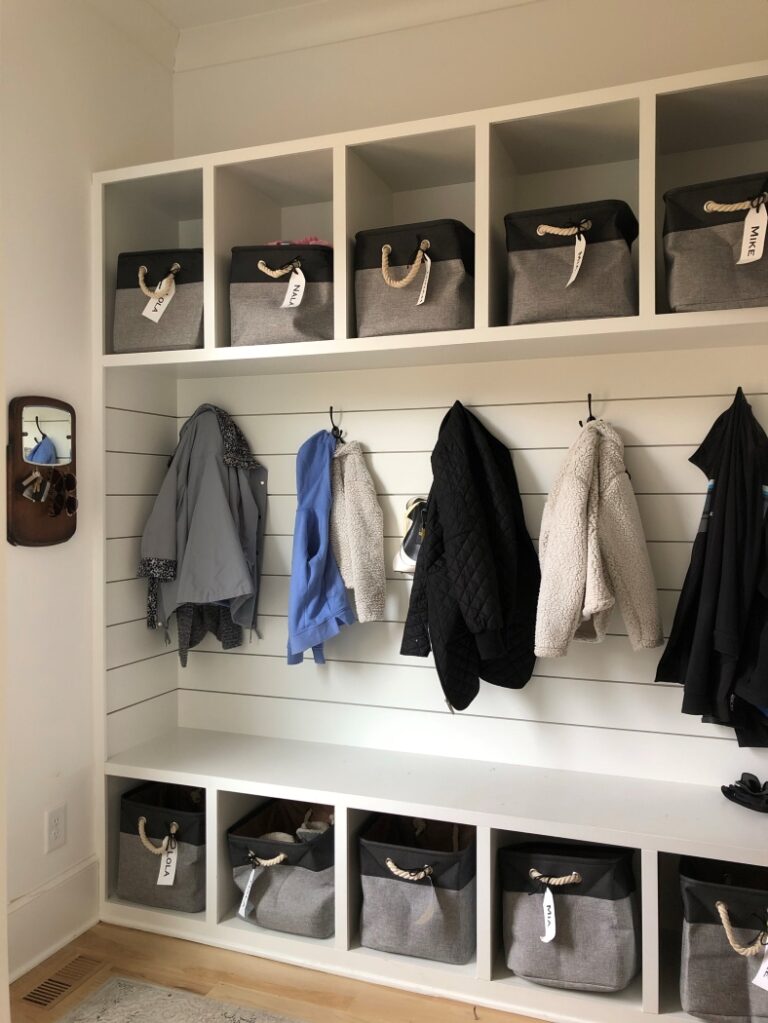
Mudroom Makeover
DIY Tips and Tricks
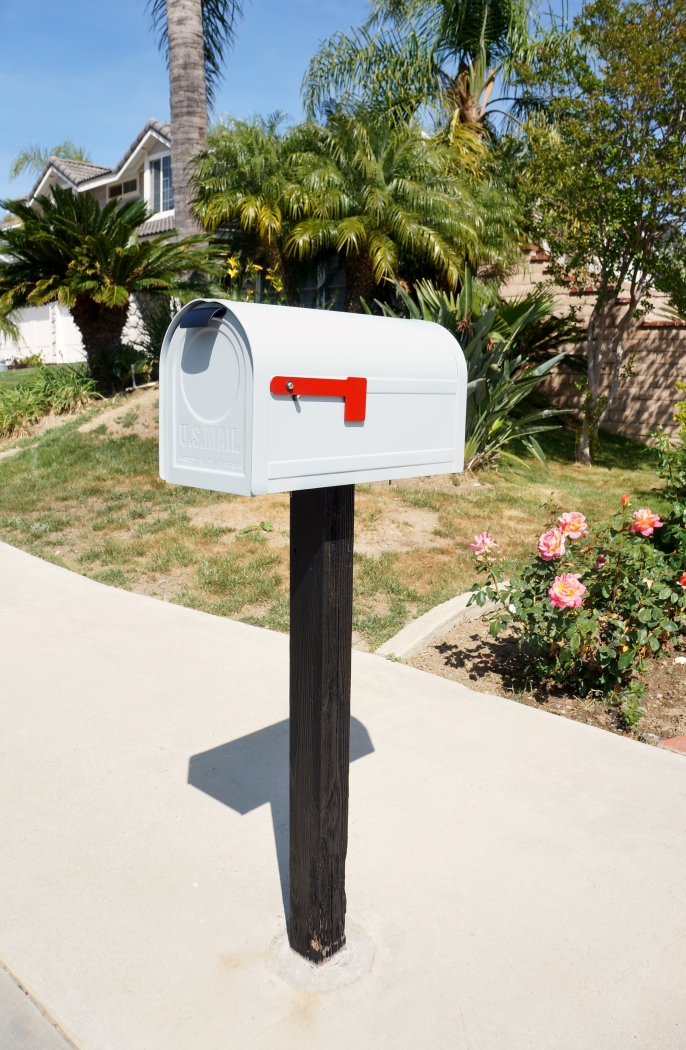
Mailbox Makeover
DIY Tips and Tricks
Tips for Going to Estate Sales
Page navigation
1
2
3
…
7
Next Page
Next
Search ...
Search
About DIY Inspired
Toggle child menu
Expand
Advertising
Disclosure and Privacy Policy
Featured
Contact
Project Gallery
DIY
Toggle child menu
Expand
Recycled DIY
Upcycled DIY
Repurposed DIY
Refurbished DIY
DIY Furniture
Repurposed Furniture
Thrift Store Transformations
Crafts
Toggle child menu
Expand
Wood Crafts
Paper Crafts
Photo Crafts
Kids Craft Ideas
Doll Crafts
Felt Crafts
Stenciling
Gift Wrapping
Printables
Party
Toggle child menu
Expand
Birthday Party
Baby Shower
Bridal Shower
Wedding
Team Sports
Sweets and Treats
Cocktail Corner
Holidays
Toggle child menu
Expand
Father’s Day
Fourth of July
Back to School
Halloween
Halloween Costumes
Thanksgiving
Elf on the Shelf
Christmas
New Years
Valentine’s Day
St. Patrick’s Day
Easter
Earth Day
Teacher Appreciation
Mother’s Day
Home & Garden
Toggle child menu
Expand
Storage & Organization
Cleaning Tips
Gardening
Makeovers
Kid Stuff Makeovers
DIY Tips & Tricks
DIY Artwork
Curb Appeal
Health & Beauty
Toggle child menu
Expand
Health & Wellness
Bath & Body
Facebook
Instagram
Pinterest
Twitter
YouTube
TikTok
Toggle Menu Close
Search for:
Search