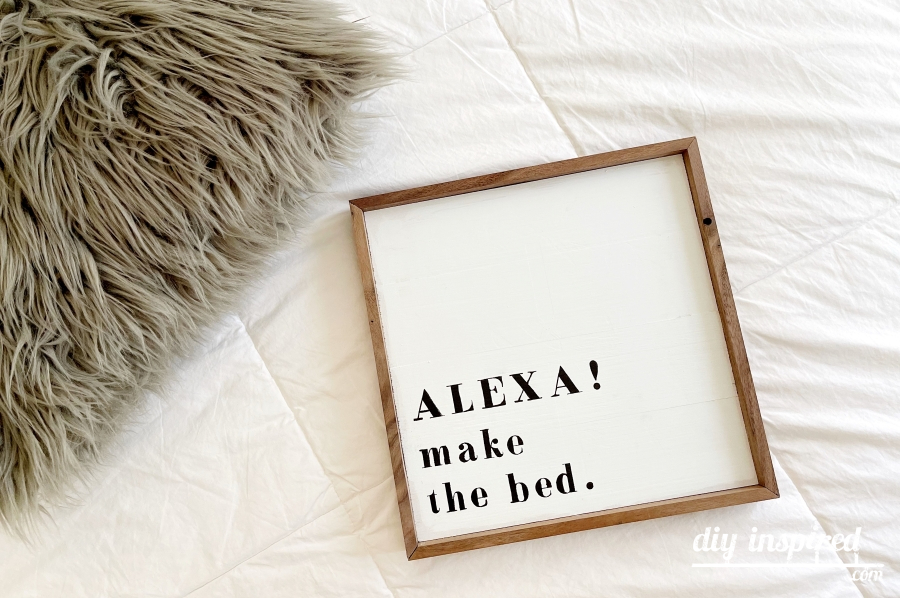
DIY Guest Bedroom Signs
Funny DIY Guest Bedroom Signs Made with Sign Shop Stencils
This article, DIY Guest Bedroom Signs is sponsored by Michaels. All opinions are 100% my own.
A simple way to create a cozy and welcoming retreat for your guests is through small touches. A relaxing space is all in the details. One way to achieve this inexpensively is by making your own custom DIY guest bedroom signs. Here are a few tips and tricks on creating an inviting guest room as well as how to make your own stenciled signs.
Save Money and Time by Upcycling
Making your own frames is fun, but can take a lot of time, materials, and tools. One way to skip this step is to reuse and upcycle an old or thrifted painting or sign. Here are a few tips:
- Check local thrift stores and yard sales. Pay attention to the frame instead of the picture.
- Think size not color. Look for frames that are the appropriate size for your guest bedroom. The color can be changed.
- Shop the clearance section in home décor stores immediately after a holiday. Holiday signs are typically marked down to sell to save room for new inventory.
- Pic a light colored and non-textured picture or painting. It will be easier to paint over and cover.

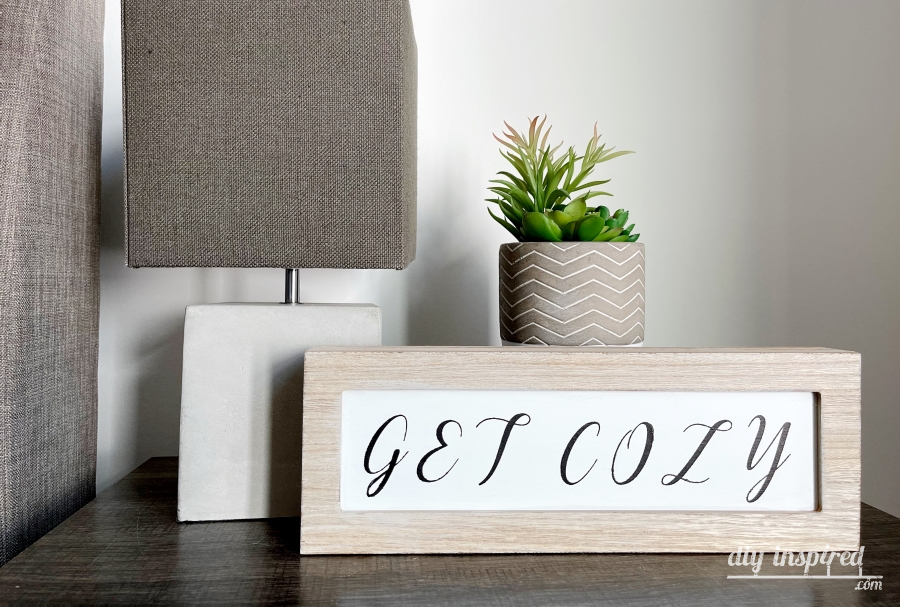
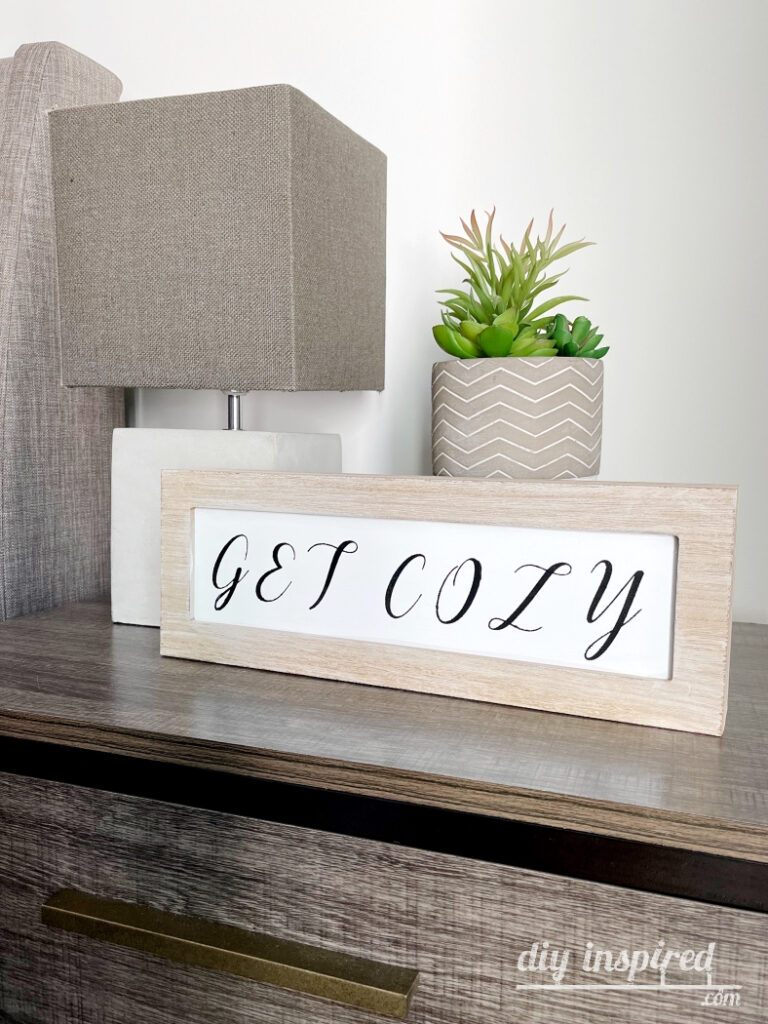
The frames in this article were in the clearance section after Easter. I painted each one with four light coats of white acrylic craft paint to achieve the blank canvas that I wanted. Read the paint instructions for dry times. I waited overnight to stencil these signs.
How to Stencil DIY Guest Bedroom Signs
Now that you have a blank canvas here are some other items you will need for this stenciling project.
Time: 1-2 Hours
Materials:
The materials below can be found and purchased at Michael’s. Look in the craft and art paint section for the FolkArt ® Sign Shop™ brand.
- Acrylic Stencils
- FolkArt ® Sign Shop™ Mesh Stencil – Script Letters
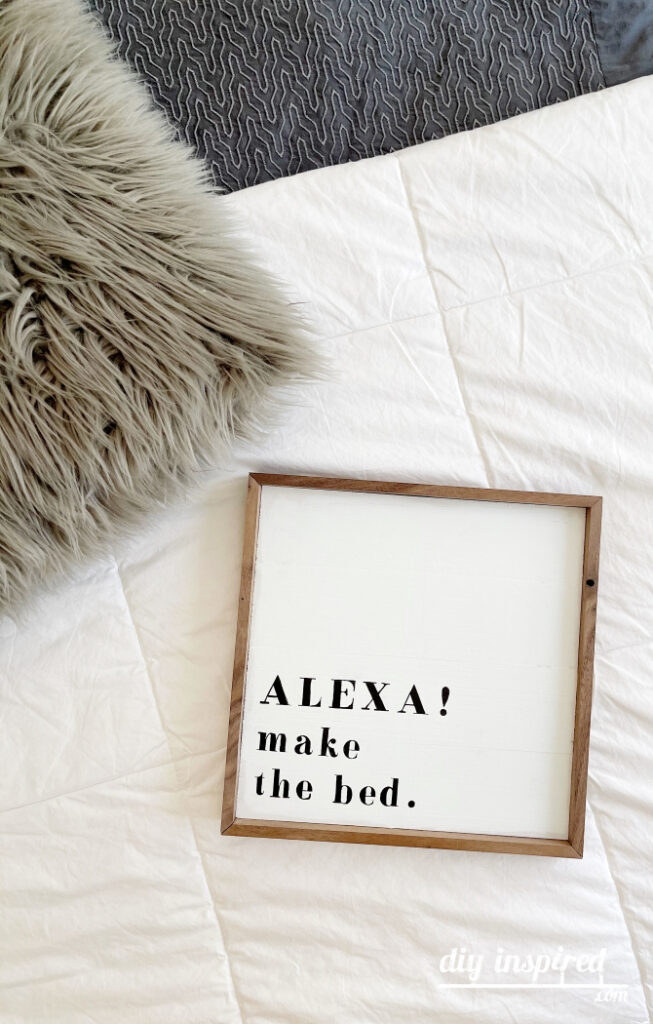
- FolkArt ® Sign Shop™ Mesh Stencil – Serif Letter Set
- Black Acrylic Stencil Paste
- FolkArt ® Sign Shop™ Brush Set – Silcone Spreader Set
- Paper Plate
Instructions:
Here are three easy steps to make these guest bedroom signs.
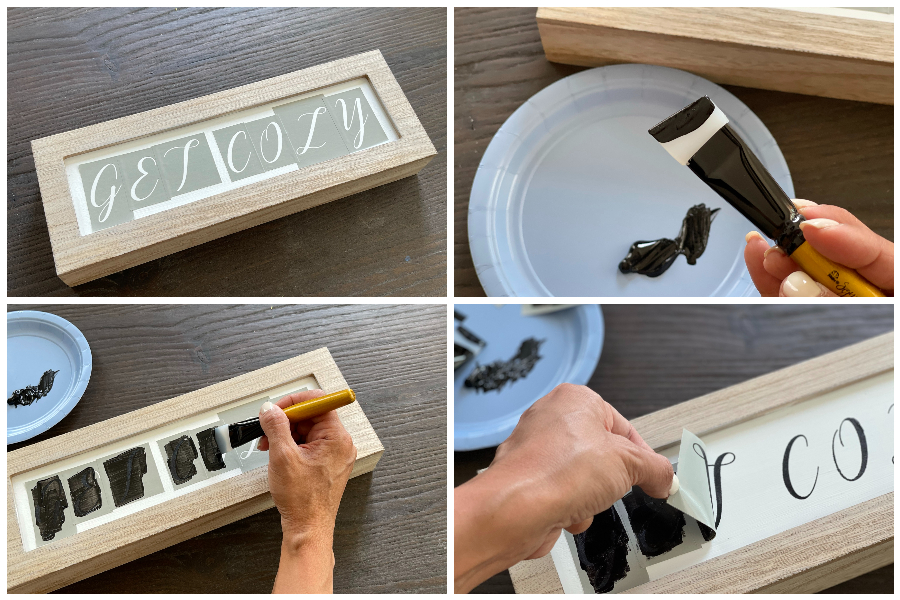
- Cut out the letters needed for your sign and place them on your blank canvas. These stencils are peal and stick so you can move them around and position and re-position them as needed.
- Place a generous amount of acrylic stencil paste on the silicone spreader. Letter by letter, glide the brush from left to right covering the stencil.
- Remove the stencil while the paint is still we. Immediately clean them with soap and warm water. Place them back onto the white backing to reuse again. Allow the sign to dry completely.