Recycled Book Pages
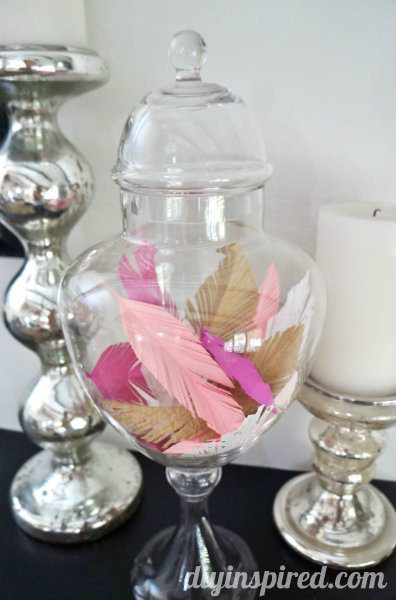
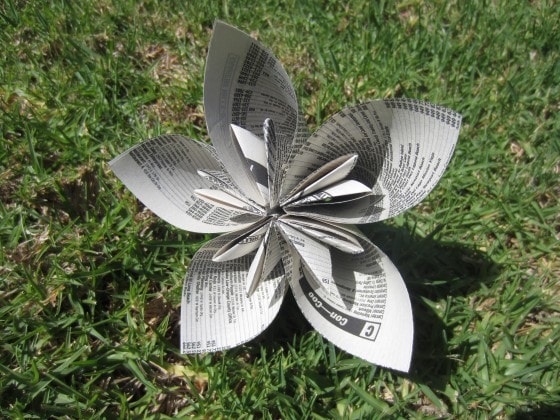
Craft projects made out of recycled book pages including gifts, home decor, party decorations, and embellishments.

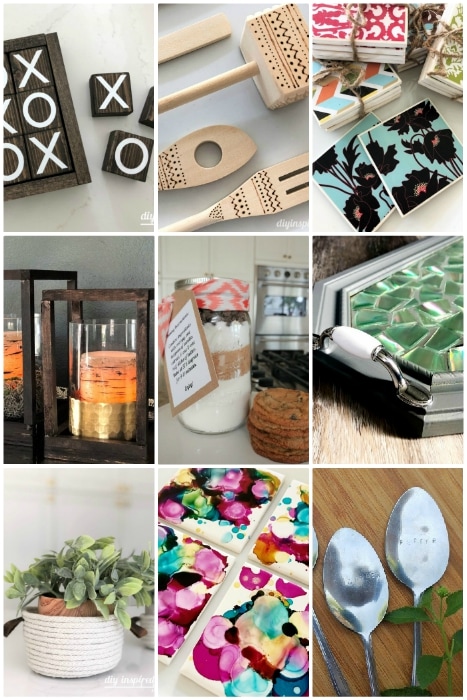

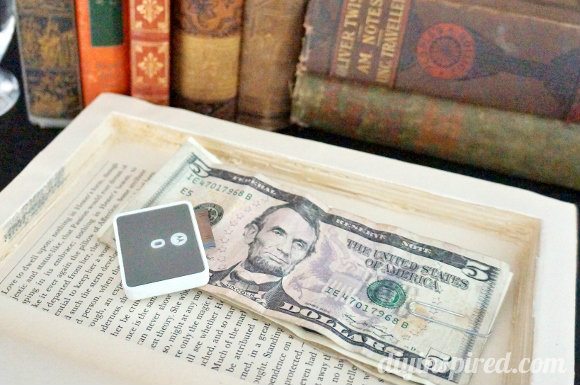
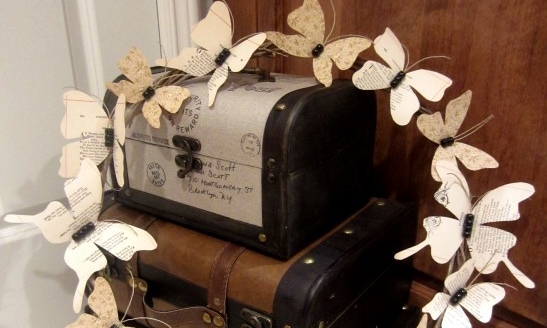
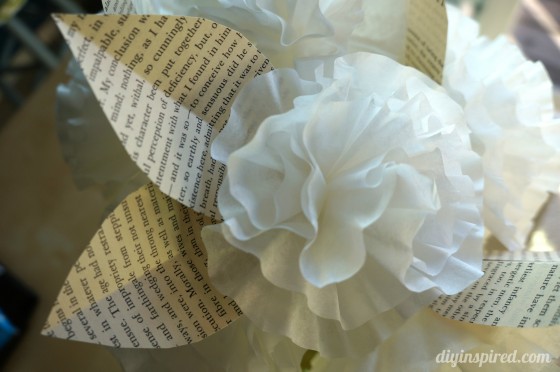

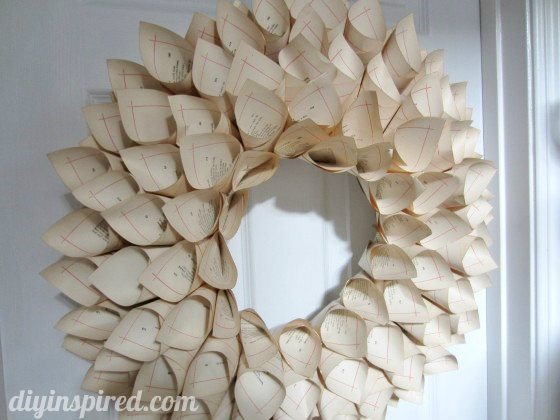

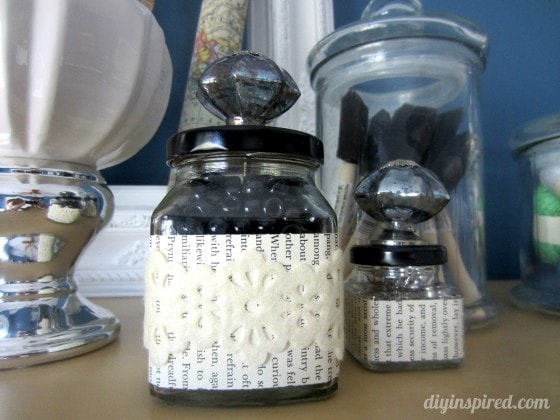

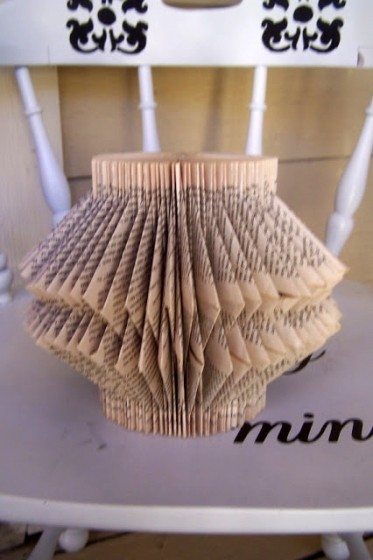
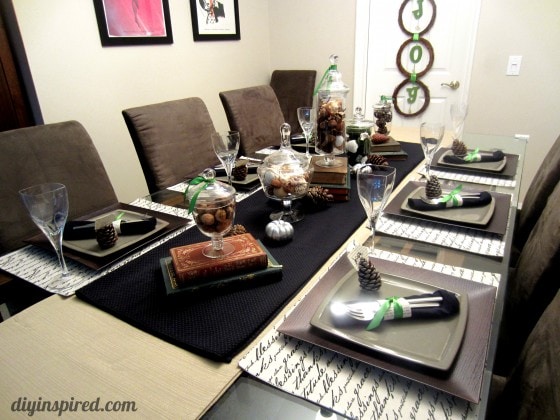
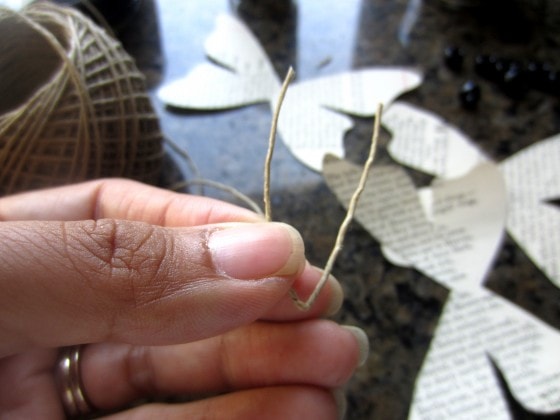
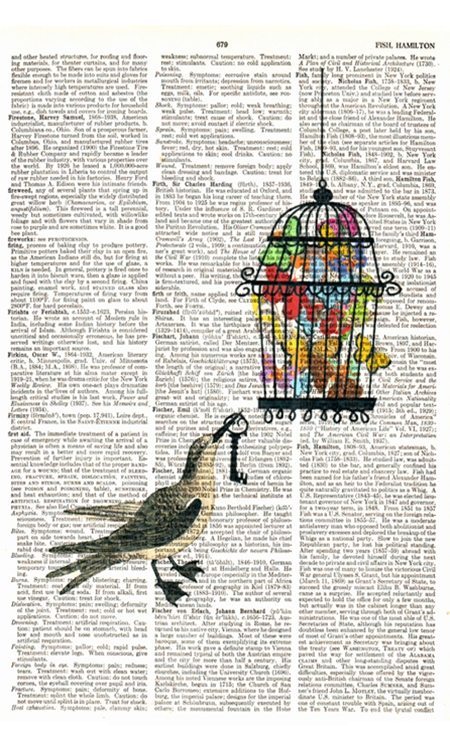
Craft projects made out of recycled book pages including gifts, home decor, party decorations, and embellishments.