12 DIY Theme Party Ideas
A Dozen DIY Theme Party Ideas for Kids
Not sure what to do for your kid’s next birthday party? Here is a fun round-up of over a dozen DIY Theme Party Ideas for kids. Each link has the full details for each party. We broke them down into three categories:
- Disney Inspired Theme Parties
- Video Game and Character Theme Parties
- Tween Theme Party Ideas
- First Birthday Party Ideas
Disney Inspired Parties
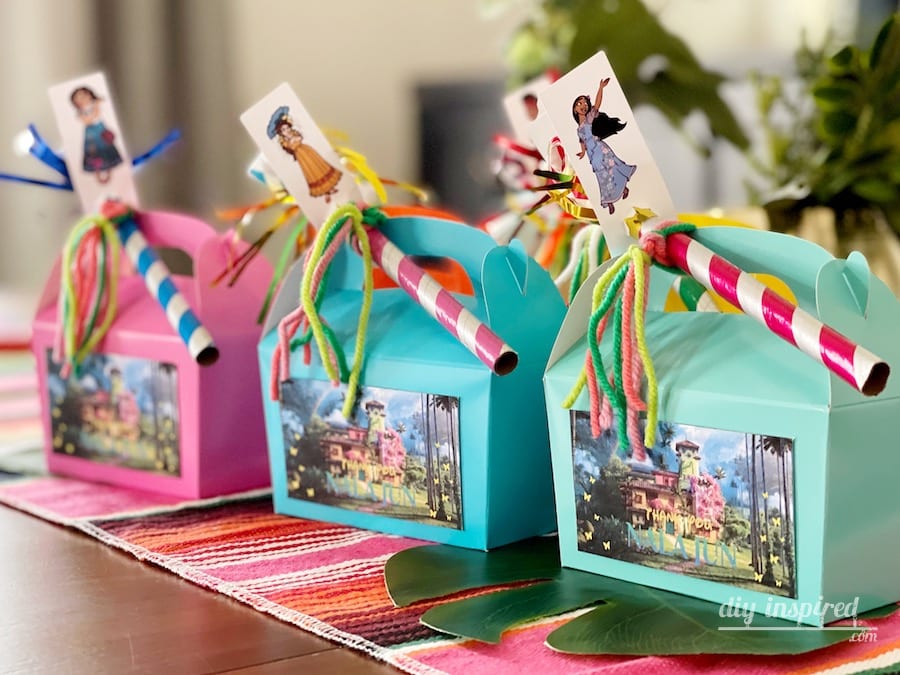
First, this post is full of DIY ideas including, party decorations, party favors, and food ideas inspired by the popular Disney movie Encanto.
Inspired by red, black, yellow, and polka dots, this party has ideas for Mickey Mouse sweet treats and food serving ideas.
Create decorations from things you already have at home. This is a fun under the sea themed birthday party.
If your summer birthday child loves the Disney movie Frozen, this party is perfect.
Video Game and Character Inspired Theme Parties
Next is a fun and colorful birthday inspired by the Gabby’s Dollhouse Show on Netflix.
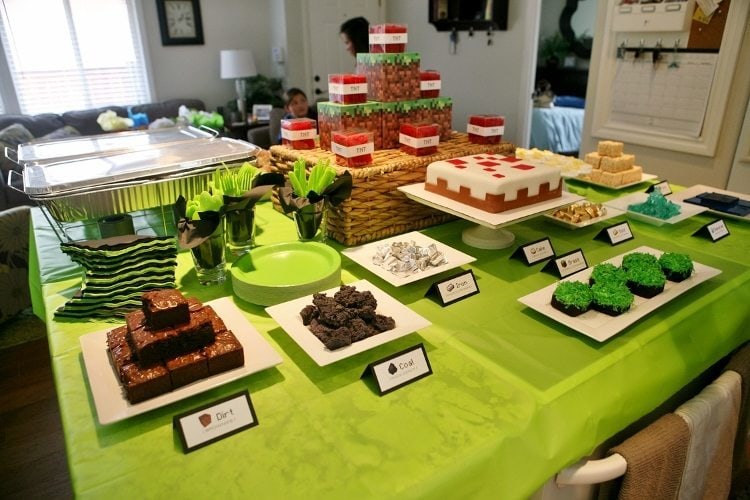
Here is a Clever Minecraft inspired birthday party food and DIY decorations.
Fun Fortnite inspired party with FREE printables including party signs, Shield Potion label, and Medkit Printable.
Tween Birthday Party Theme Ideas
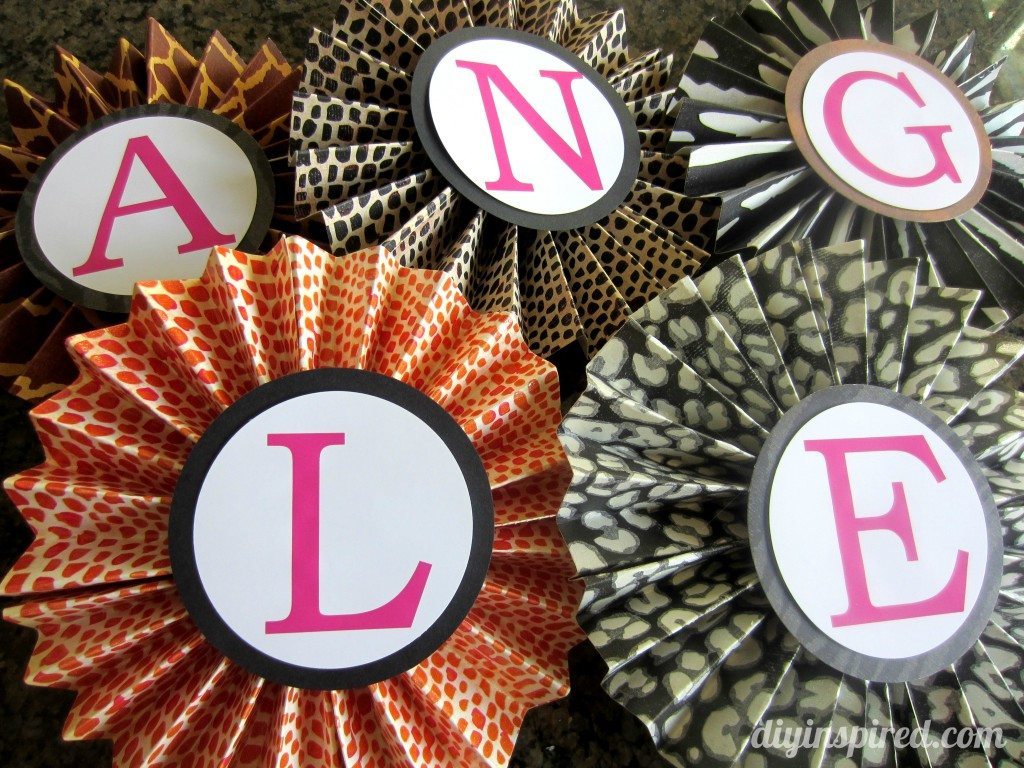
This is a collection of easy decorating ideas including food labels, paper medallions, and glittered wild animals perfect for the favorite tween in your life.
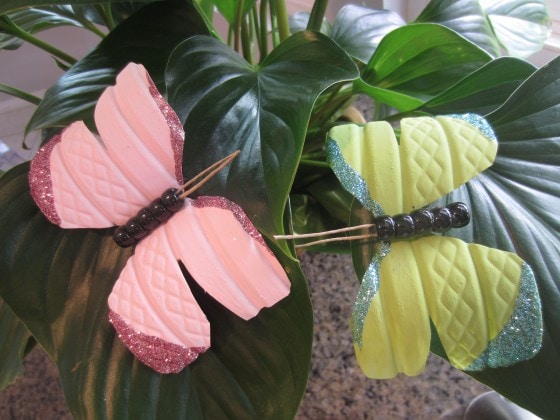
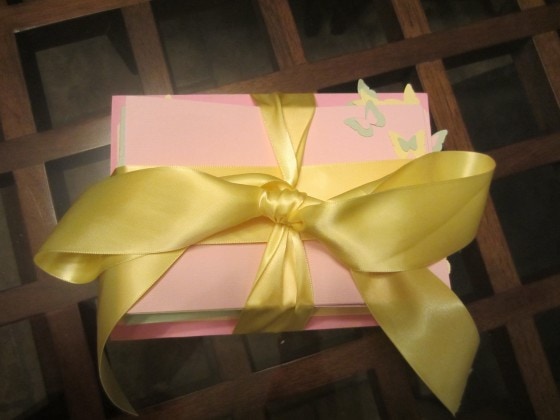
A whimsical outdoor butterfly inspired party complete with DIY decorating tutorials, hot dog bar and recipes, and cupcake decorating station ideas.
Next, here is a fun candy filled board game inspired party with life sized game board, peppermint, gumdrop, chocolate, and lollipop woods.
Carnival or Circus Theme Party
A true birthday carnival complete with DIY game ideas including ring toss, balloon darts, baseball toss, costume photo station and popcorn centerpieces.
These baby shower ideas work for a birthday party as well. This posts shows giant cherries, adorable party favors, and decorating ideas.
First Birthday Ideas
With Elmo as the special guests, this first birthday party has colorful inspirations to fit and type of party.
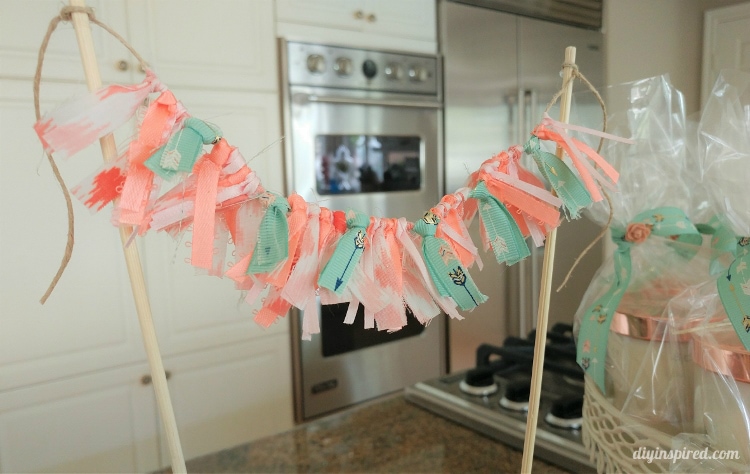
Fun and easy bohemian inspired birthday party ideas. In addition, there is a tutorial on how to make a mini fabric bunting cake topper.
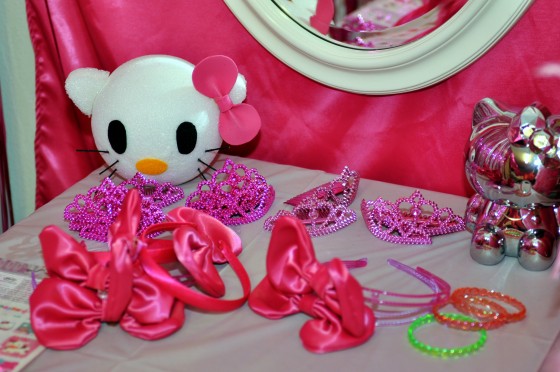
This pink Hello Kitty party has ideas for games, dancing, dress up, and more.
Lastly, this cute owl themed party has tutorials on how to make your own owl invitations, party banner, and centerpieces.
2/13
One Comment