Trash to Treasure DIY Serving Tray How To
An Upcycled DIY Serving Tray Tutorial from an Old Wooden Tray
One of my best friends gave me this tray that she was about to throw away. It was actually from a bridal Shower we gave many many years ago! I decided to keep it and bring some new life to it. Here is my Trash to Treasure DIY Serving Tray How To. You only need a few materials, and some time. The time will depend on if you are starting fresh with a new tray or an old one.
You can use an old tray like this:
- As a serving tray
- For decorative purposes in a bathroom
- To organize craft or office supplies
- For parties
- As a table top centerpiece
Other DIY Tray Makeovers
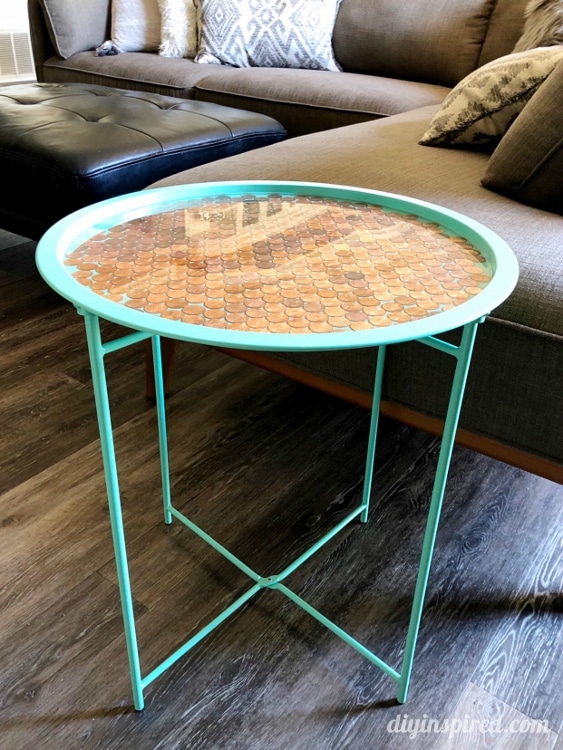
Here are a few more simple DIY tray makeovers I have done in the past.
- Repurposed Thrift Store Serving Tray
- DIY Serving Tray: A Mirror Makeover
- Upcycled Thrift Store Tray
- Teacher Gift Thrift Store Upcycle
As you can see I like to make over trays. Ha!
Refurbishing the Old Tray
Time: 30-45 Minutes
The materials list and instructions contain helpful affiliate links for recommended products.
Materials:
- Wooden Tray

- Sander
- Clean Cloth
- Tarp
- Spray Paint
- Fabric
- Fabric Cutter
- Cutting Mat
- Measuring Instrument
- Pencil
- Adhesive Spray


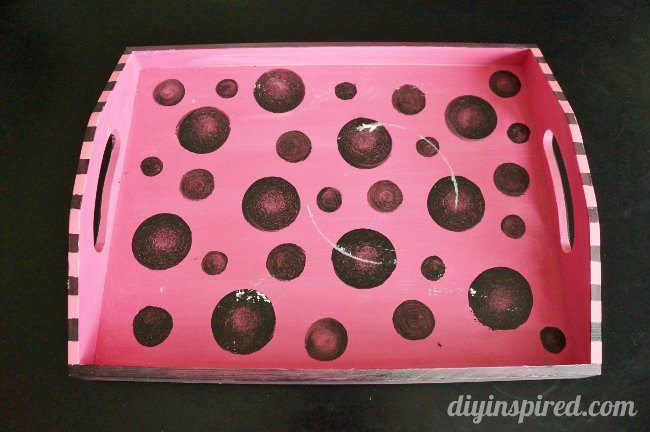
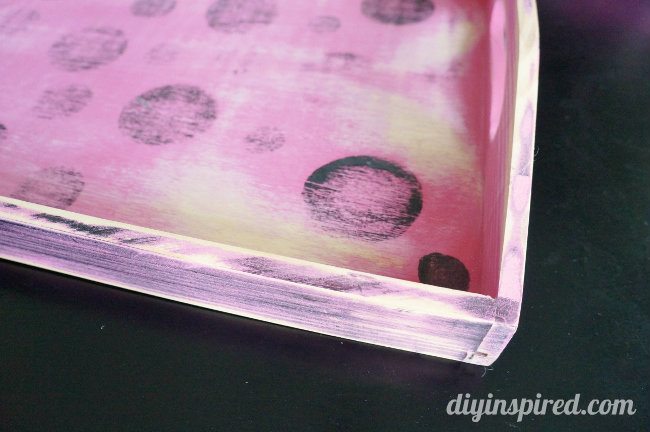
Here is the tray BEFORE; it was a little beat up!
Because I a) had little time, b) had two coats of paint on it, and c) feel like I’m getting old with arthritis, I decided to take an electric sander to it versus a hand sand block, but either works well. You can use the sand paper by itself for the corners and hard to reach areas.
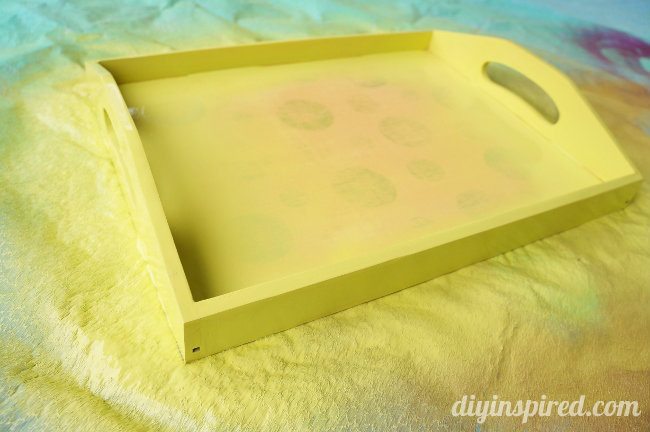
Once I finished sanding it, I wiped the tray from debris with a clean cloth (aka and old t-shirt).
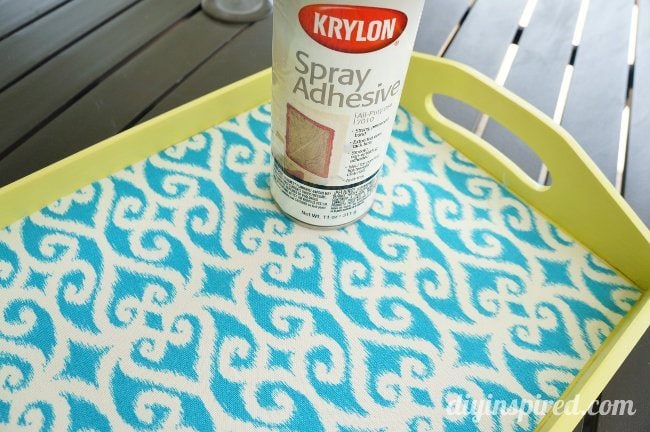
I laid it out on a tarp in a well-ventilated area and spray painted with Krylon Citrus Green. I used two coats.
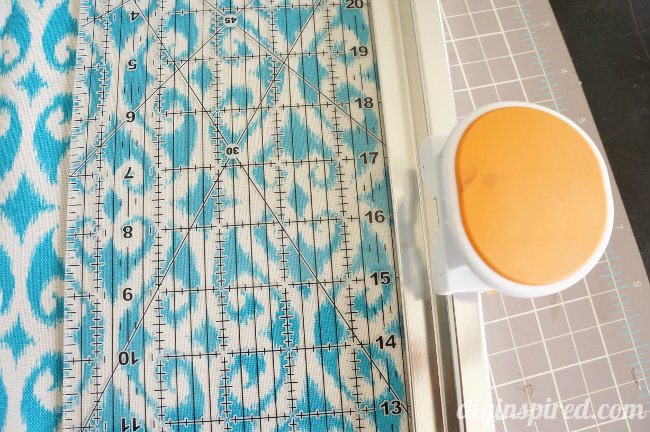
While the tray was drying I measured and cut the fabric with my Fiskars Rotary Cutter. I have to say that this is one of my favorite tools I use. It measures and cuts up to 24 inches! I’ve used it on projects like this fabric and lace bunting and it just made it so easy to make.
I used a spray adhesive to attach the fabric. I found it easiest to spray the back of the fabric and then place it on the tray, versus spraying the tray.
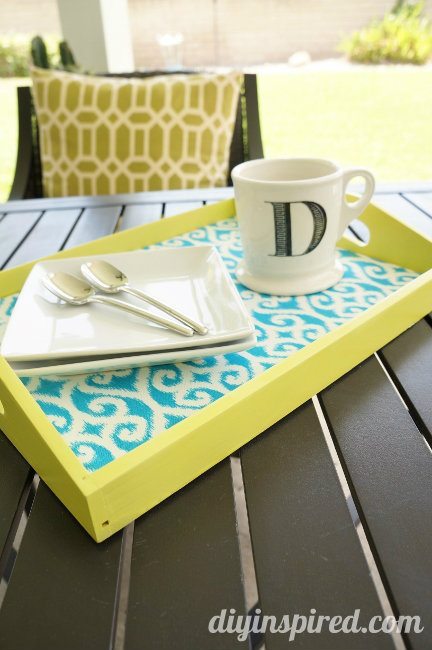
Tah-dah! I love the color combo. It’s perfect for summer and entertaining. It’s a simple trash to treasure project that I hope you try out!
You May Also Like
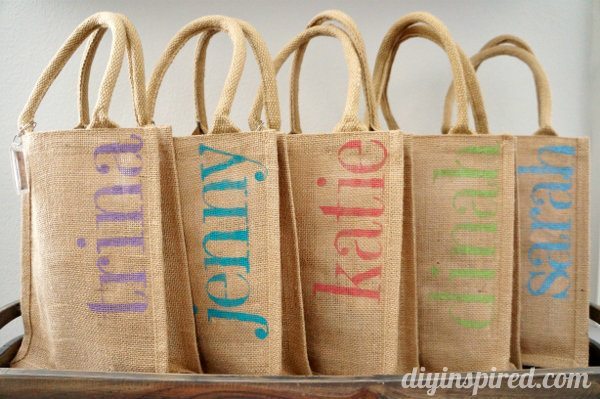
You may also like this thrift store makeover! Change up the flowers and ribbon, depending on the season.
Like i? Pin it!
I would love it if you shared this on Pinterest. Thank you in advance!
In case you missed it, check out some of my other trash to treasure projects:

This tray couldn’t be more different then when it started out. It looks fantastic now.
Thank you, Stella!!
Great transformation!
Thank you, Kim!
This looks fabulous! What a good idea, I never would have thought of doing this. x
Hi Dinah- Love the fabric! Will you please share this on Friday Favorites over at http://notatrophywife.com? Party goes live tonight! laura
Thank you, Laura!!
This is so gorgeous! I love that fabric, thanks for sharing, may go on a hunt for an old wooden tray now!
Thank you so much, Romany!
Thank you Romany! Good luck on your hunt!