How to make an Envelope Pillow
How to Make an Envelope Pillow
Simple DIY Pillow Cover Tutorial
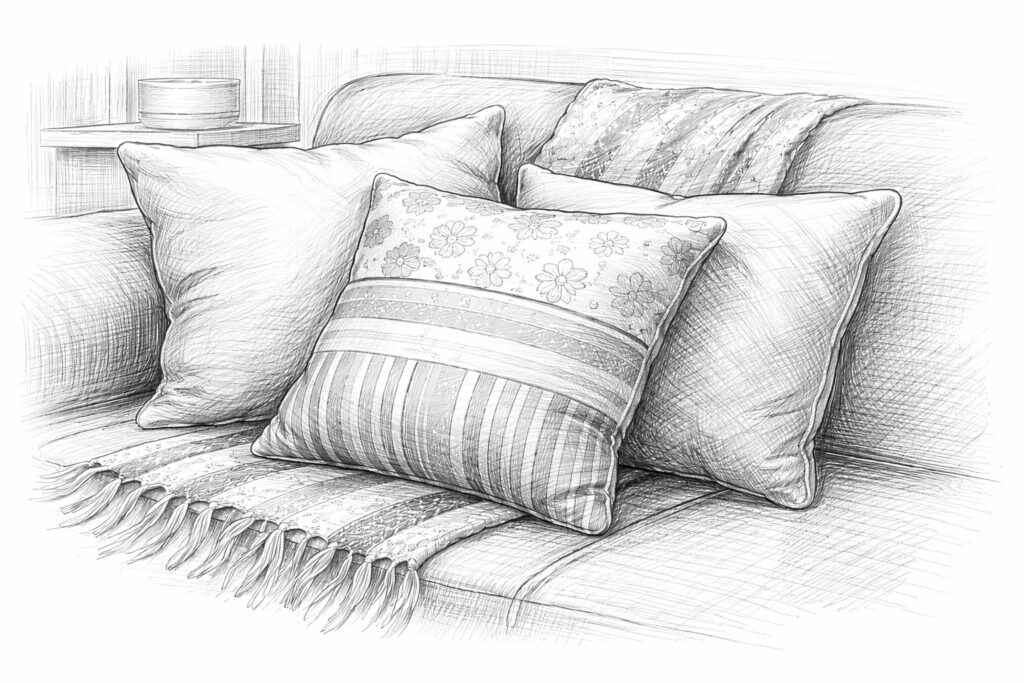 Decorative throw pillows are one of the easiest ways to refresh the look of a room. They add color, texture, and personality to sofas, chairs, and beds. However, store-bought decorative pillows can be surprisingly expensive, especially when updating décor for different seasons or holidays. A simple solution is to create a DIY envelope pillow cover. This beginner-friendly sewing project costs a fraction of retail prices and allows complete control over fabric, style, and color.
An envelope pillow cover is especially popular because it does not require zippers, buttons, or complicated closures. Instead, the back of the pillow cover overlaps like an envelope, allowing the pillow insert to slide in and out easily. This design makes washing and seasonal fabric changes quick and convenient.
Another benefit of this project is that it works well with many types of fabric. Durable indoor/outdoor fabrics are an excellent option, particularly in homes with pets or children. These fabrics are thicker, easy to clean, and hold up well to everyday use. Old pillows that may have been sitting unused in a closet can also be repurposed with a fresh cover, giving them new life without additional cost.
With only a few basic supplies and simple sewing steps, anyone can create a professional-looking pillow cover.
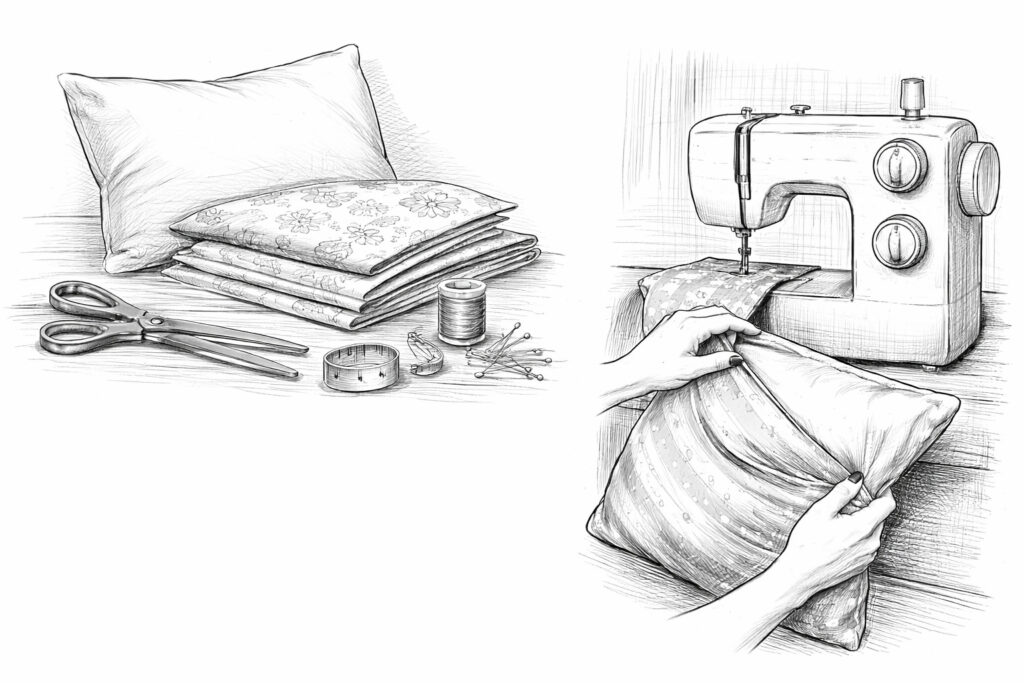
Materials Needed
Before beginning, gather the following supplies:
- A pillow insert or an old pillow to use as the filler
- Fabric of choice (cut 1 inch wider and 2½ times longer than the pillow dimensions)
- Thread that matches or complements the fabric
- Fabric scissors
- Pins or clips
- Sewing machine
- Measuring tape or ruler
Measuring and Cutting the Fabric
Correct measurements are the key to a well-fitting envelope pillow cover.
First, measure the width and length of the pillow insert. The fabric should be cut 1 inch wider than the pillow to allow for seam allowances. The length of the fabric should be 2½ times the pillow’s length. This extra fabric creates the overlapping envelope opening on the back of the pillow.
For example, if the pillow insert measures 18 inches by 18 inches, the fabric should be cut:
- 19 inches wide
- 45 inches long
Once measurements are confirmed, cut the fabric neatly using sharp fabric scissors.
Step-by-Step Instructions for Making an Envelope Pillow
Step 1: Prepare the Fabric
Lay the cut fabric flat with the right side (pattern side) facing up. Ensure the fabric is smooth and free of wrinkles before folding.
Step 2: Create the Bottom Fold
Fold the bottom section of the fabric upward, roughly one-third of the total length. Then fold that raw edge back toward itself about ½ inch to 1 inch to create a clean finished edge. Pin the fold in place.
This folded section will become part of the overlapping envelope back.
Step 3: Fold the Top Section
Next, fold the top portion of the fabric downward, overlapping the folded bottom section created in Step 2. The two folded pieces should overlap several inches in the middle of the fabric.
The right sides of the fabric should now be facing each other inside the folded layers.
Pin the sides of the fabric where the raw edges meet.
Step 4: Sew the Side Seams
Using a sewing machine, stitch along the two open side edges using a ½-inch seam allowance. This will secure the folds and create the shape of the pillow cover.
For extra durability, especially with heavier fabrics, a second reinforcing stitch can be added along the seams.
Step 5: Turn the Pillow Cover Right Side Out
After sewing both sides, carefully turn the pillow cover right side out through the envelope opening in the center.
Push the corners outward gently so they form crisp edges.
Step 6: Insert the Pillow
Slide the pillow insert into the envelope opening. Adjust the overlapping back flaps so they lie flat and conceal the insert.
Fluff the pillow and smooth the fabric for a finished look.
Tips for Professional-Looking Results
- Iron the fabric before sewing to make folding and measuring easier.
- Use durable fabric for high-traffic areas such as living rooms or homes with pets.
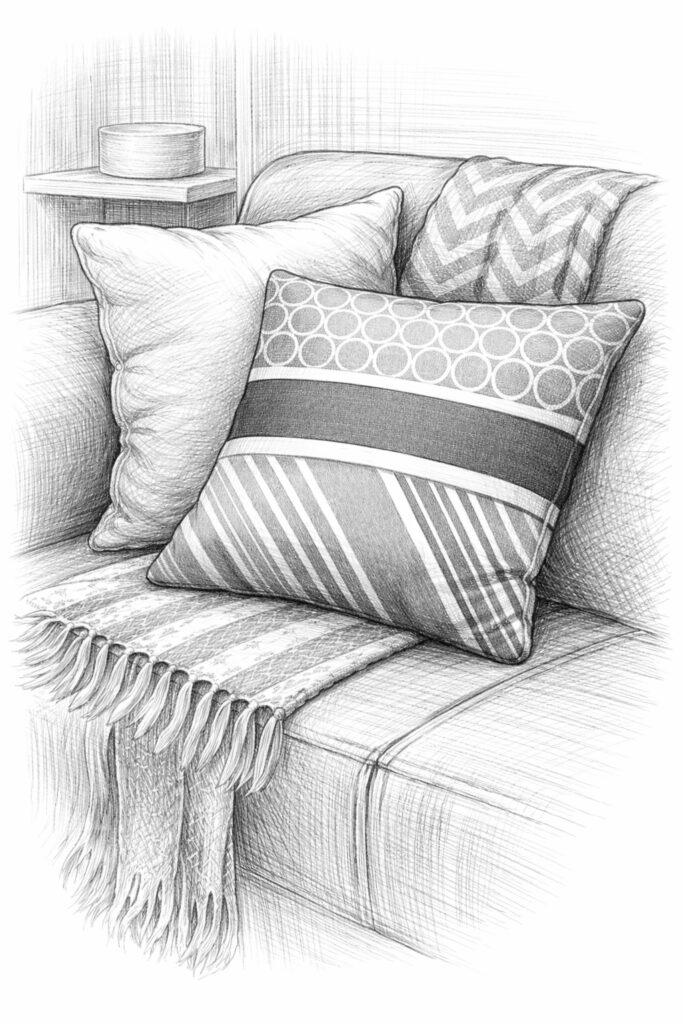
- Mix patterns and textures to create decorative pillow groupings.
- Make multiple covers so they can be swapped out for seasonal décor.
Final Thoughts
An envelope pillow cover is one of the easiest sewing projects for beginners. It requires minimal materials, no complicated closures, and can be completed in under an hour. More importantly, it provides an affordable way to update home décor while making use of existing pillow inserts.
By selecting different fabrics, colors, and patterns, the same pillow can easily transition from summer to fall, or from everyday décor to holiday styling. With just a few simple steps, anyone can create stylish, custom pillow covers that look polished and professionally made.
Other Cool Craft Ideas
06/11

Great choice of fabric and patterns! I like the blue.