DIY Sunroom Window Treatments

Our new home has the most awesome sunroom. It’s large with a beautiful view of our backyard. I didn’t think there could be a downside to this room, but unfortunately there is a downside: sun! With sun comes heat! The windows needed some sort of window covering. I looked at every option from shutters, to shades, to curtains and discovered along the way that the sunroom is made of a vinyl product. This posed even another problem, how to affix the covering. Bear in mind the windows extend from floor to ceiling, wall to wall; the overall dimensions of the room are approximately 14’ X 20’. I decided the cheapest, easiest and most practical window covering wouldn’t be a covering at all, but movable panels that simply sat on the floor. My husband agreed to do the “heavy lifting” on our DIY sunroom window treatments project.
For this project you will need very little by way of materials.
- Wood and wood trim
- Sand paper and paint
- Staple gun or hammer/nails
- Shade cloth
- Miter saw optional
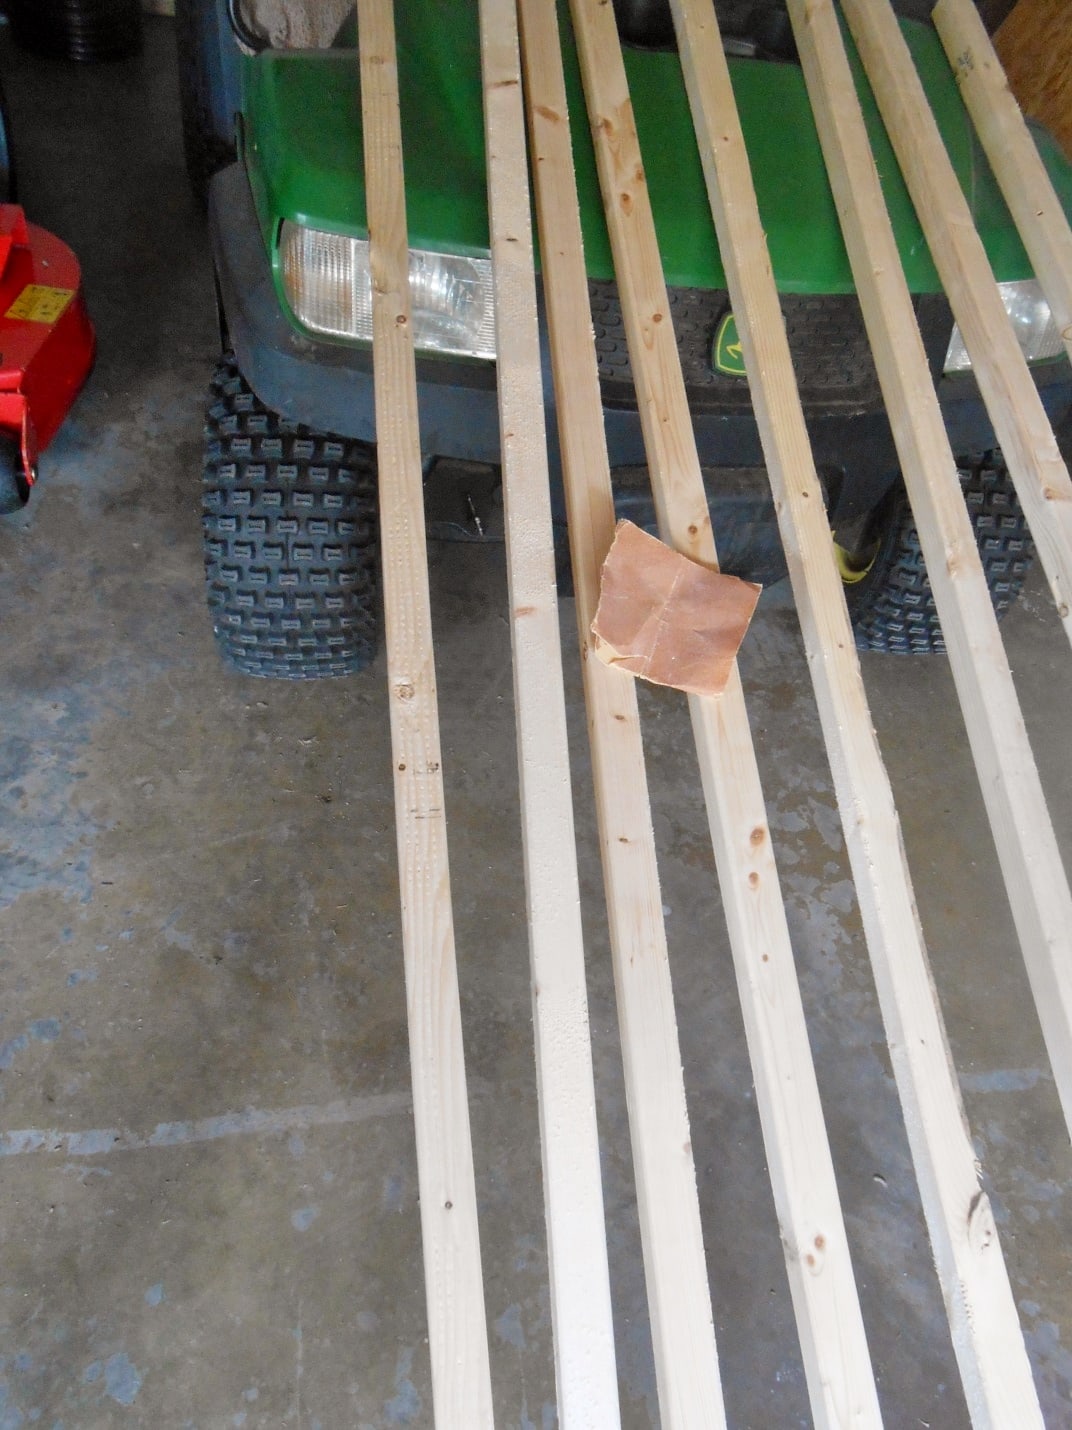
First you will need wood.
If you purchase your wood at Home Depot, Lowe’s or similar store, they will cut the wood for you for free, so you don’t need a saw. (We used 2” X 2” untreated wood to create 4’ X 8’ panels.) We also purchased wood trim. (The trim was less than a dollar a foot.)
The first step was to sand the wood.
This step can be eliminated if you’d like as the wood will only be seen from the back of the panel. But, since the panels were going to be slid back and forth by hand I didn’t want to worry about getting a sliver. Plus the sanding gives the sides of the panel a nice finished look.
Next, you will need to paint the wood.
You can paint the wood the color of your choice. I used white paint that we had and a brush to paint the wood, but spray paint would be easier and go quickly.

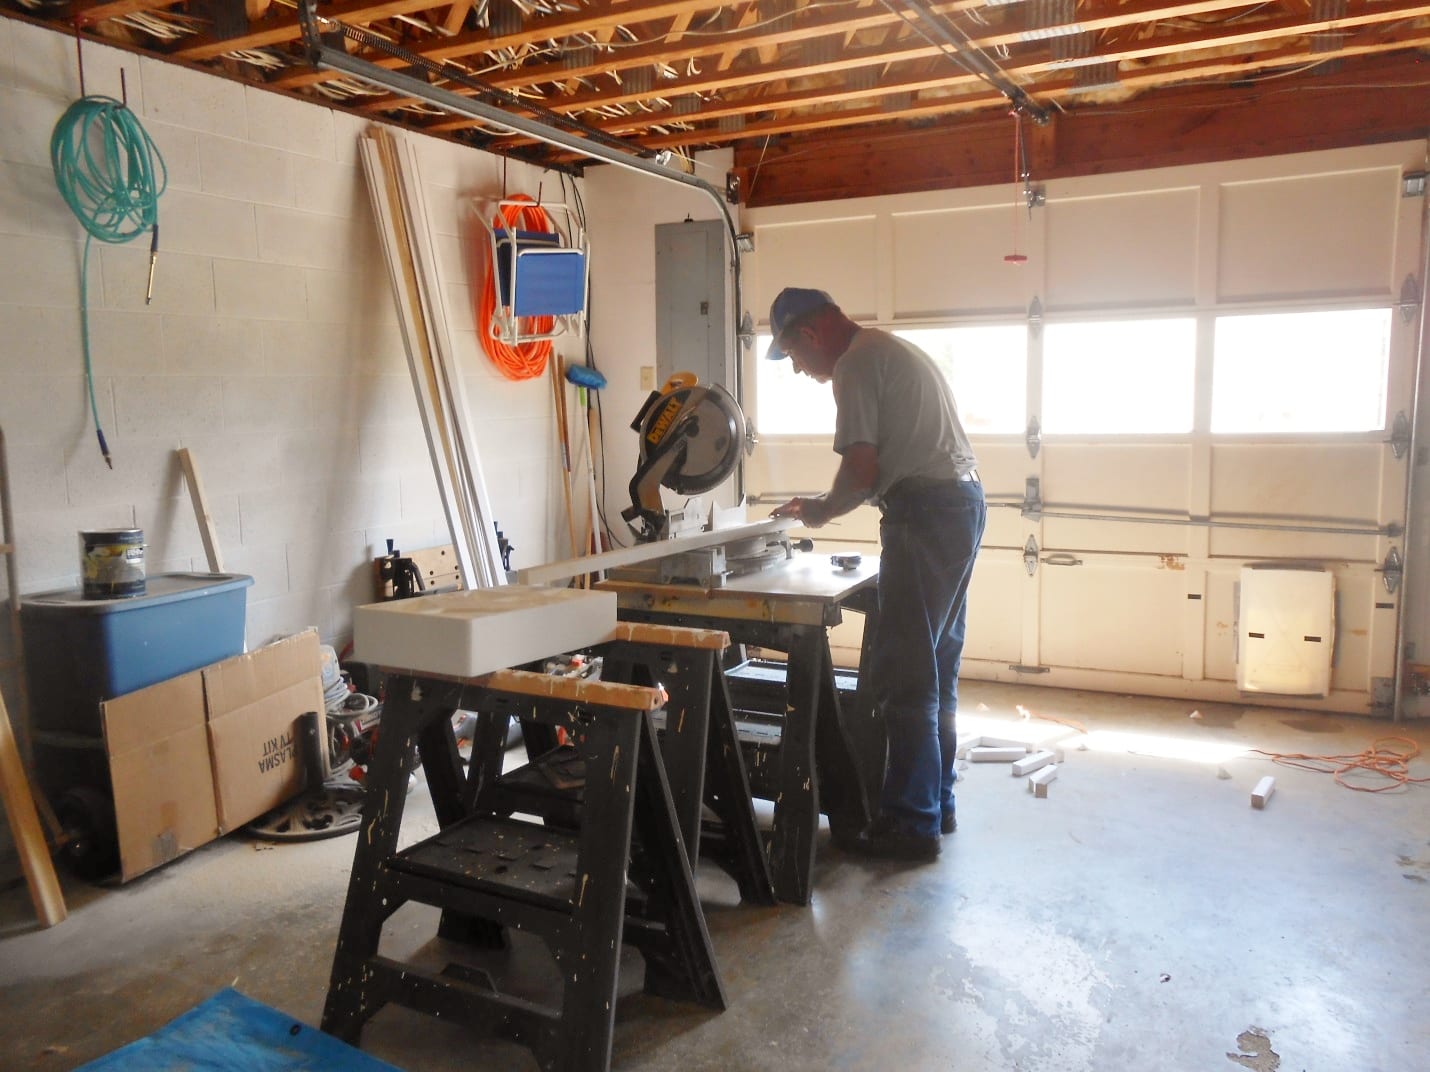
Panel Assembly
To assemble the 4’ X 8’ panels, use small nails or if you have a staple gun with longer staples, that would work too. You do not need to miter cut the edges of wood as you put together the panels, but we have a miter saw and it gave the trim a more finished edge. My husband is cutting the miter edges for me. The finished panels are stacked against the wall ready for the next step. A piece of wood is attached midway on each section to give them added strength.
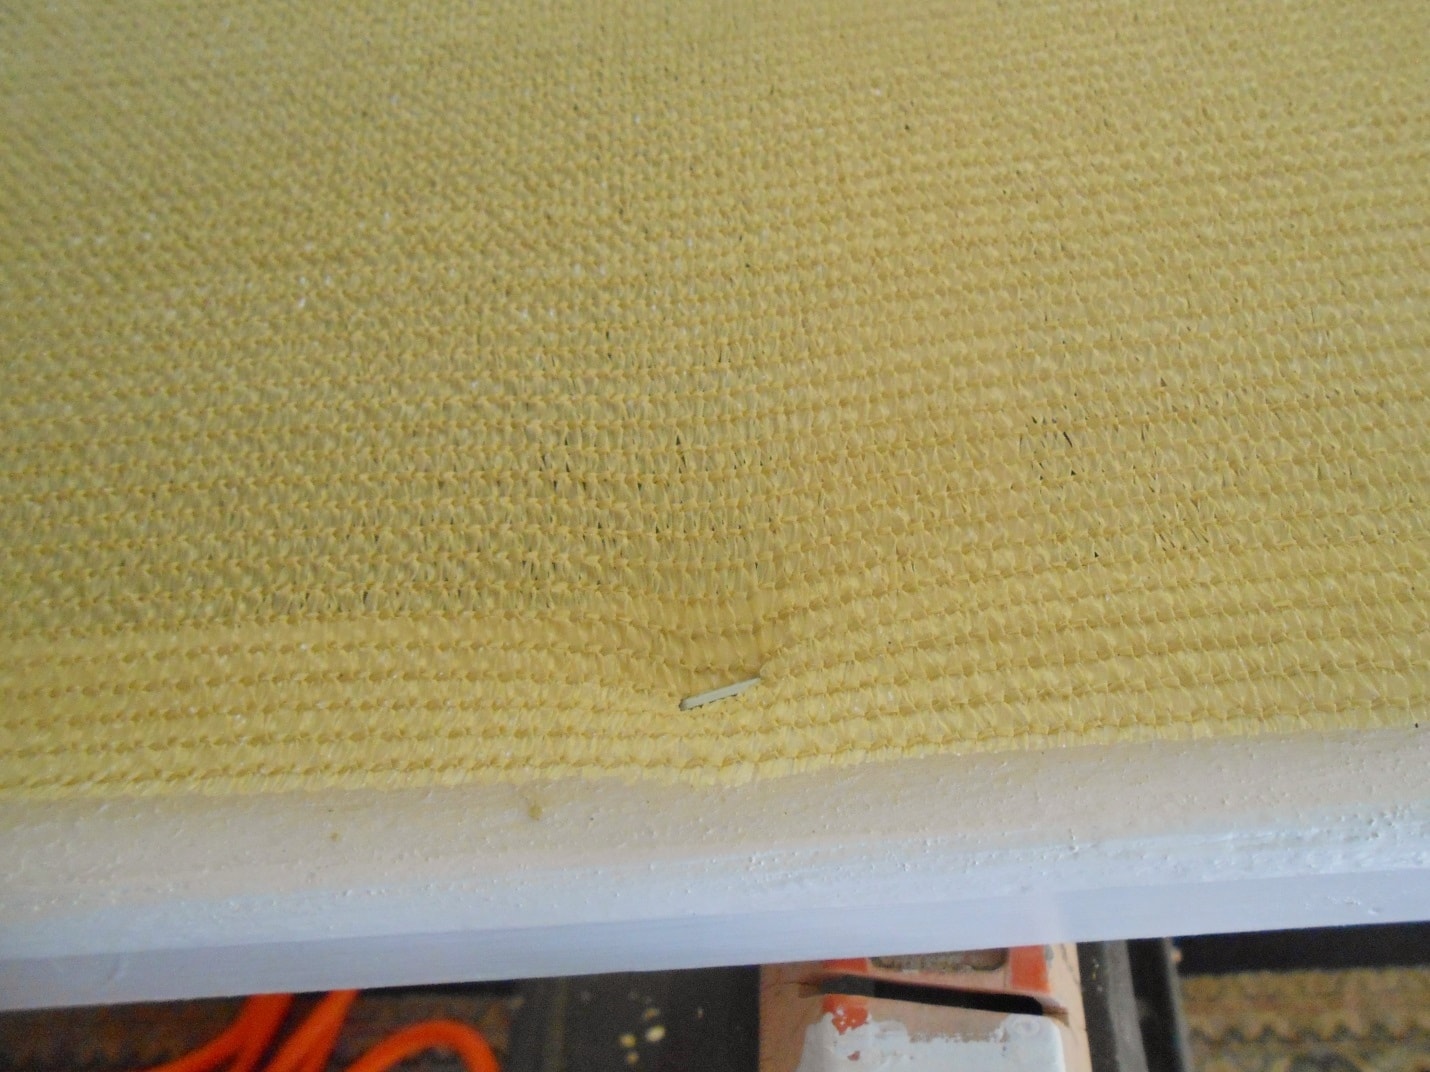
Attaching the Shade Cloth
Once the panels were made, the shade cloth was attached with staples. I found the same shade cloth online for a much cheaper price than I found in stores. I ordered two rolls of 6’X 50’ shade cloth, only because I wanted to use double shade cloth on the front and back of some of the panels. Otherwise, one roll would have been enough. I laid the cloth onto the frame, stapled three sides, then cut the fourth side and then stapled it. This seemed to work best.
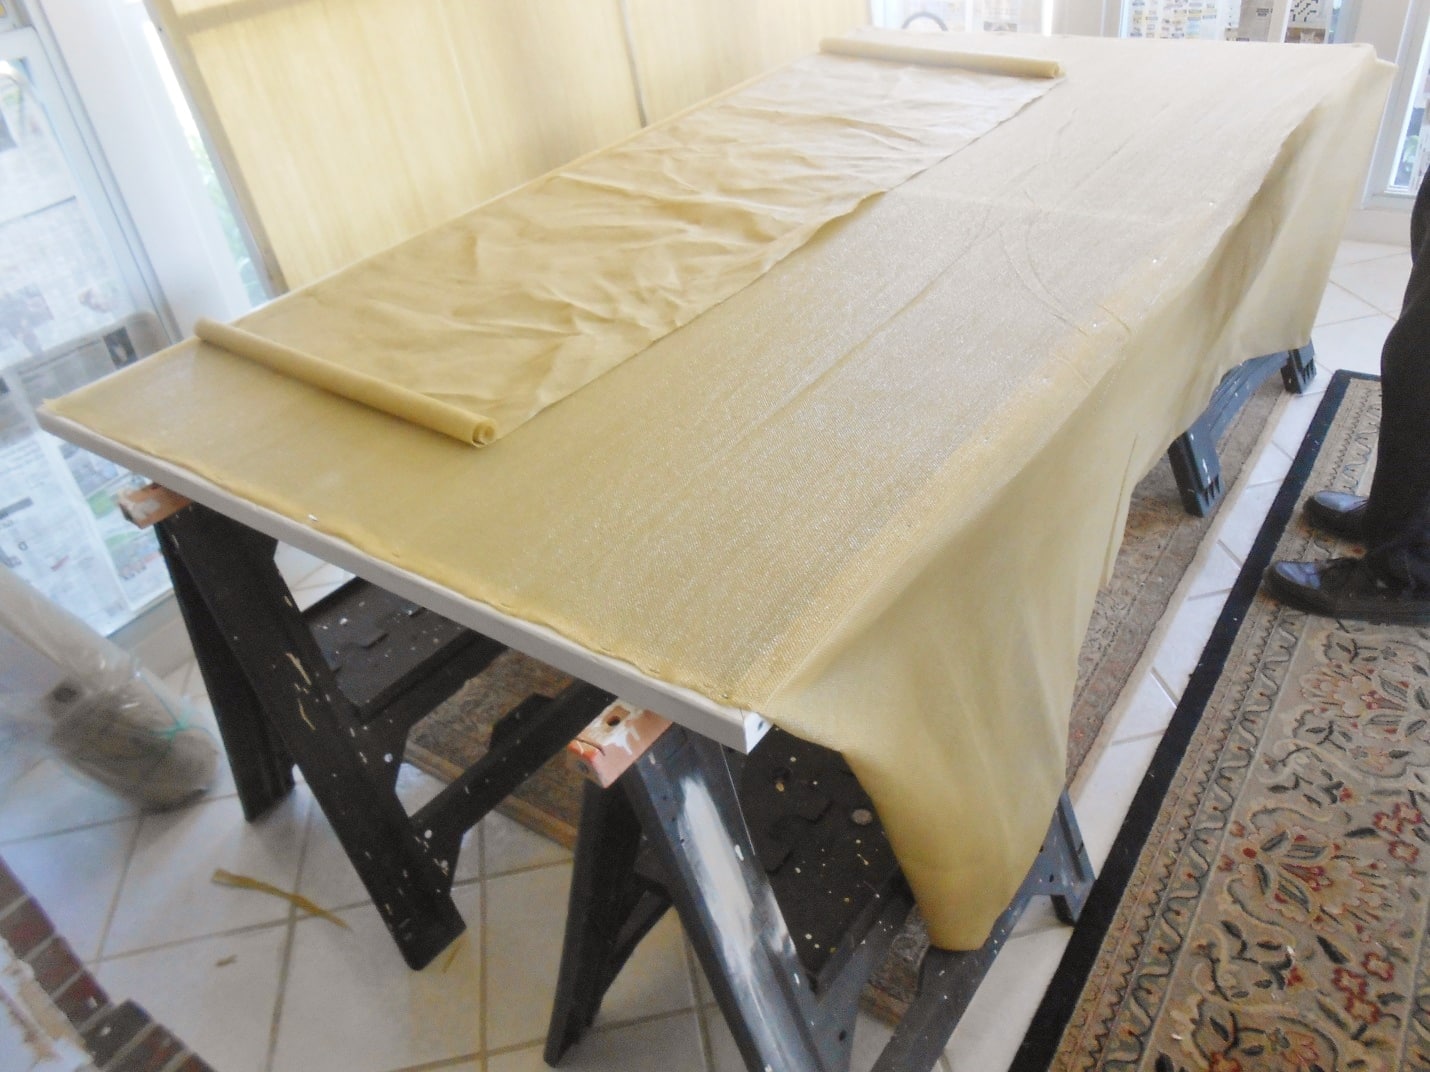
Stapling the Cloth
The trick is to make sure the shade cloth is pulled tightly on the frame and then stapled securely. My husband helped pull the shade cloth as we stapled it, and it worked well. I would recommend you have someone to help you with this step as getting the cloth tight on the frame is important. Plus it will help straighten out any wrinkles there may be in the cloth.
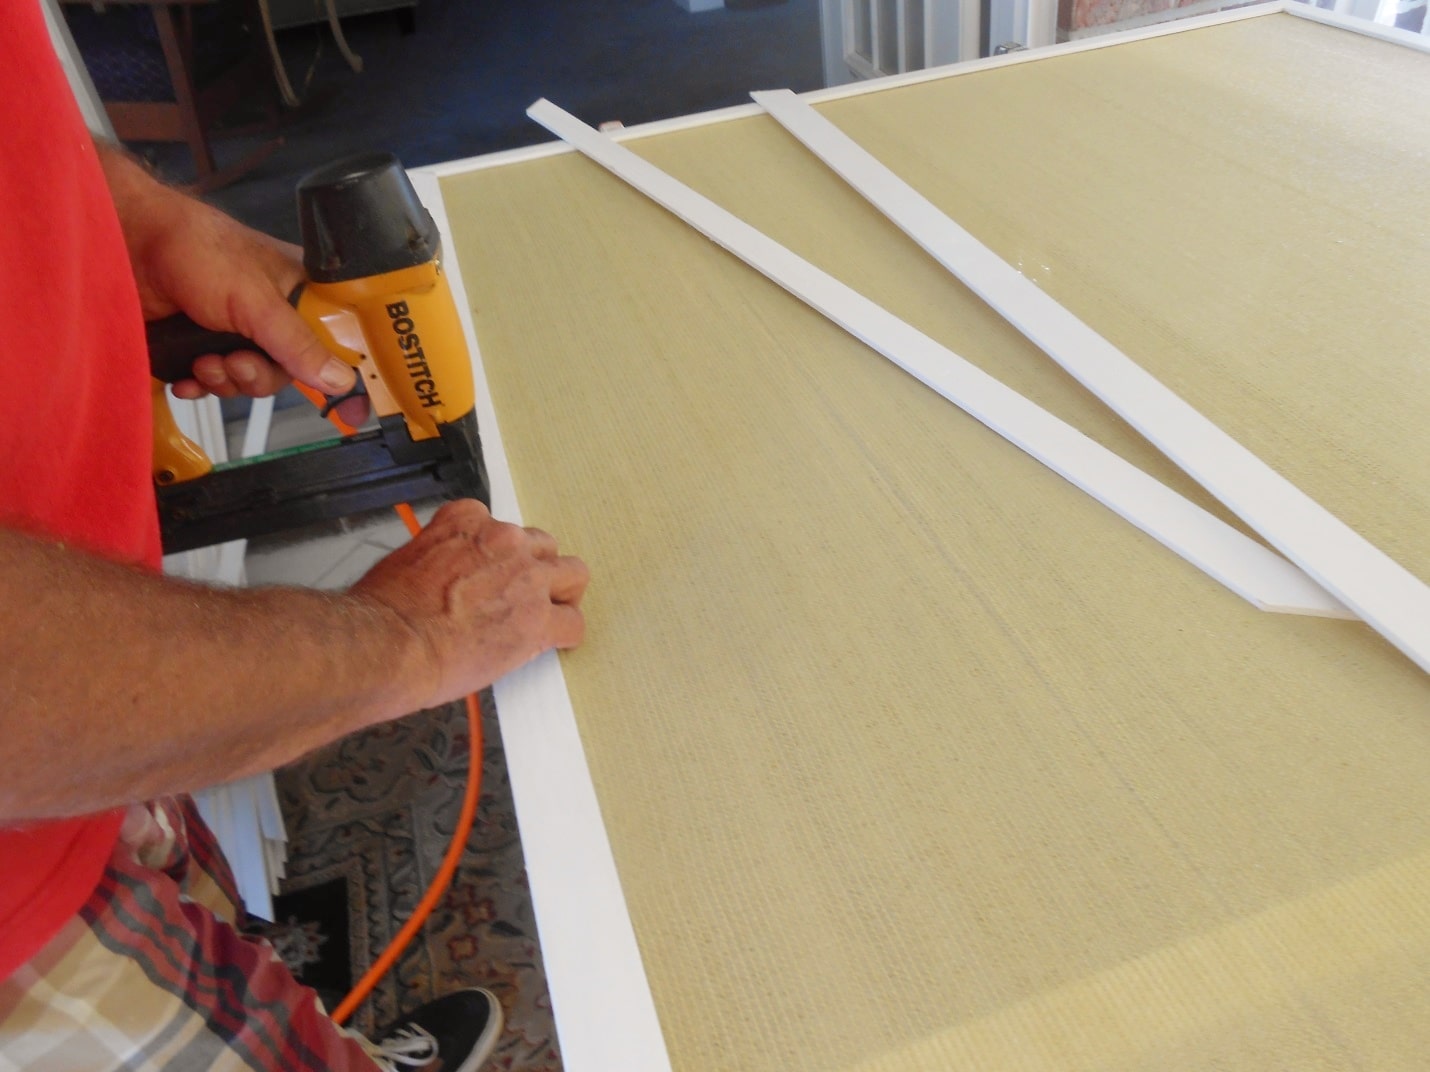
Attaching the Trim
Here’s my husband attaching the wood trim with a staple gun. The trim covers the rough edges where you attached the shade cloth to the frame. This gives the front and back a finished edge. Again, we used plain wood trim, but there are many more detailed trim designs available.
Total Cost for the Project
The total price for this project was a little over $300.00. That is a huge savings over any of the options I mentioned earlier. It would have been less had I only purchased one roll of shade cloth, but remember, this room gets hot sun 24/7, and I wanted two “walls of windows” to have double panels of shade cloth. I needed a material that would stand up to the damaging rays of the sun so the sun cloth I purchased shields 80% of the UV rays!
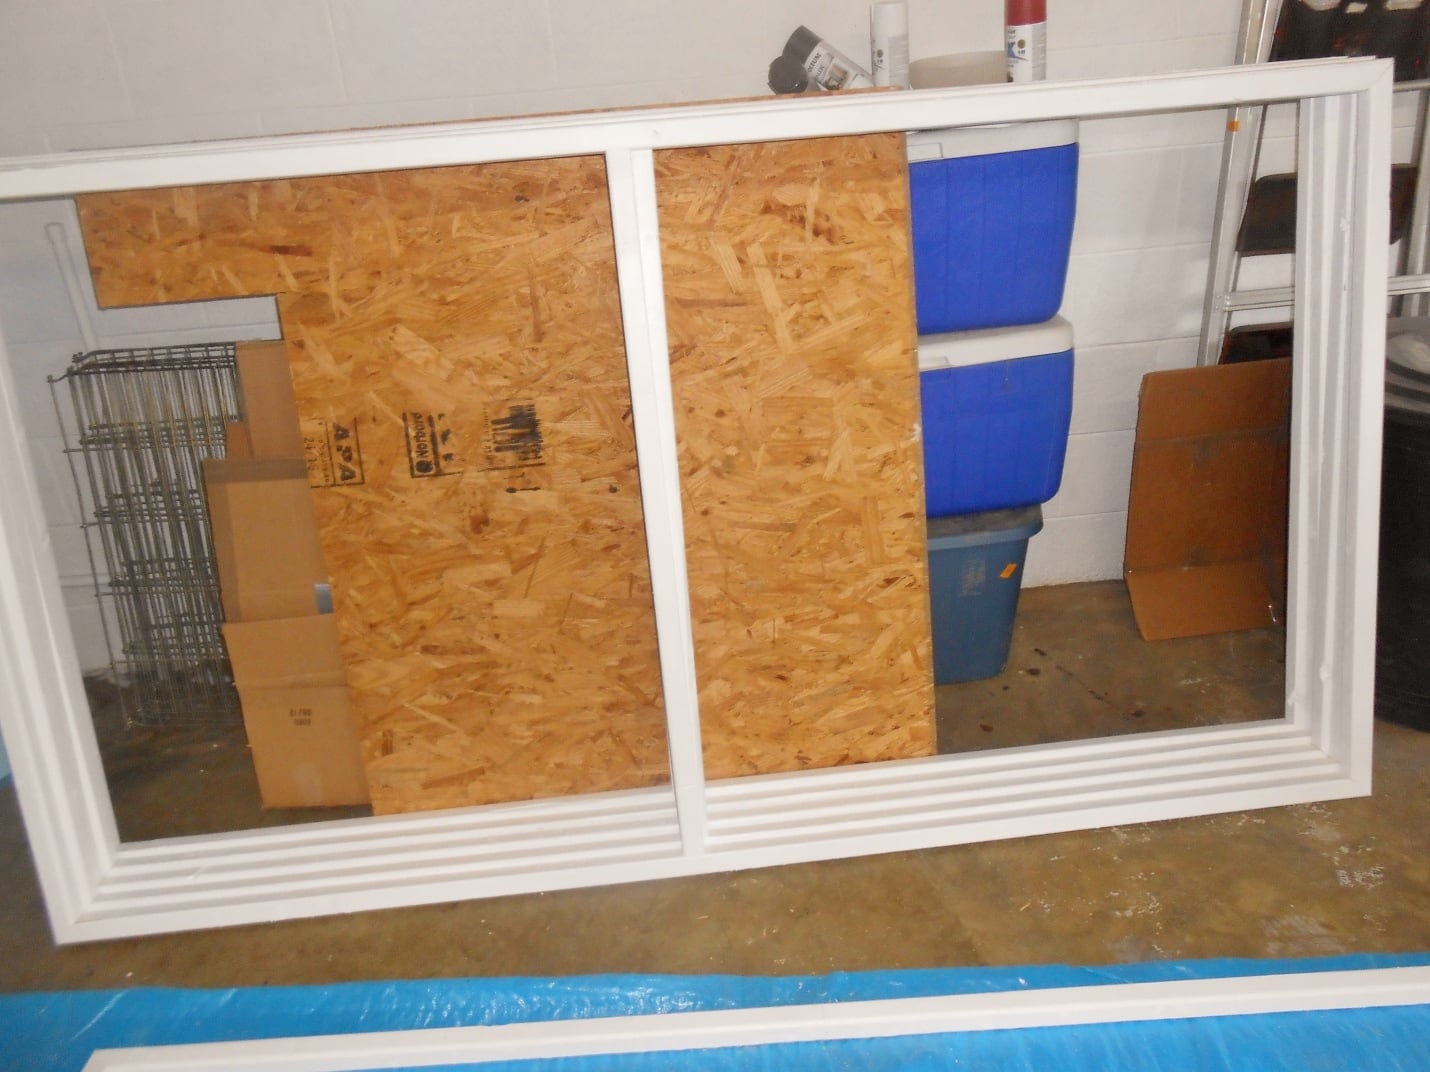
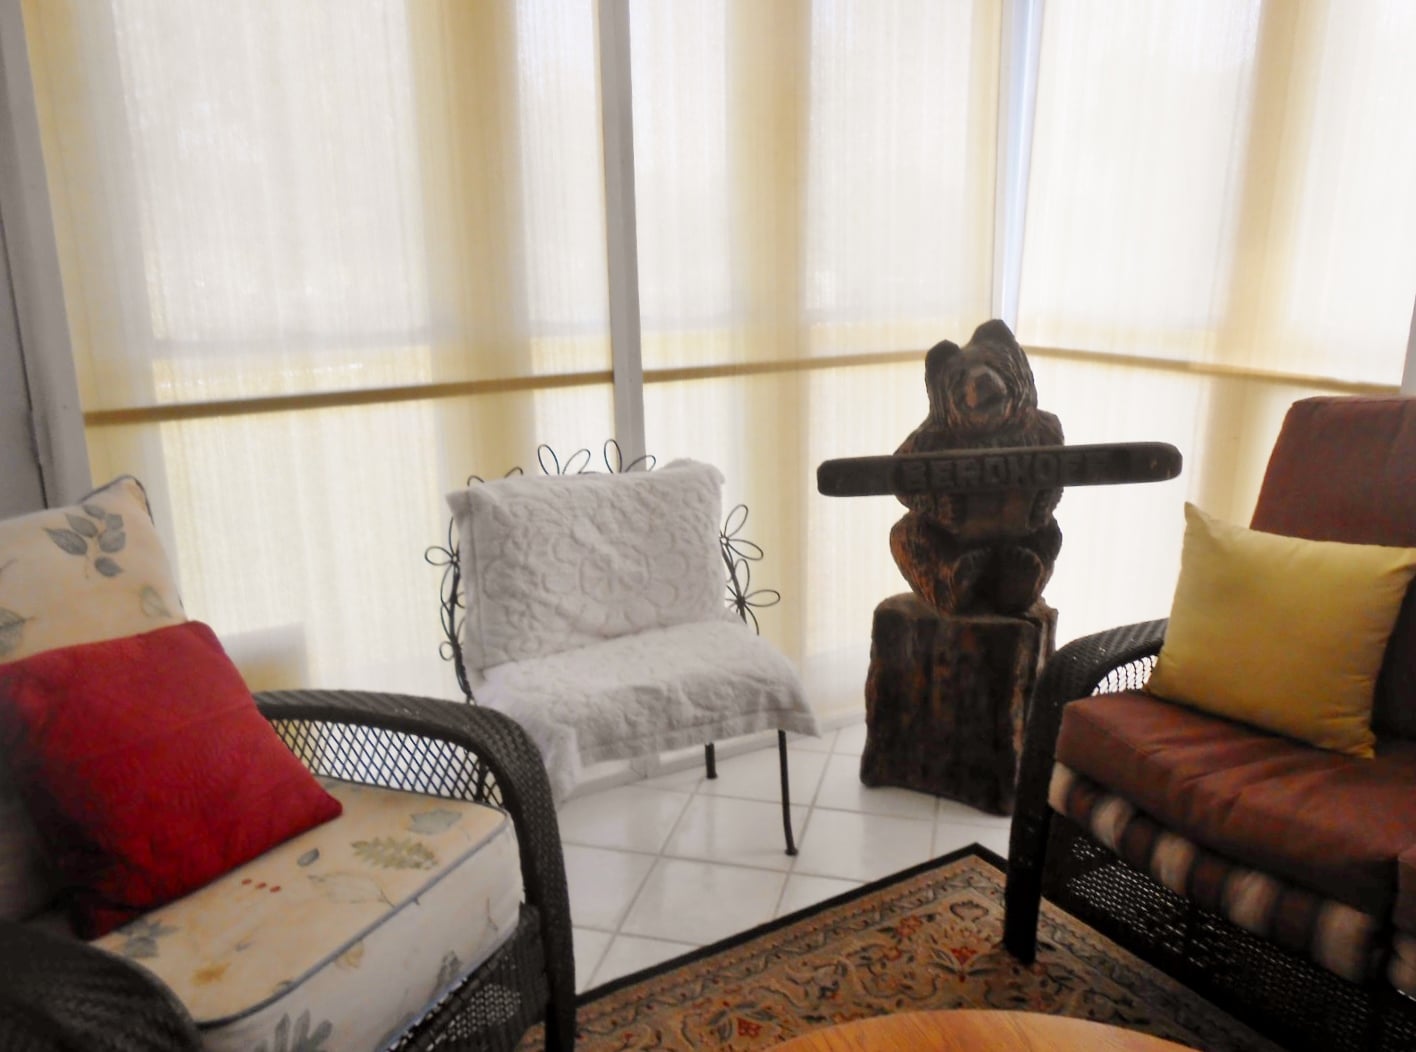
The finished product – on the less sunny side of the room.
This is the side of the room that doesn’t get as much of the hot sun as the other side of the room. Therefore, the panels of this side of the room only have one layer of shade cloth on the panels. Works beautifully to keep the sun and heat out!
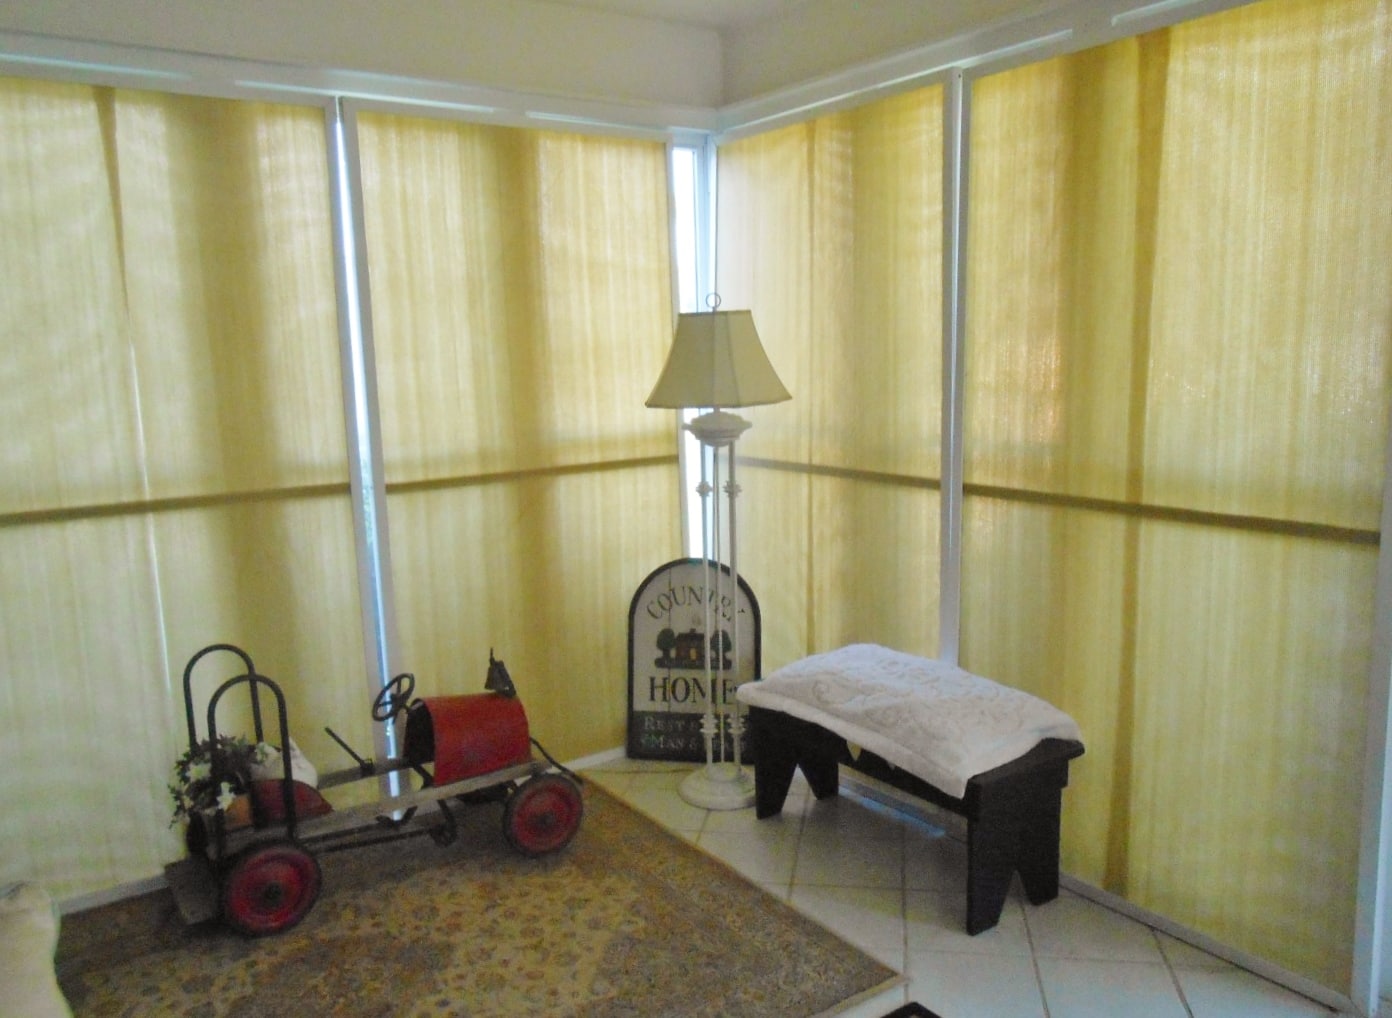
The finished product – on the sunny side of the room.
This is the side of the room that gets sun from sun up to sun down. Hot, damaging sun! These panels have two layers of sun cloth on them and it works great!
Time involved for this project.
The time it takes to complete a project like this will be determined by a few factors. First, how large your room is, and the amount of windows you need to cover. For this room, there are no walls just windows, floor to just about ceiling height.
Second, who will be working on this project? I was fortunate to have my husband to put the panels together, and help me attach the shade cloth and then staple the trim on for me. Lastly, how much of a hurry you are in to complete the project. Once the cloth was delivered to the house, the wood was painted and the panels were put together, I wanted to get it finished right away!
The project took us a total of 3 days. It took one day to sand and paint the wood and allow it to thoroughly dry. One day to assemble the frames. One day to cut the shade cloth to size and staple to the frames and staple the finish trim to the frames. If you are using spray paint it will dry much faster than the paint I used which will decrease the time.
Enjoy!
What is really nice about the window coverings not being permanently attached, but rather panels that sit on the floor, is that we can slide them to the side whenever we desire, depending on the weather. Now when we walk through the French doors into the sunroom, it is truly an extension of our home and we are able to enjoy it without the glare and heat of the sun. We turn on the ceiling fan and enjoy!


I always appreciate the good old step-by-step layout of a job, it helps for the intellectually challenged such as myself when getting ready to do a job. Would you suggest a specific type of premium wood for the window treatment? Also, would you by chance have any recommendations on sunroom installation companies out of the Sherwood park area?
Anyway, thanks,
Mike
You can use any wood cut to size. For instance, if you wanted to paint the wood, you might not want to invest in a costly wood. But, if you wanted to stain or put a varnish on it, oak or cedar would like nice. Also, there are so many different wood trims available. This project could become a very upscale one if you so desired! I’m sorry I don’t know of a company in your area. Thank you for writing! Let me know how your project comes out!
Those treatments turned out great! I can’t believe how the colors all tie together so beautifully. I’ve always wanted to be able to do something like this. My husband and I just bought our first home, and I’m a little nervous about all the home improvement projects that are in front of me. We put up simple curtains, just as a temporary solution. I’m really hoping to make our window treatments look especially nice at some point. I’ve also been getting a lot of information at this site, and it’s helped me a lot.