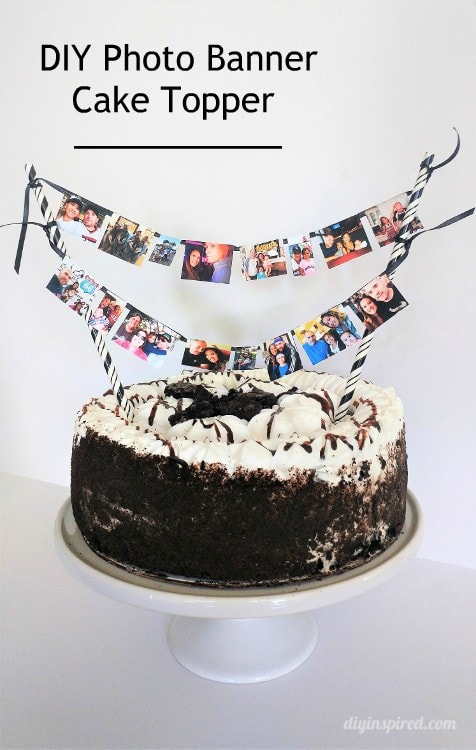
Easy DIY Photo Banner Cake Topper
My husband’s birthday was yesterday! As you may already know, I am not a baker, rather cake buyer and cake topper maker…haha! I bought his favorite cake at our local grocery store (Oreo ice cream cake), and decided to make a really easy DIY photo banner cake topper out of all the pictures from the last year. I love this because it is very simple, anyone can make it, and it is personalized to the honoree. Here is how I made it.
Time: 30 Minutes
Materials:
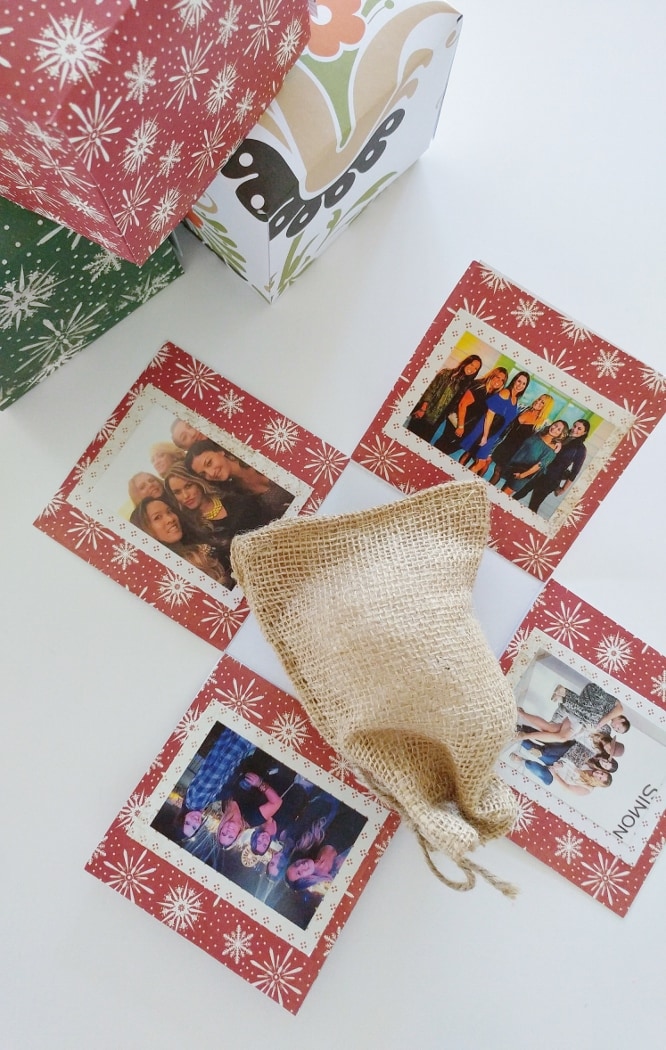
- 12-16 Photos (check social media!)
- Brochure Paper

- Two Paper Straws or Wooden Skewers
- Ribbon
- Hot Glue and Glue Gun


Watch the video tutorial:
Instructions:
To get the pictures, I went on Facebook and scrolled through our last year. I saved the photos into a folder. Then, I opened a Word document and inserted each photo. I resized them all to one inch tall and printed them out on brochure paper.
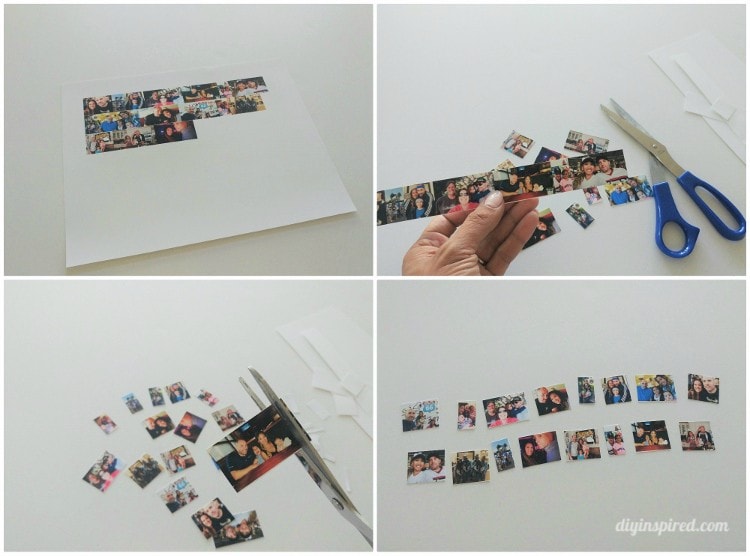
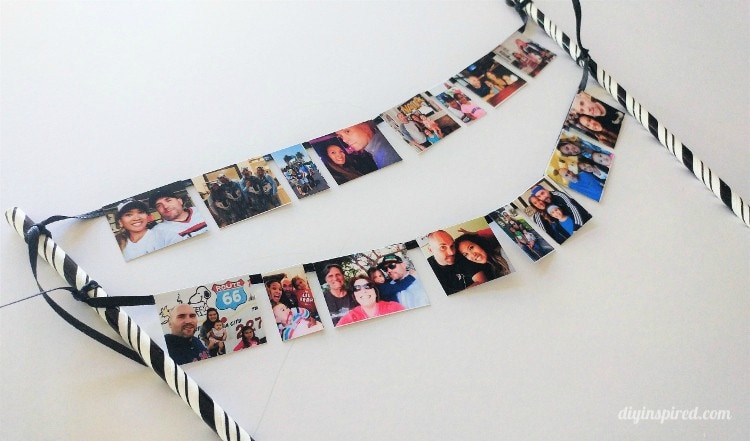
I cut them all out and then trimmed the width, so they were all one inch tall, but varied in width. I arranged them in the order I wanted into two rows. One by one I glued the top to the ribbon so that it hung down like a banner.
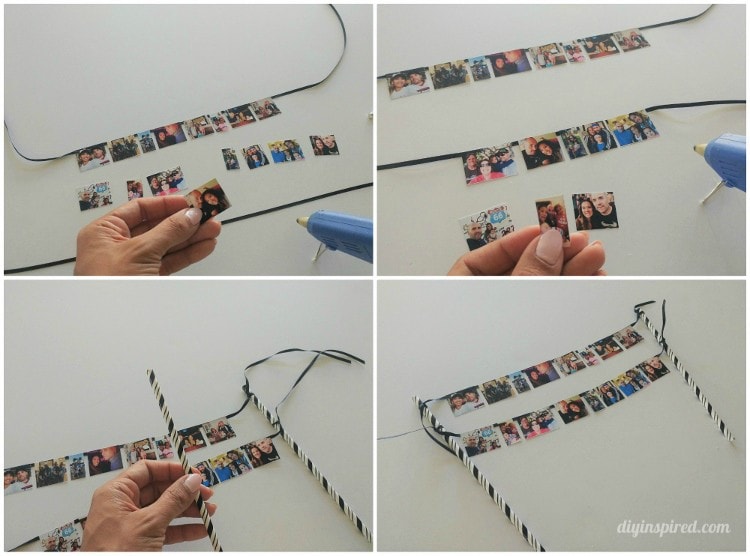
I tied the ends to a paper straw. And then trimmed the excess ribbon. You can also use wooden skewers instead of straws and twine or raffia instead of ribbon.
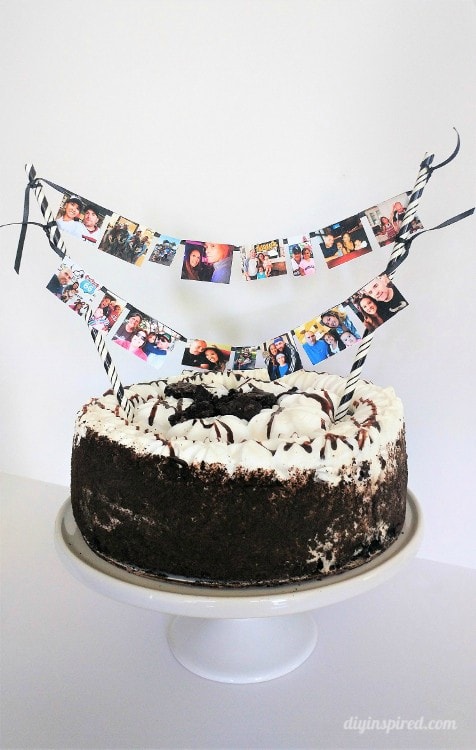
Isn’t it cute? You can customize these for any type of celebration. Here are some ideas for other uses:
- Pregnancy photos for a baby shower
- Engagement photos for a bridal shower
- Baby photos for a first birthday
- Photos of couples for an anniversary party
- Photos of friends for a birthday party
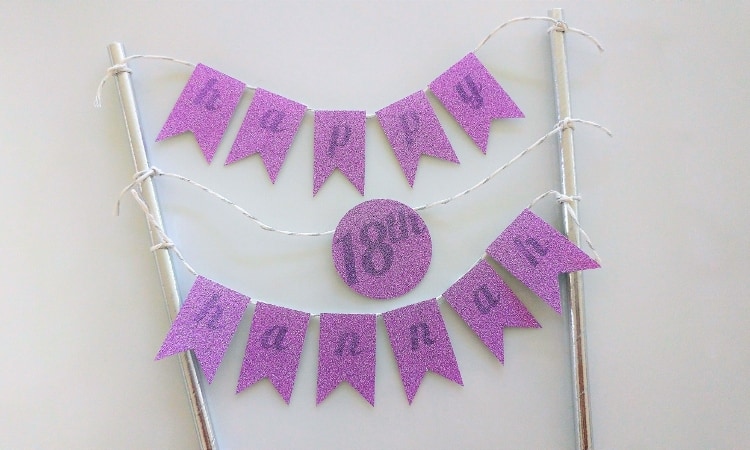
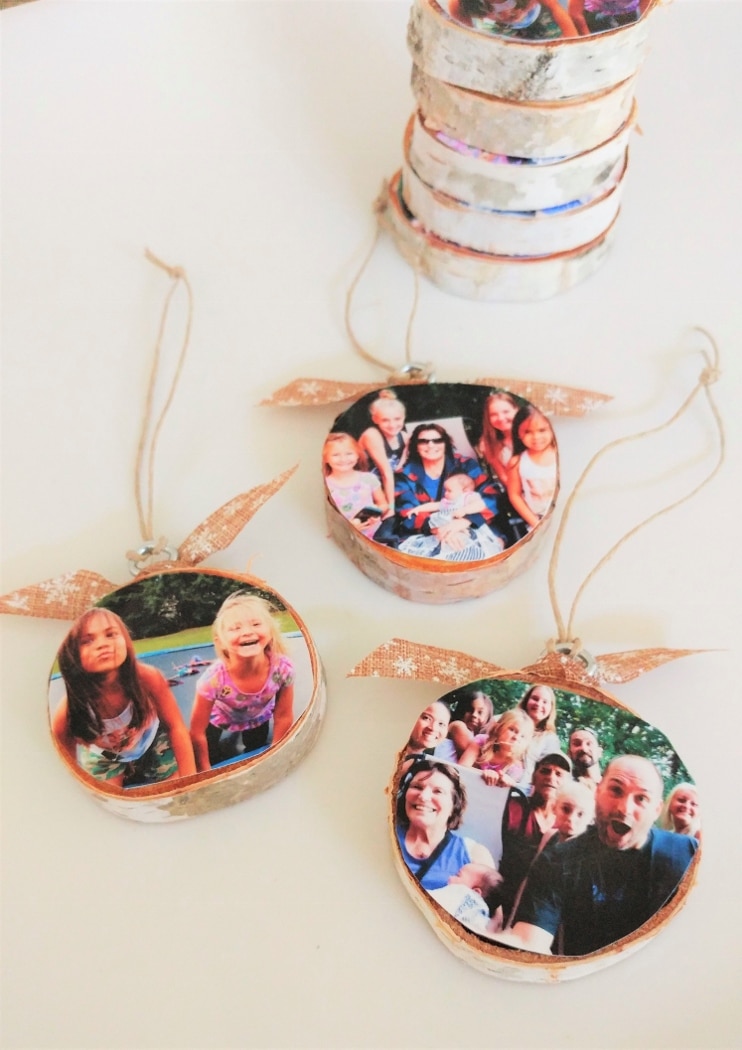
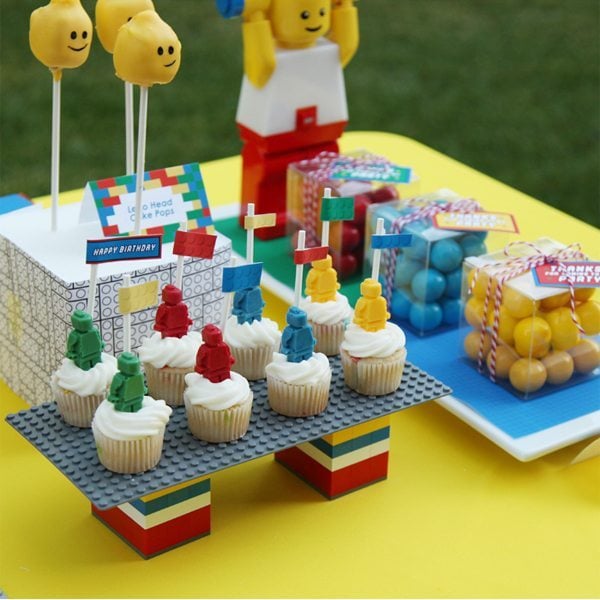
Check out some of my other DIY cake toppers:
- Printing on Glitter Foil Paper
- DIY First Birthday Cake Topper
- DIY Christmas Elf Legs Cupcake Toppers
- Harley Quinn DIY Cake Topper
Like it? Pin it!
Wow, the photos make the cake more impressive and unique. I will try to make it. Thanks for sharing!