Heat Transfer Recycled Tote Bag

I am so excited to have started a partnership with Silhouette America. I wanted to share a project I did using the heat transfer starter kit that they have available. Since I have this weird obsession with using recycled bags (I haven’t gotten a plastic bag from a store in almost three years), I thought I’d upcycle an old bag and make a heat transfer recycled tote bag for my daughter.
Materials:
- Silhouette Cameo and your computer
- Silhouette heat transfer starter kit
- Canvas tote bag
- Fabric scrap
- Ironing board
- Iron
Step One:
Create your design using your Silhouette software program. Make sure you mirror your image when you design it, otherwise your image will apply backwards.
Step Two:
Print out your design on your heat transfer material and peel away the negative space.

Step Three:
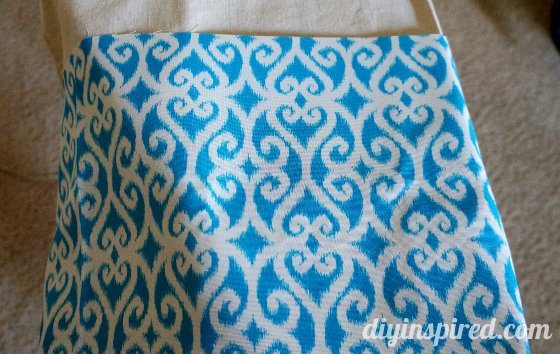
Position your design on your tote bag and place a scrap piece of fabric over the design. BTW, I used a piece of scrap fabric from the upcycled headboard I made.
Step Four:
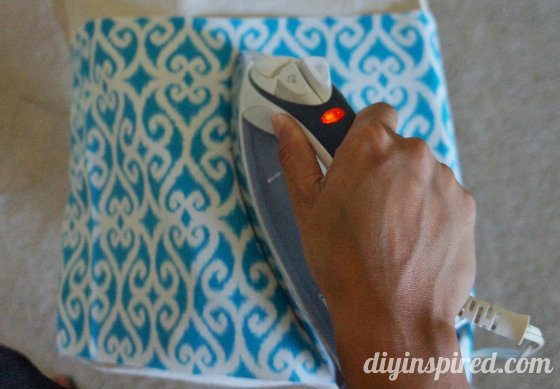
Iron your image onto the tote bag by pressing firmly and placing pressure on the design for 45-60 seconds.
Step Five:
Gently remove the transfer sheet and place the fabric scrap over the design again. Iron it for 45-60 to allow the design to set.

There you have it… a personalized recycled tote bag!
A HUGE THANK YOU to Silhouette America for sponsoring this post! Opinions are all mine!


that is the cutest and easiest project! I love it. How did your baby like it?
Thanks, Pattie! She loved it! She’s turning into a little recycling mini me! LOL
I love heat transfers. They’re amazing.
So easy too!
You are so creative. I LOVE it!
Awe! Thank you Tanya!
This is so awesome! I’m looking forward to trying something.
Thanks, Debbie!
I have a Silhoette…I need to start using it. Can you teach me? I want to make cute things like you.
LOL! This one was my first project using it.
I LOVE heat transfer projects. This turned out SO cute!
Thank you Sharon!