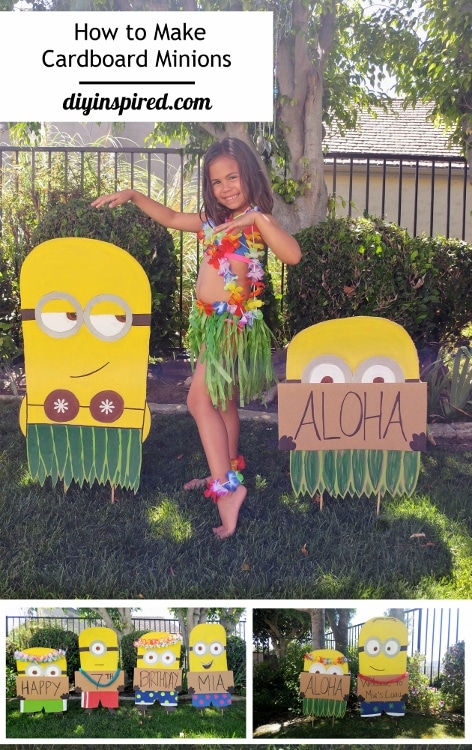
How to Make Minions Out of Cardboard
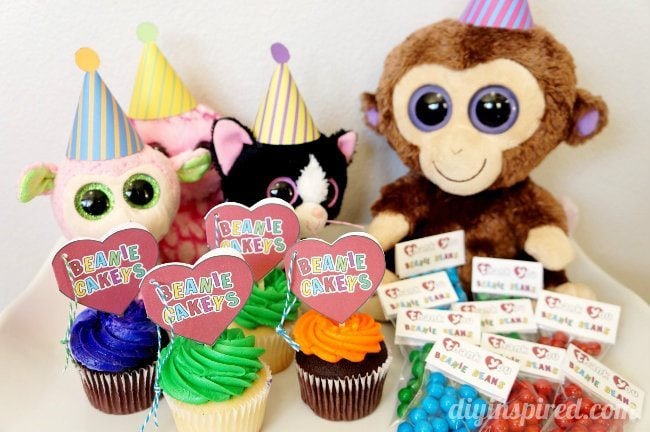
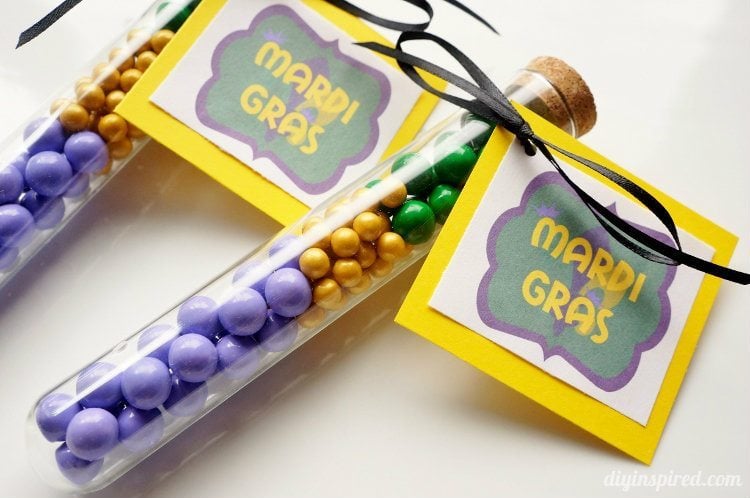
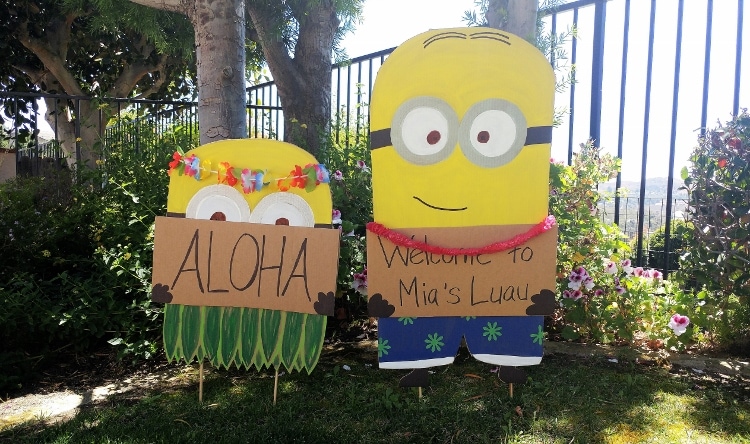
If you have been following along, you know my daughter’s 7th birthday is coming up and we are having a minion themed luau pool party. I already put the party favors together and I started on some decorations. I had a lot of paint left over from the murals I painted for her Beauty and the Beast school play, so I decided to make life sized Minions to place all around the party area. Here is how to make Minions out of cardboard.
Time: Weekend Project
Materials:
- Large Cardboard Boxes
- Pencil
- Eraser
- Craft Paint (Yellow, White, Silver, Red, Green, Blue)
- Foam Paint Brushes

- Black Permanent Marker
- Brown Marker
- Cutting Knife
- Cutting Mat
- Hot Glue and Glue Gun
- Tough Duct Tape
- Wooden Dowels
- Craft Punches, Colored Paper, Glue (optional)


Watch the YouTube video:
Instructions and Tips:
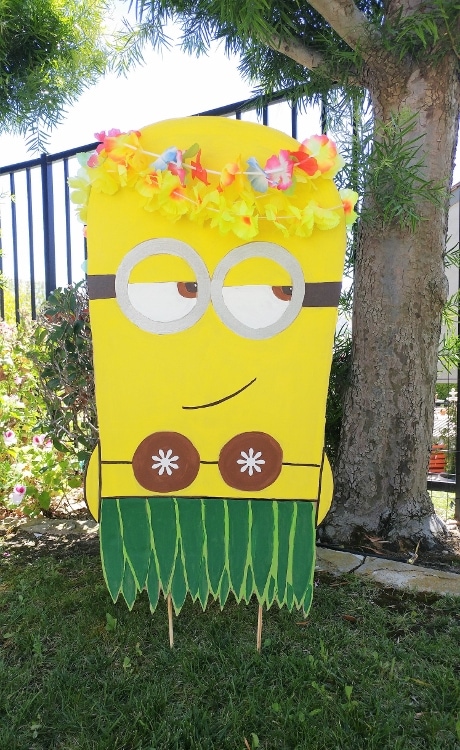
I was able to make four Minions put of one large cardboard box, one for each side. Minions are fairly easy to draw, so I started with the oval shape of the body first. Next, I drew the goggle by tracing a bowl and then drawing the inside of the goggle and eyes free hand.
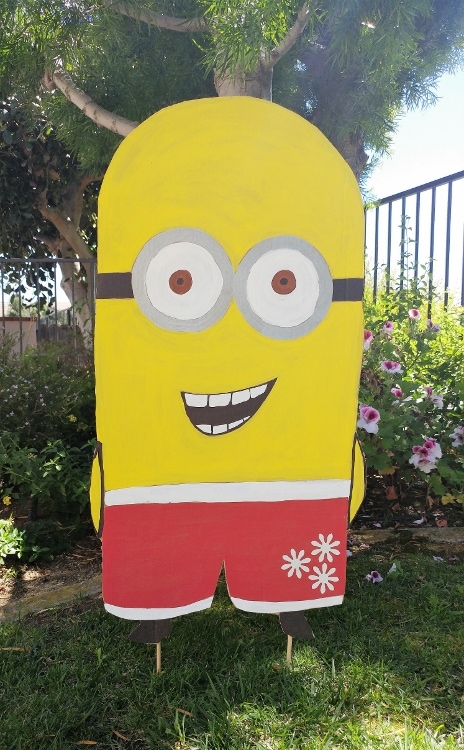
Tip #1: Keep the drawing simple with basic shapes. For example, swim trunks were very easy to draw because of the basic square shape.
Tip #2: Use Google Images as a cheat sheet for ideas for eyes and mouth shapes.
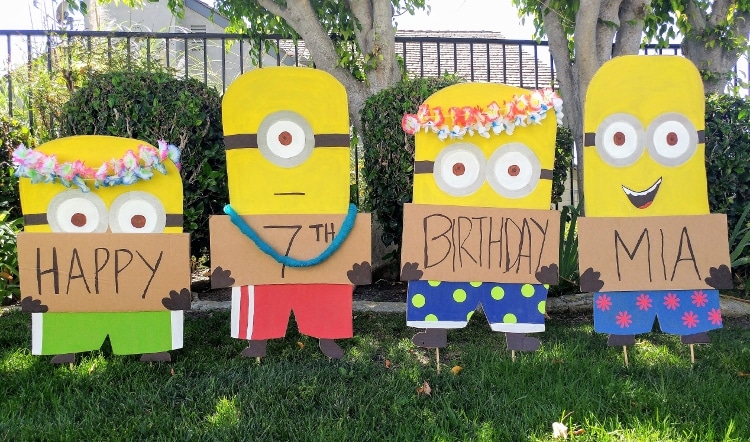
Tip #3: I figured out that it’s easiest to have the Minion holding a sign. This way, you don’t have to worry about drawing arms. Cut a flap off of the cardboard box to use as the sign. Write a message on it. Note that a Minion’s handwriting isn’t perfect! Draw the gloves with three fingers at the bottom corners or sides of the sign as if the Minion were holding it.
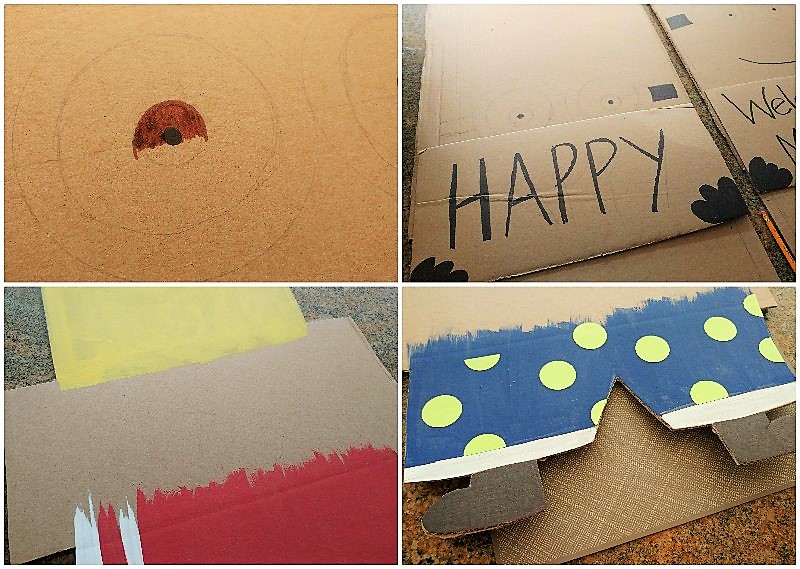
Once the Minion is drawn, use your black and brown markets to color in the eyes, goggle straps, hands, and feet. Also, use the black marker to write the message on the sign.
Tip #4: Draw a line on the Minion where the sign goes. This will make a good paint line to help guide you.
Next, paint the Minion. I used regular craft paint found at Michael’s. For the yellow, I had to paint three coats. You may need to use different sized brushes.
Tip #5: Remember that after you paint, you can always outline certain areas (like the teeth) with a black marker.
Tip #6: If you have access to craft punches, use them to decorate the swim trunks with flowers, polka dots, whatever. Just use different colored paper and glue them on.
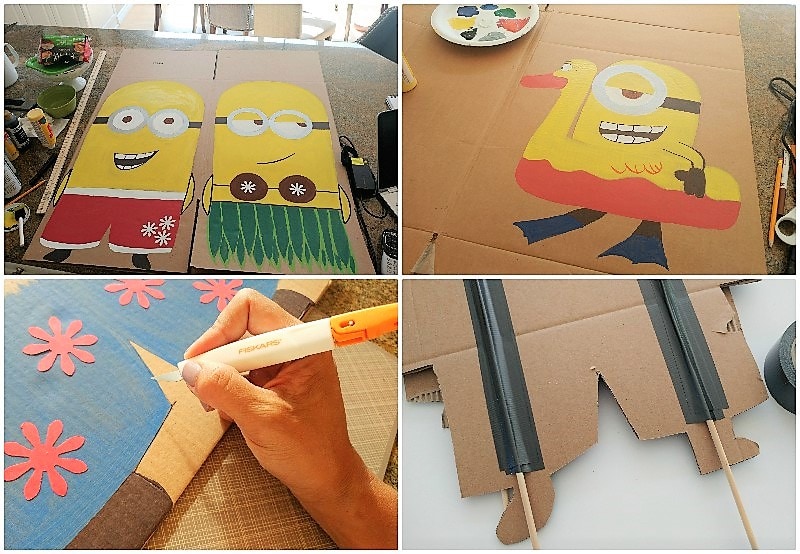
Once the Minion is painted and dry, cut out the Minion with a sharp craft knife. Make sure you use a cutting mat. After the Minion is cut out, hot glue the signs (if any) onto the Minion. Turn the Minion over and use Tough duct tape to tape on a wooden dowel. I bought four feet wooden dowels at Home Depot for less than a dollar a piece and cut them in half.
Carefully drive the stake into the ground to display your life-sized Minion! Can’t wait to show you the party!
Like it? Pin it!