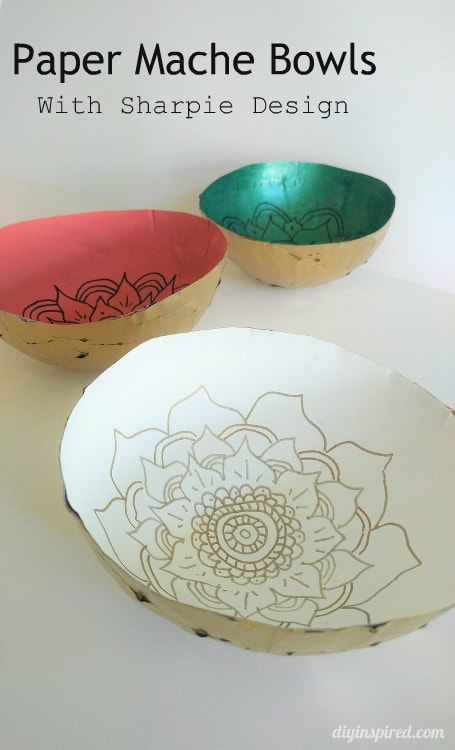
How to Make Paper Mache Bowls
Video and Instructions for How to Make Paper Mache Bowls
It has been probably since grade school that I attempted a paper mache project. I wanted to show my daughter how to do it, so I decided to show her how to make paper mache bowls the other day. I painted them and then added a little design with Sharpie markers.
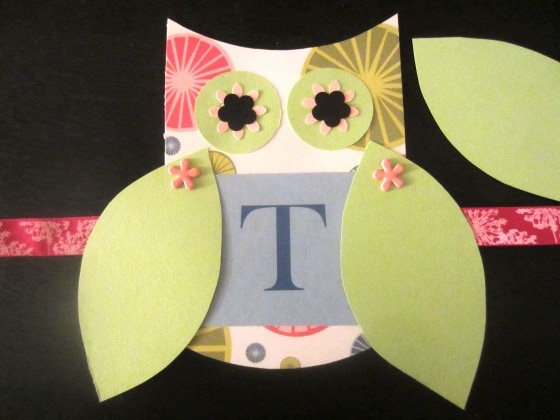
 These were originally made to match my craft room along with these other fun projects.
- Upcycled Frame to Craft Storage
- DIY Fabric Covered Switchplates
- DIY Rope Basket with Yarn
- Easy DIY Double Hoop Wall Hanging
Here is how to make them.
How to Make Paper Mache Bowls
Time: Weekend Craft
This materials list contain affiliate links for my recommended products.
Materials:
- Balloons
- Newspaper
- Scissors
- Paper Cutter
 (optional)
 - White Glue or Mod podge
- Bowls
- Foam Brushes
- Acrylic Paints
- Spray Paint (optional)
- Sharpie Markers
 (optional)


Watch the Video Tutorial
Instructions for Making the Bowl
These are the directions I remember as a kid, including some additional tips and tricks. This part gets messy, so be sure to protect your work surface a well as the kid’s clothes if you are doing it together. But don’t worry, water and glue wash off easily.

- Mix 50/50 solution of Mod Podge and water and mix well. Regular white school glue will work as well.
- Cut small strips and or rectangles of newspaper. A paper cutter comes in handy here but is not necessary.
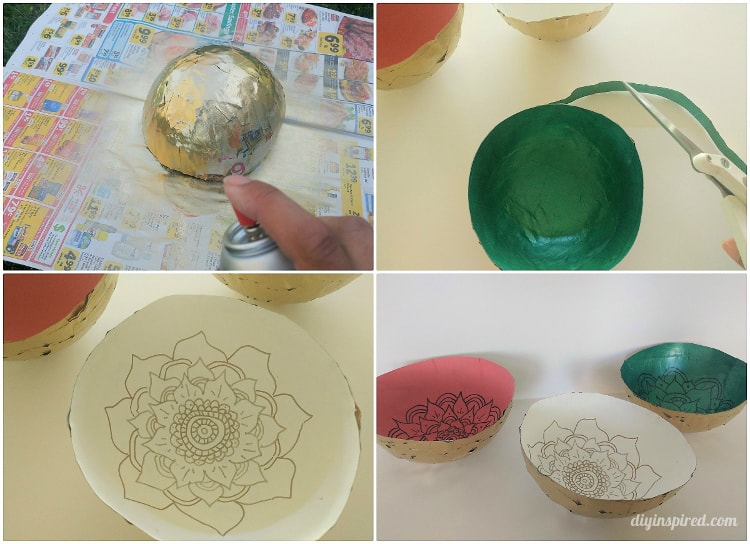
- Blow up a balloon and tie it closed. Use a bowl to hold the balloon in place.
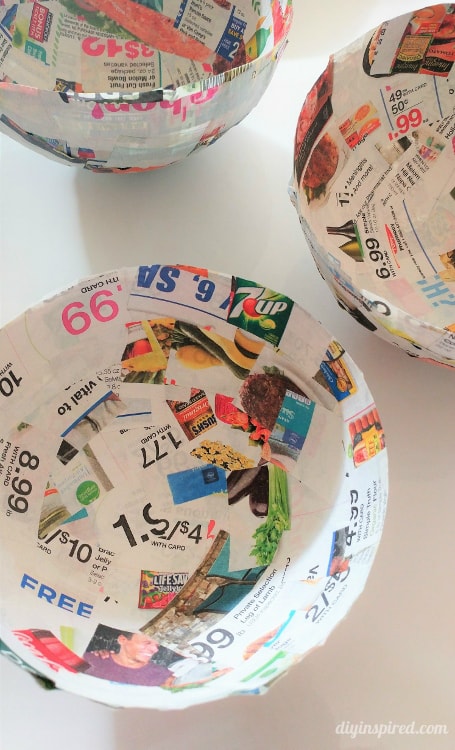
- Dip the newspaper into the glue and water solution and place them one by one on the balloon. Make sure to smooth out the strips so that there are no gaps. I did three layers. The more layers you do, the sturdier the bowl. Allow the newspaper bowl to dry overnight to dry completely.
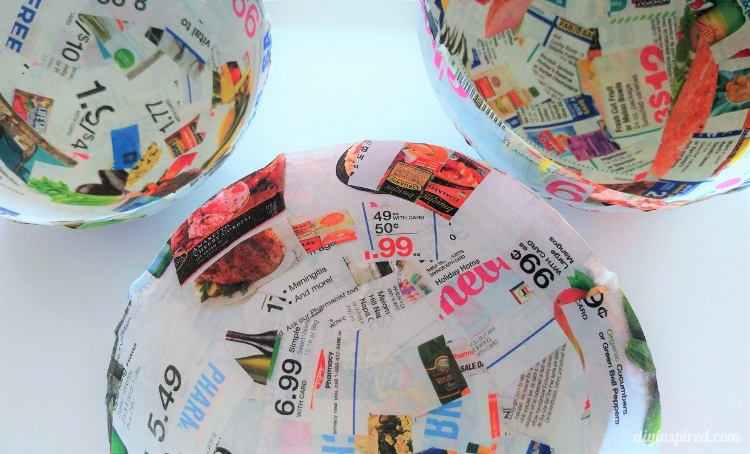
- Once dry, use your hands to gently squeeze the balloon around the edges. Use scissors to cut a small hole in the balloon. The balloon will remove with ease. Trim the edges with scissors for a clean rim.
This is what they will look like.
Painting and Decorating Paper Mache Bowls
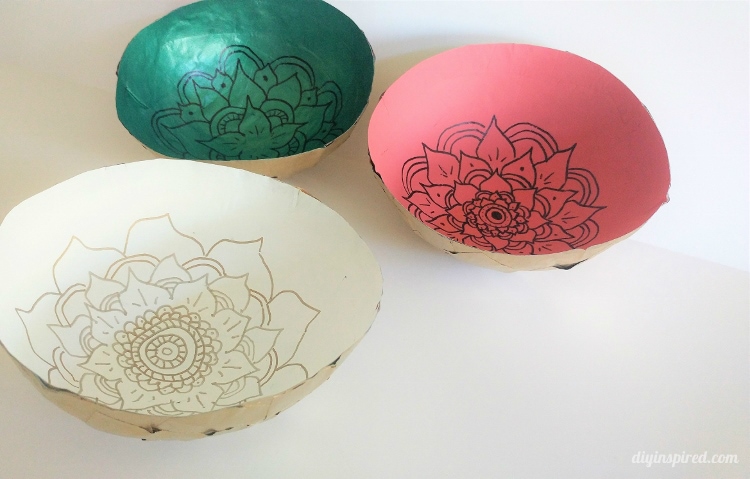
Paint the bowls with acrylic craft paint. I chose to paint the inside different colors. The green bowl has a metallic finish. I painted two coats.
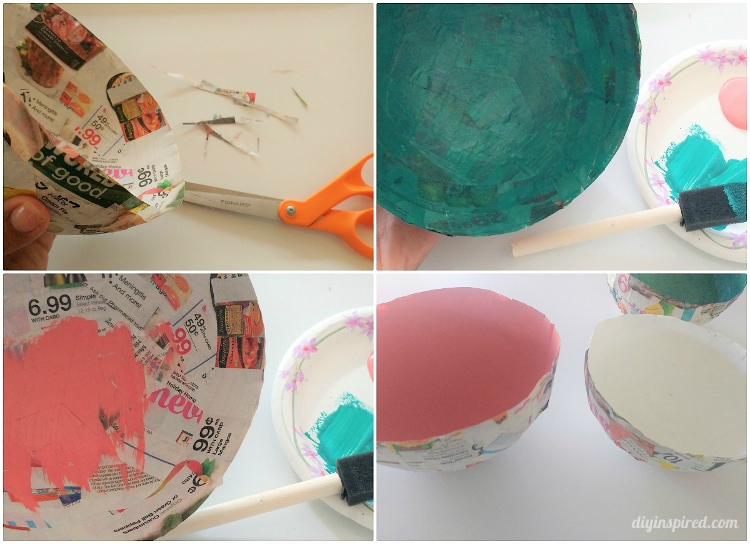
For the outside of the bowl, I spray painted them gold, then trimmed the rim a little more. Lastly, I free-handed a flower design with black and gold metallic Sharpie pens.
Here is the finished set.
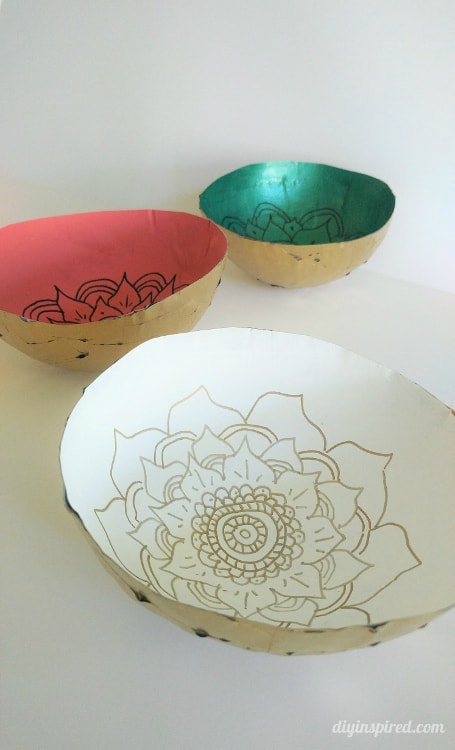
Use them to hold any light (and dry) object like keys in an entrance, small office supplies on a desk, or makeup pads on a vanity.
Make these Paper Mache Bowls for:
- An Earth Day Craft
- A school class art project
- To give as a gift
- Girl Scouts, Library, or Church craft
Like it? Pin it!
These bowls match my craft room. Check out my Craft Room Makeover! You can get the full post to see all the details here: Craft Room Makeover.
Hello, Dinah Wulf,
It’s great to read your handmade DIY work. I also hope to learn. What can be done by the novice?