How to Makeover Your Old Filing Cabinets

How to Makeover Your Old Filing Cabinets With Wood for an Updated Look
Hey, it’s Laci from lacijane.com and I’m partnering with Dinah again! Thanks so much for having me here! Today I’m going to show you guys how to makeover your old filing cabinets. I love filing cabinets because they’re so useful to store all the important documents. But let’s be honest, filing cabinets are not pretty. Since I’m working on a budget, I had to get creative.
Finding the Filing Cabinets
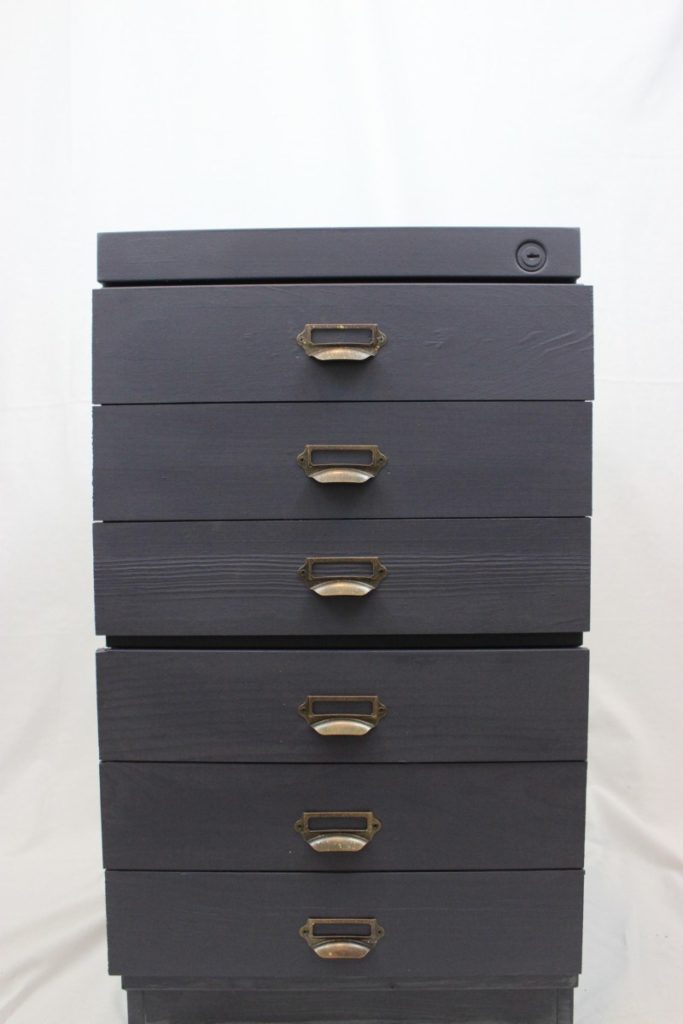
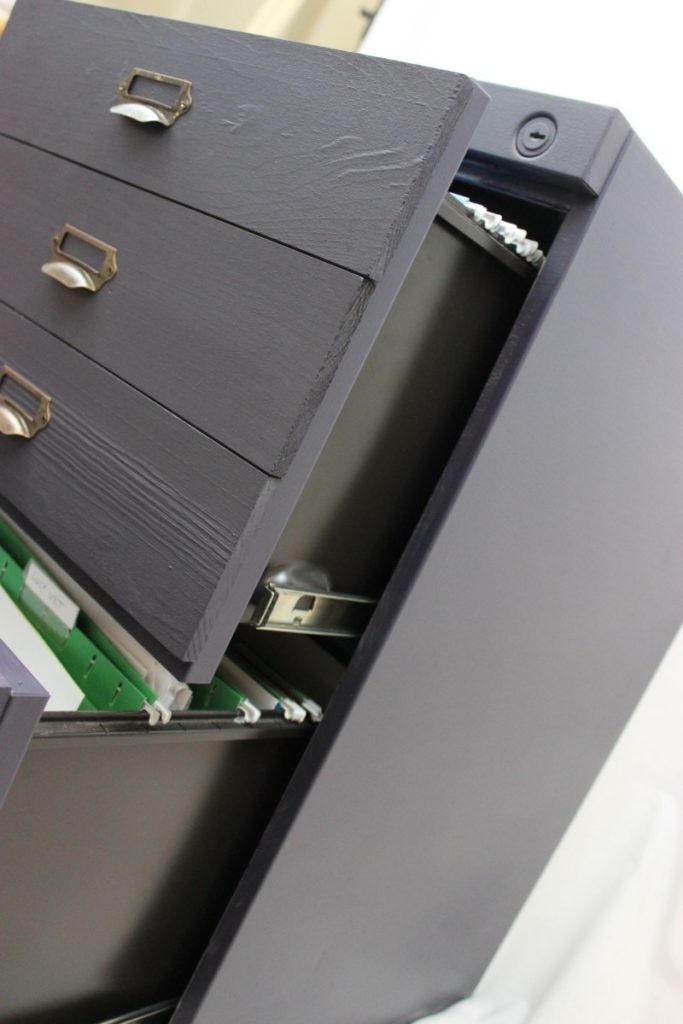
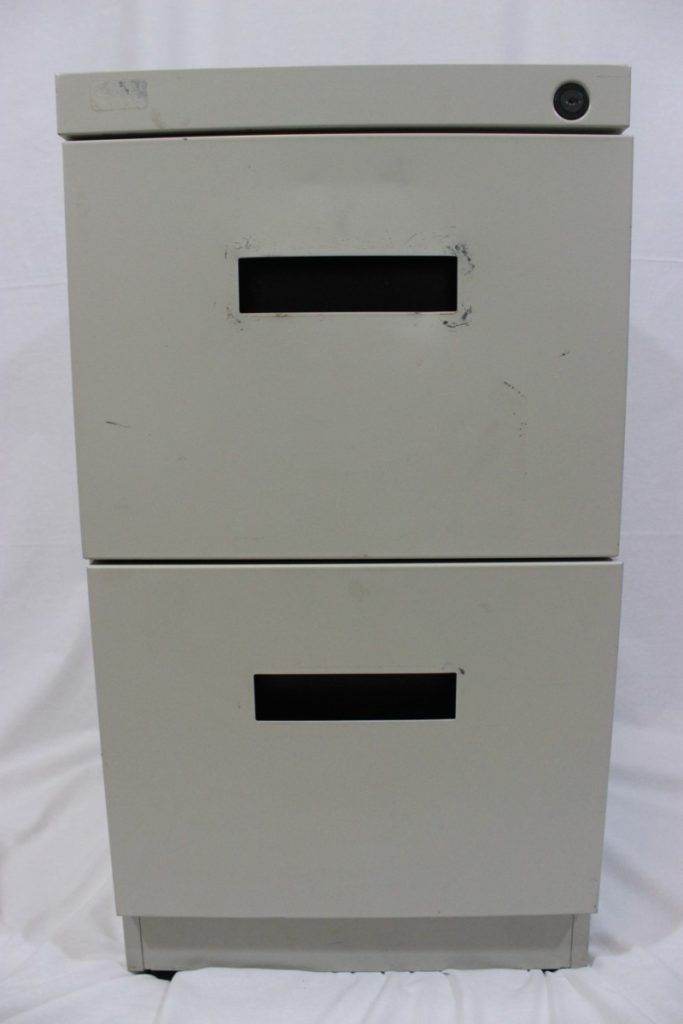
I picked these filing cabinets up from Habitat for Humanity Restore for just a couple bucks. I knew I was going to DIY a desk using 2 filing cabinets on either side with a slab of wood on top. It’s a cheap way to create a desk with a lot of storage and an easy way to keep documents organized. I also knew I wanted to use card pull label holders because not only do I love the way they look on furniture, I also love being organized!
How to Makeover Your Old Filing Cabinets Video
Having so much paperwork it’s easy to quickly become unorganized. The first thing I had to do was remove the existing pulls on the filing cabinet. I removed them in order to create a flat work surface for the wood. I just took a flat-head screwdriver and lifted on the handles and they came out fairly easy. Here’s what the filing cabinet looked like after the handles were out.
Cut Your Craft Board
I used craft board from Lowe’s and simply cut them to the length I needed. This craft board is 3/8″ thick x 4″tall and x 36″ long. You need to lie out your craft board how you want it to look. You can put shims in between your craft board, or measure the space you would like in between the craft board. I just eyeballed it and went with my intuition.

Adding the Wood
Using wood glue and clamps, I adhered the wood pieces to the front of the filing cabinet how I wanted them to look. Since I am gluing wood to metal, I used Loctite heavy-duty epoxy glue. This is industrial strength glue so you can ensure a very secure hold. After the glue was dry, I primed the entire cabinet with spray paint.
Add the Hardware
Then I measured and marked where I wanted the cabinet pulls to go. I used a drill bit to drill thru only the craft board. The screws that come with the label pulls are short enough that it only needs to go through the craft board anyways. You can drill through your filing cabinet, but it’s metal and it would be more tedious. The glue should up very well. After I had the label pulls where I wanted them, I just screwed them into the craft board. I ended up spray painting just a light dust of gold metallic spray paint on the label pulls so that they would show up better against the dark paint.
I am so happy with how this DIY filing cabinet makeover turned out. It looks vintage, worn, and its definitely a one of a kind piece. It has a personality and imperfections; I truly love it and saved so much money doing this. What do you guys think?