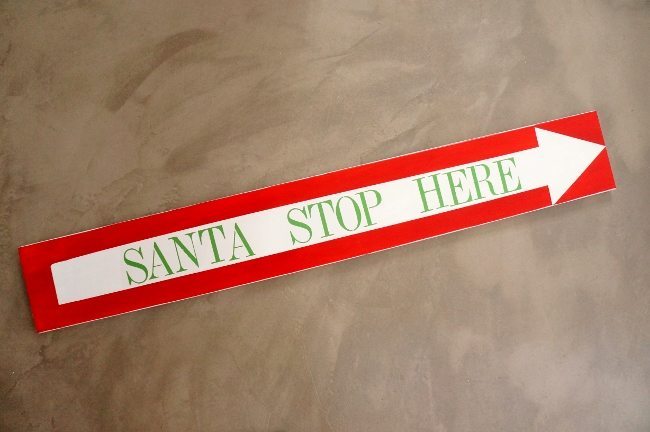
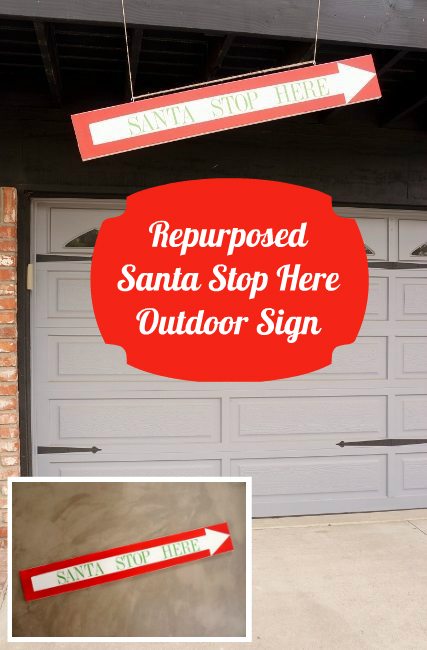
Santa Stop Here DIY Outdoor Sign
I am proud to be a 3M sponsored blogger, and, as part of my responsibilities, I get the opportunity to evaluate ScotchBlue™ Painter’s Tape . Opinions are my own and additional products used in the project were selected by me.
The other day I found a shelf that my friend was about to throw away. It had a few water stains, but I asked her if I could have it anyway. Immediately, I knew what I wanted to do with it. To be completely honest, my outdoor holiday decorating isn’t that great! We don’t even have the lights up! So, to give my home a little more holiday spirit, I decided to make this hand painted Santa Stop Here DIY Outdoor Sign.
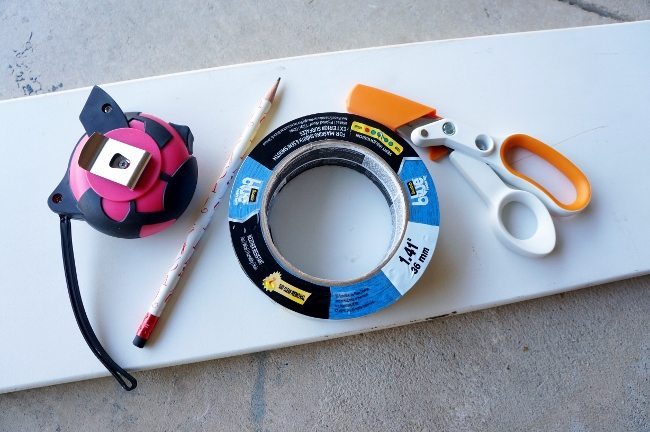
Materials:
- Wood Board or Old Shelf
- ScotchBlue™ Painter’s Tape
 Exterior Surfaces 2097
 - Measuring Tape
- Pencil
- Scissors
- Stencils
- Paint
- Paint Brushes
- Spouncer
- Plastic Lid
- Hooks
- Rope
 Exterior Surfaces 2097

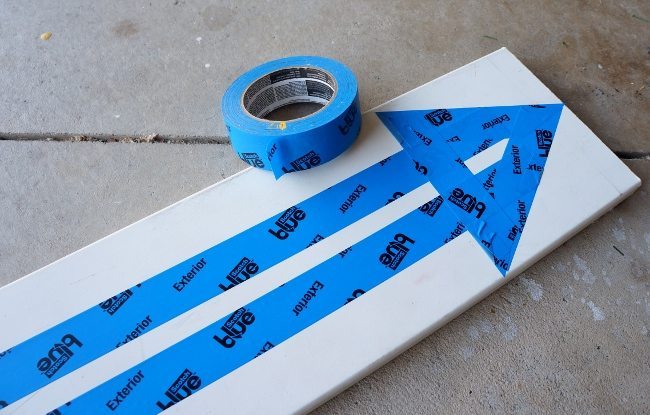
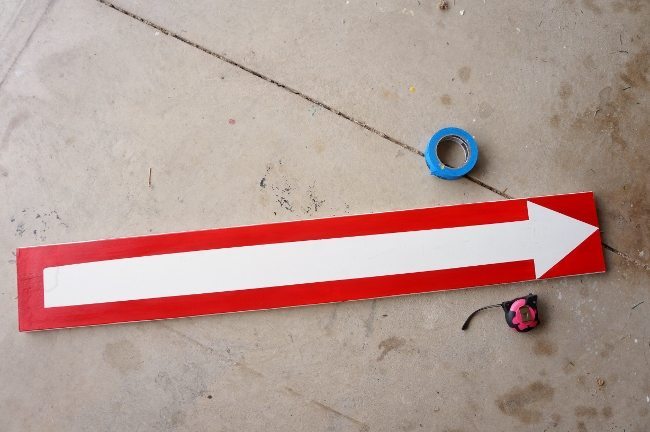
The first thing I did was gather my materials. I thought about hand painting the words, but remembered some stencils that I had that worked perfectly.
I measured the length of the board and the width of the letters and words to make sure it would fit, then I taped off an arrow with my ScotchBlue™ Painter’s Tape .
.
Next, I painted two coats of red paint on the outer boarder. I wanted the inside of the arrow to remain white so that my green letters would show up better.
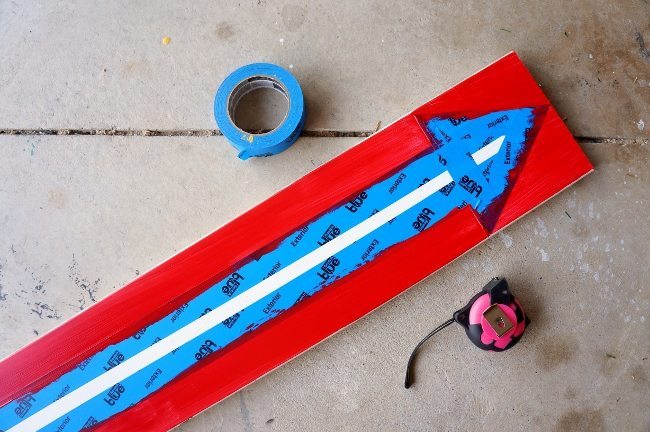
While the second coat was a little wet, I pulled off the ScotchBlue™ Painter’s Tape Exterior Surfaces. Holy moly!! I can’t believe how super sharp the lines were!
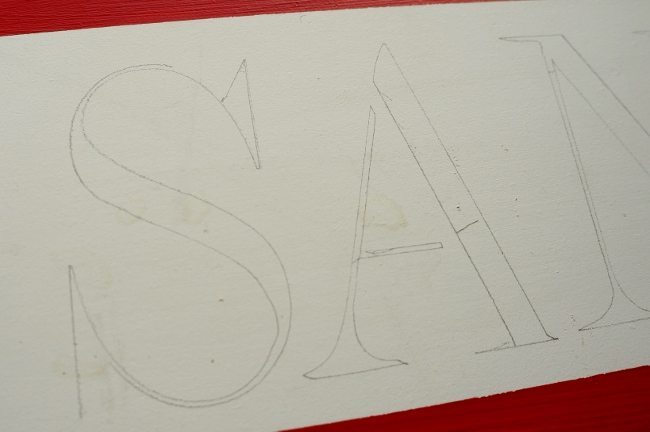
Once the paint was dry, I marked off the words in pencil using the stencils. I did this for two reasons: 1) to make sure the words were centered, and 2) it makes it easier to stencil, because I had to stencil each letter in a different order. This way, it’s more efficient stenciling a letter one at a time. You may or may not need to do this, depending on what stencils you use.
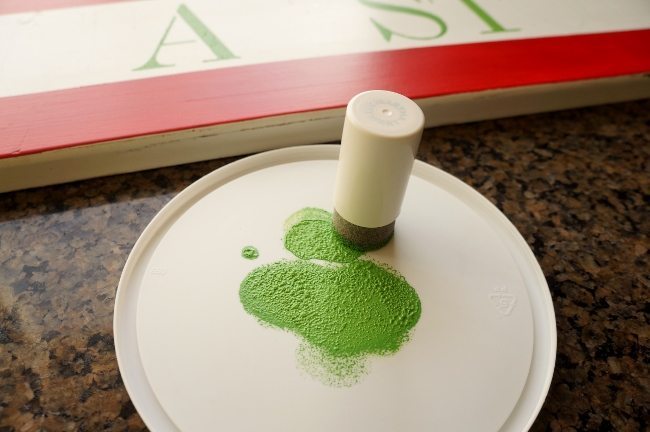
Next, I stenciled the words on using a spouncer in an up and down motion. I also like to use a recycled plastic lid for my paint.
Allow your sign to dry completely.
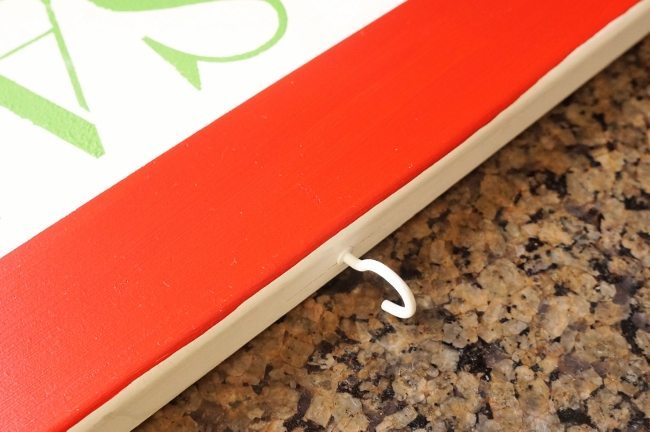
Next, I added some hooks to the top of the sign, measuring 10” from each end.
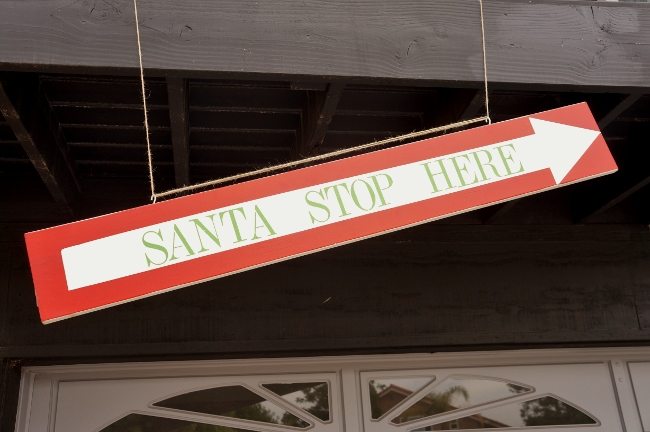
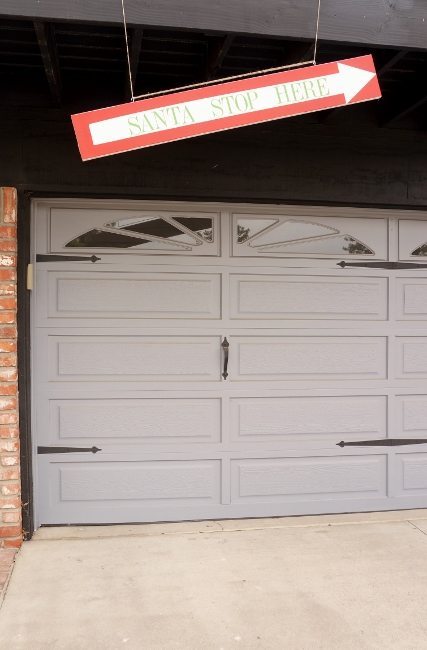
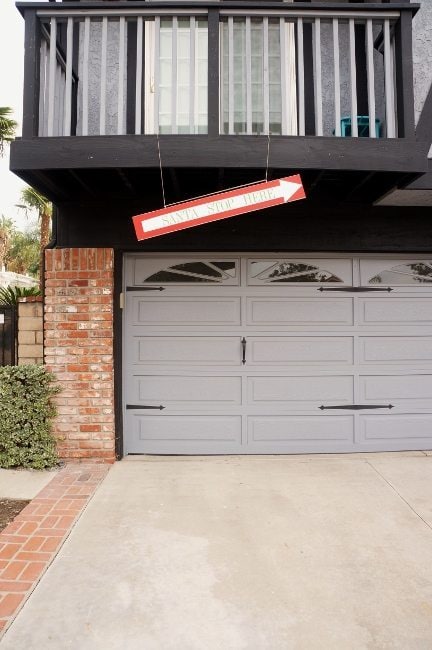
I hung the sign off of my balcony in an uneven position so that the arrow was pointing to the roof of the house.
Here are a couple after photos.
Stop by and say hi to ScotchBlue™ on their Twitter page , Facebook page , and Pinterest page . Tell them DIY Inspired sent you!

Like it? Pin it!
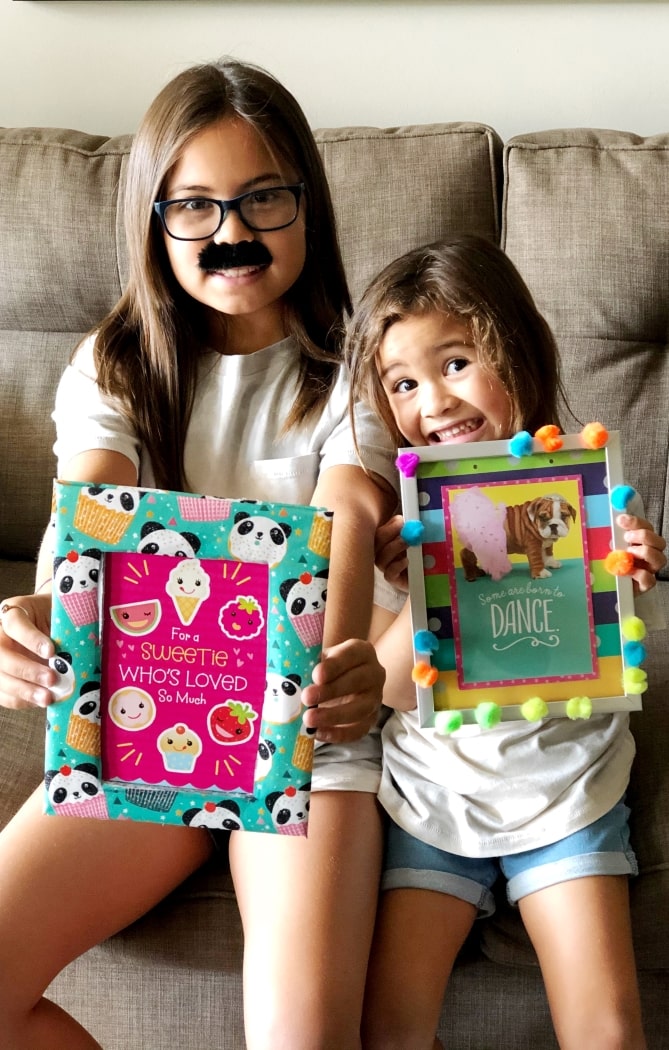


Too cute!! This would be a great gift to give too!
I should make one that says SANTA, I AM ADOPTED AN HAVE A NEW HOME. PLEASE FIND ME.