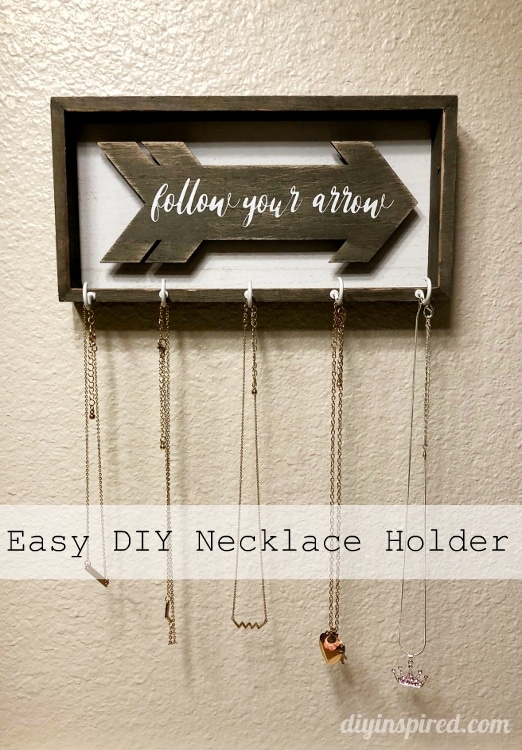
Easy Upcycled DIY Necklace Holder
How to Turn Any Sign into a DIY Necklace Holder
Now that my daughter will be 8 years old next year, she is making small transitions away from toys and into things like jewelry and accessories. To keep her jewelry and hair bow stash organized we started organizing her bathroom. It was a mess!
Somethings we did to organize her bathroom were:
- Organized her toothbrushes (she has a jillion…why is that?), toothpaste, mouth wash, and dental floss
- Put small hair ties, bobby pins, and clips in see through plastic jars
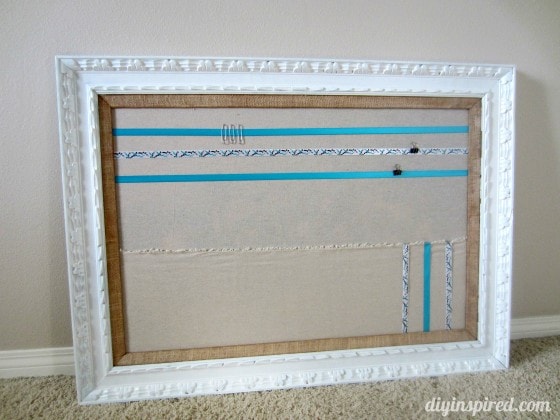
- Clipped all her hair bows and headbands on a chicken wire frame and hung it up for her to see and easily access
- Put all her jewelry in one place (it was scattered all around the house!)
- Organized her drawers in sections (hair, makeup, nails, towels, etc.)
- Bought her own special hand towel and bath mat. She seems to keep things more organized if it’s her own.
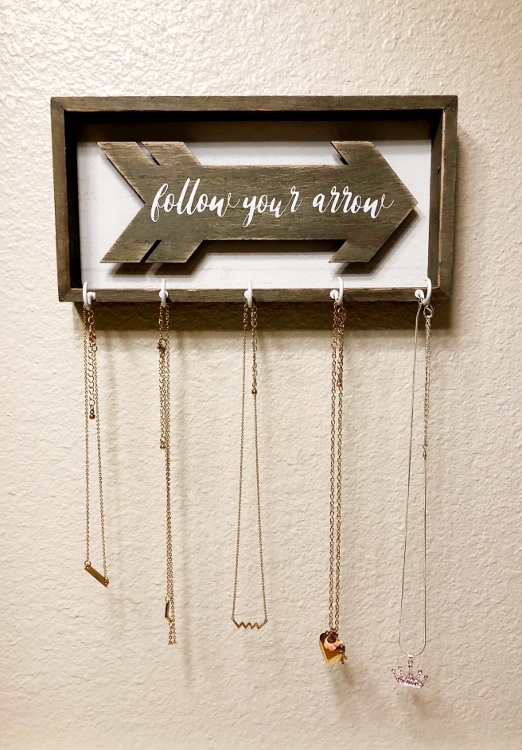
One of the things I made was this simple DIY necklace holder out of a $5 sign from TJ Maxx. I thought this was a pretty good deal versus making it myself from scratch. PLUS, she loved this sign when he saw it. Easy win for me.
This holder is great because it keeps the necklaces and bracelets untangled and puts them on display, so she can easily choose and return them each day.
Here is a short video I made.
Watch the Video
I suppose this doesn’t need too much instruction, so here are some tips.
Find the Sign
Look for signs made from wood or MDF. I have had good luck finding small signs like these at:
- Thrift Stores
- Flea Markets
- Any Dollar Store
- TJ Maxx and Home Goods
- Target Dollar Spot
- Walmart
It doesn’t have to be a sign either! A wooden picture frame or old framed artwork works well too. Find one at the above places. If it is second hand, you can always paint the frame a different color to match the bathroom.
Add the Cup Hooks
Cup hooks or screw hooks come in different sizes and colors. You can find them in nickel, stainless steel, brass, white, antique bras, and wrought iron to match the sign. You can get a pack of them for a few dollars. If you want a variety of them, this is a great buy (affiliate link).
Instructions
All you need is:
- Sign or Frame
- Cup Hooks
- Ruler
- Pencil
Simply measure the bottom width of the sign and place a mark on where you would like the cup hooks. Make sure they are evenly spaced by using a ruler. Apply pressure and screw in the cup hooks.
That’s it! Instant necklace holder.
To attach the sign if there is no hanger, use Command Strips (affiliate link).
If you like this, check out my other upcycled DIY posts:
DIY Repurposed Signs for the Laundry Room
Repurposed DIY Thanksgiving Sign
Stenciled DIY Coat Hanger for Kids
Repurposed Laminate Flooring Coat Hanger
Like it? Pin it!
I would love it if you liked and subscribed to my YouTube channel! Thank you in advance!