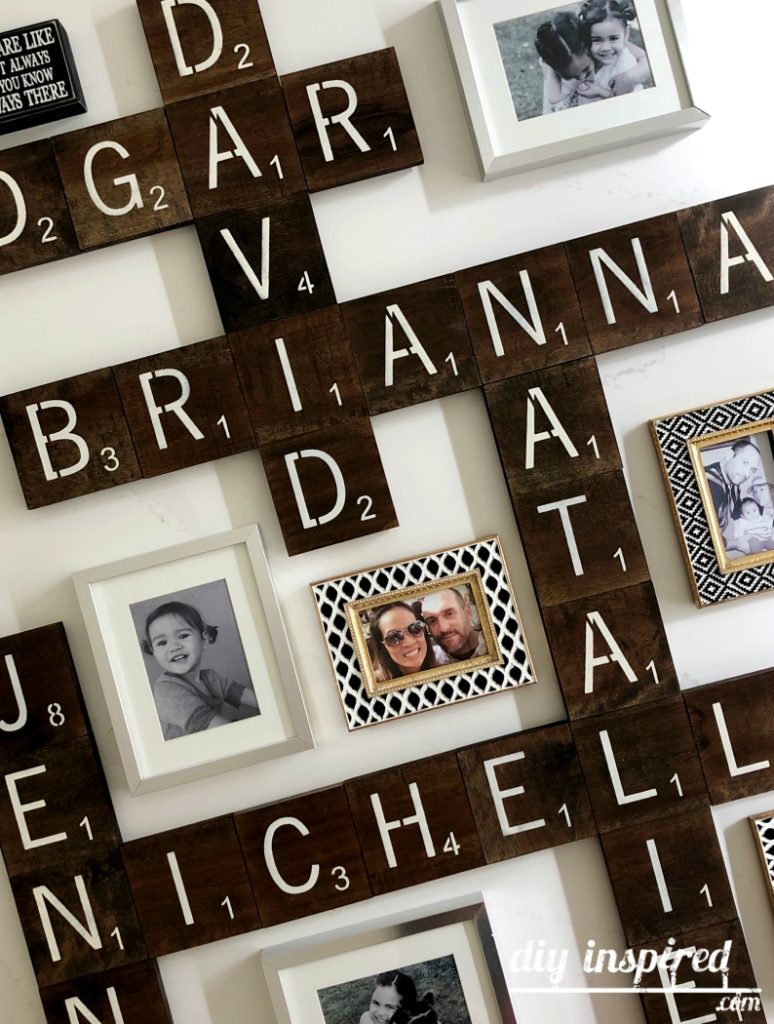
DIY Scrabble Tile Wall Art
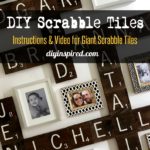
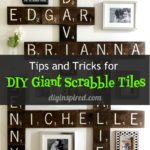
Tips, Tricks, and Video Instructions for DIY Scrabble Tile Wall Art
Once he found out I was a Crafter, my daughter’s softball Coach asked me if I would attempt DIY Scrabble Tile Wall Art. He and his wife loved the idea, but they wanted them stained in espresso to match their décor. They also wanted them hand painted. They did not want the letters cut out on a machine, as they often found online.
Before you Begin
The size and colors for these Scrabble tiles are completely up to you. You should consider:
- Size of your wall/space: How large do you want it?
- Color: Do you like the look of traditional tiles or would you like to stain it to match your furniture and home décor?
- Arrangement: How would you like the names arranged?
- Other Accessories: Will you be placing other photos and wall décor in between negative spaces?
Use real Scrabble tiles to create your design. For example, for his project, my friends gave me a photo of how they would like the family names arranged. They had six names, 32 total letters, and wanted 5.5” x 5.5” tiles.
I will also include Amazon Affiliate links for the recommended products that I actually used for this project.
Watch the Video
Keep scrolling and you will find detailed instructions along with the materials I used for this project. But first, here is the YouTube video I made to go along with it.
Here’s What You Need
Time: Weekend Project
Materials
- .75 in x 5.5 in Birch Wood Plank
- Square Edge Common Board
- Straight Edge
- Pencil
- Wood Stain (optional)
- Brush for Stain
- Miter Saw
- Hand Saw
- Sandpaper
- Wet Wipes or Damp Paper Towel
- Plastic Gloves
- Tarp
- Painter’s Tape
- Scrabble Tile Stencils
- Acrylic Paint
- Spouncer Brush
- Wood Glue
- Polyurethane Spray
Making Your Scrabble Tile Wall Art
Below I will go over:
- Cutting Your Tiles
- Staining the Wood
- Stenciling Your Scrabble Tiles
- Connecting the Names
- Final Touches
Cutting Your Tiles
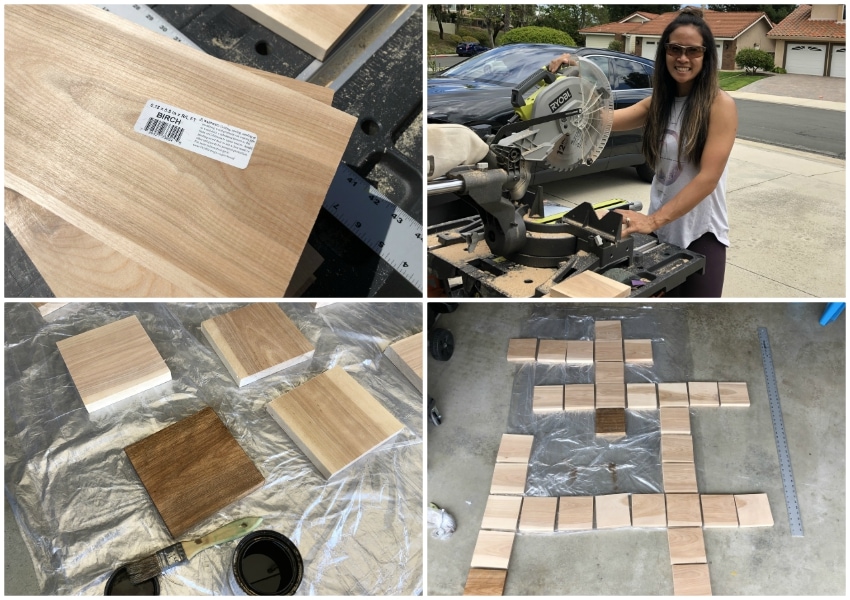
I chose birch wood. It is smooth and sturdy, and beautiful and I wanted this to last forever for their family. I ended up buying 2’ ft birch wood planks and cutting them with a miter saw.
Measure the first tile at 5”x 5” and mark it with a straight edge and pencil. To save time, after you cut that first tile, use it as a size template to cut the remaining tiles. After you cut the tiles, sand any rough edges and remove any debris.
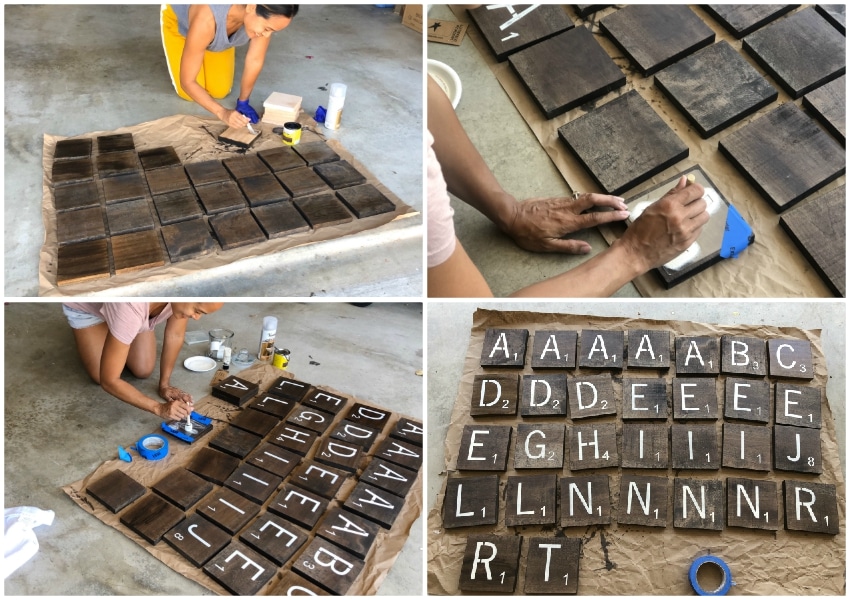
Staining the Wood
Per the family’s request, they wanted the tiles in espresso color to match their living room furniture. I did a few tests to get the ultimate stain finished they liked.
The stain I used is Varathane Wood Stain in Espresso . Lay out a tarp to protect your area and wear plastic gloves. Shake the can and use a brush to apply the stain. Allow the stain to dry completely. Be sure to read the directions on the can, as application of some stains are different. I let these tiles dry overnight.
Stenciling Your Scrabble Tiles
To help you stay on track and organized, list all the letters in alphabetical order on a sheet of paper and tally how many of each letter you need. Cross them off as you stencil them.
I searched online for the best stencil. I ended up choosing Scrabble Letters Stencil Kit – 5 Inch Tile Stencil – Reusable – Paint Your Own Sign and I highly recommend them. The shop name is BarnStarStencils. They were perfect. Depending on the size of your tiles, I would choose a stencil that is a half inch smaller. For the paint, I used FolkArt Multi-Surface #2939 in Vintage White satin acrylic paint.
Tape the stencil down on the tile using painter’s tape. You need very little paint. I think I used less than a half of a 2-ounce bottle of paint for all 32 letters. Dab some paint on your spouncer brush (by the way, I tested a few types of spouncer brushes and these were the best for his project) on a paper plate and dab off any excess paint. I’ve done a lot of stenciling projects using this technique. Move the spouncer in a direct up and down motion. I did 3 light coats per letter. You do not need to wait for the paint to dry in between coats. Stencil them same letters at once. For example, stencil all the A’s and then wash your stencil after with light soap and water. Be sure to dry them and place them back into the package.
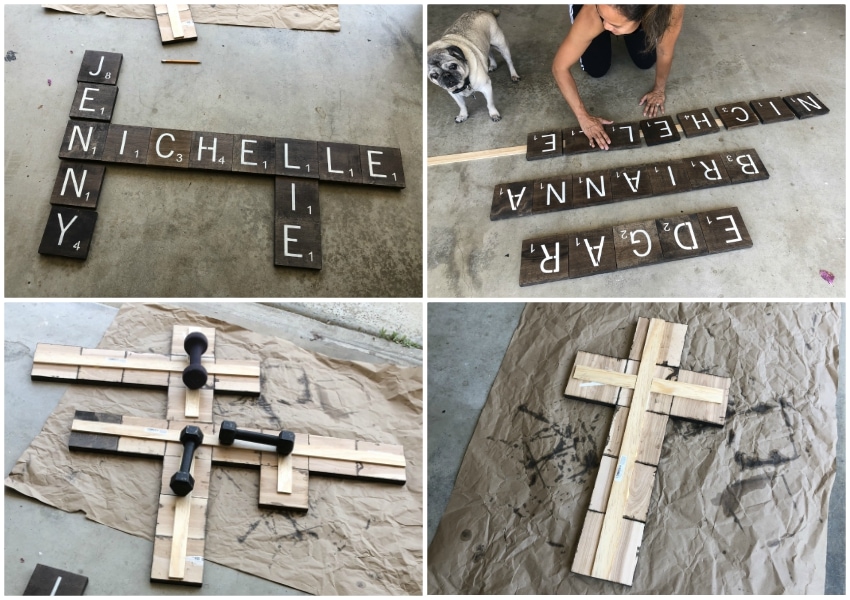
Connecting the Names
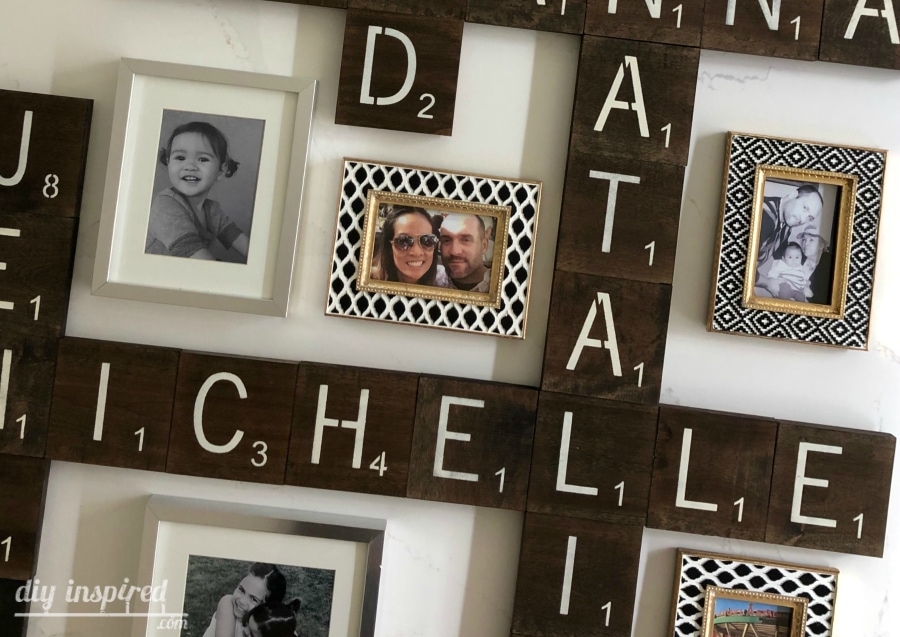
Since there were six names, I ended up making this in 3 separate pieces to make it easier to hang and center on a gallery wall. Also, birch wood is heavy. The arrangement is up to you and your design.
I used Square Edge Common Board to connect the names. I bought two 6’ boards at Home Depot and used a hand saw to cut them down to size. The wood glue I chose was Titlebond II Premium wood glue . Glue the name onto the precut common board. Be sure to place glue in between each tile as well. I also placed weights on top to help set the glue and keep it from moving or sliding. Allow the glue to dry overnight.
Final Touches
To finish it up, I wanted to protect the paint with a top-coat. The top-coat spray I used is Varathane Ultimate Polyurethane . Be sure to spray it in a well-ventilated area. Give the can a shake and make a test spray. Spray it evenly over the top.
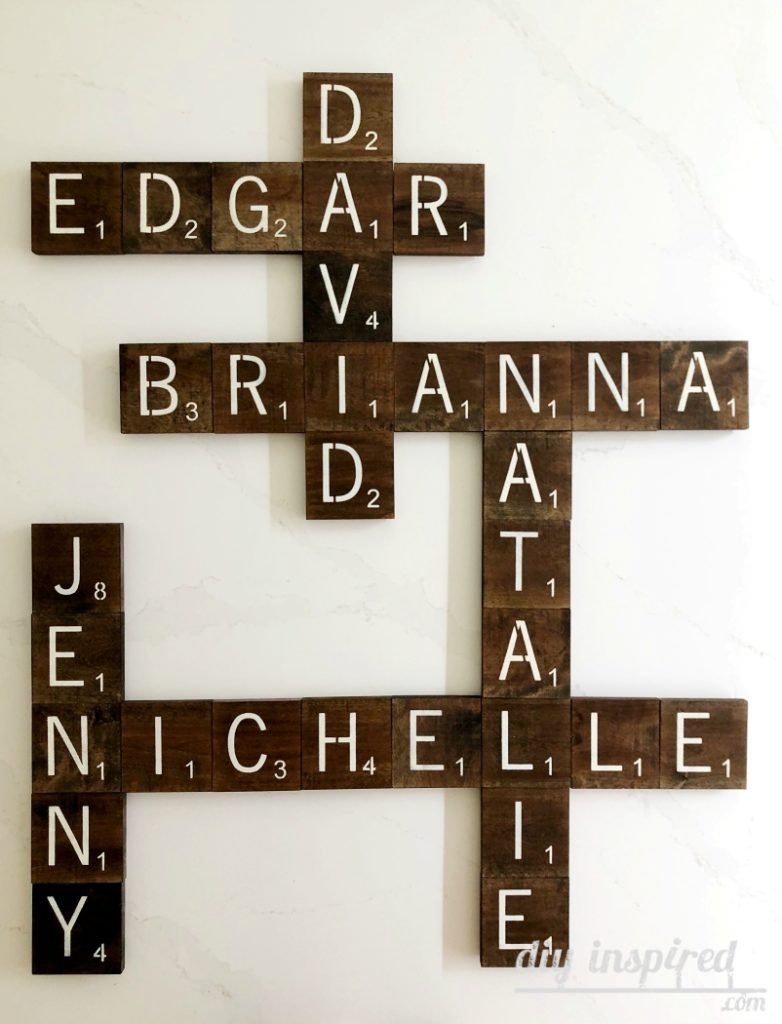
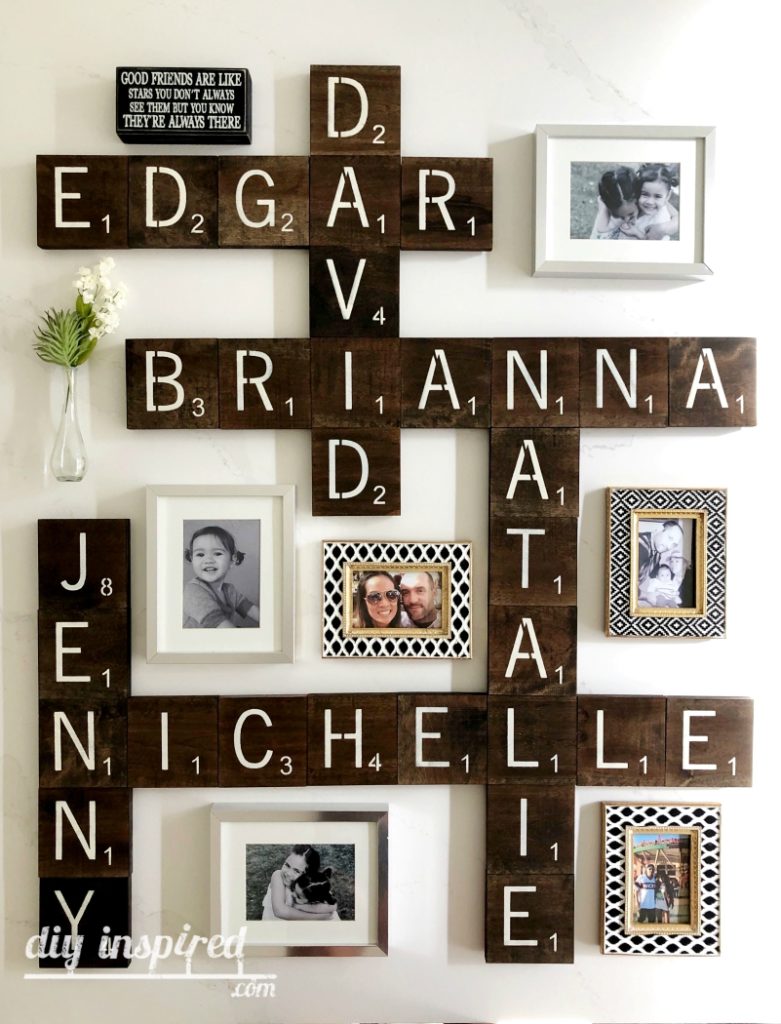
Here are a few photos of this easy DIY Scrabble Tile Wall Art. I used our own family photos so that they had an idea of how to style it. I hope you try it!
You May Also Like
4-20-20

You mentioned you did it in separate pieces how did you make it look like one solid piece hanging up?
Depending on your arrangement, you will have to add wall hangers on the back, and hang accordingly on your wall so that it connects.
Do you have the link of the exact wood you used from Home Depot to connect the letters?
Just look for Square Edge Common Board. It is similar to this: https://www.homedepot.com/p/1-in-x-5-in-x-8-ft-Premium-Kiln-Dried-Square-Edge-Whitewood-Common-Board-1X5-8FT/315221937
To clarify, you used 5×5 wood pieces and 5″ stencil, but you recommend using 1/2″ size small stencil? If I did 4×4 pieces, what size stencil do you recommend?
Hi Cathy! When you order Scrabble Stencils online, the size they advertise is actually the size of the border, not the letter. For example, if you order 4″ X 4″ stencils, the letter is actually 3″ X 2″. So, if you are using 4″ X 4″ pieces of wood, order the 4″X 4″ stencils. I hope this helps!