DIY Rope Vase 15 Minute How To
Turn a Thrift Store Vase into a DIY Rope Vase
I love bringing the outdoors in. There are so many ideas jumbled in my head on how to do this; so I looked around at my own home to see what I had done myself to get closer to nature. I have a lot of natural elements displayed in my home décor and one of my favorite “chores” is to cut fresh flowers from the garden. One time I made cotton stems out of branches from our back yard. I did decide to take my own advice and make a couple new vases. Here is my DIY Rope Vase How To. The best part? It only takes about 15 minutes to make!
Upcyling a Thrift Store Vase
Time: 15 Minutes. duh.
Materials:
Materials list contains recommended affiliate links.
- Glass Vases
- Rope

- Scissors
- Hot glue gun and hot glue sticks


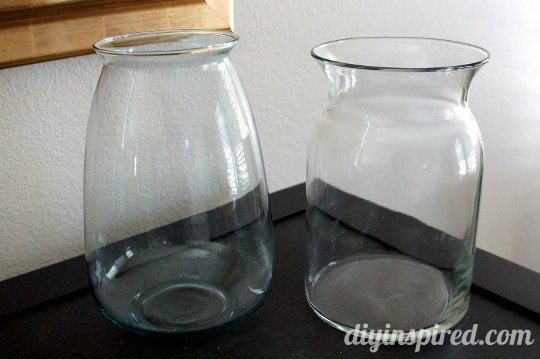
Step One: Choose your materials.
I had a successful trip to the Salvation Army the other day and I found some nice glass vases for $2.00 each. In choosing a vase, look for the desired shape and choose a heavier more sturdy weight. Sometimes, especially while thrift store shopping, you come across light weight vases that break easily. Those are likely the vases that your flower arrangements come in and collect dust in your cabinet. I chose wide hurricane style vases.
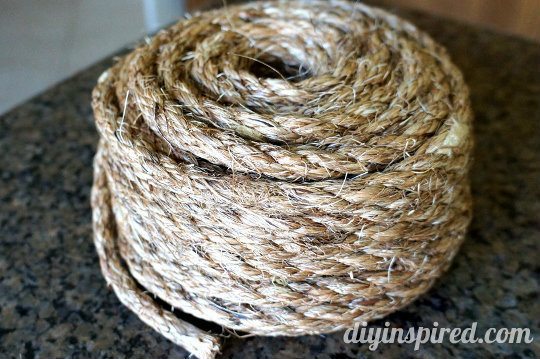
For the rope, I went to the hardware store and found manila rope (3/8 inch X 50 feet). I chose it for the thickness and the color. There were a few options in sisal, but I wanted a darker color. Fifty feet will make at least three vases of this size. I purchased it for $8.00.
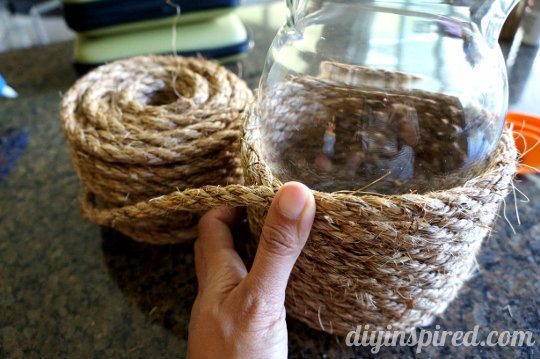
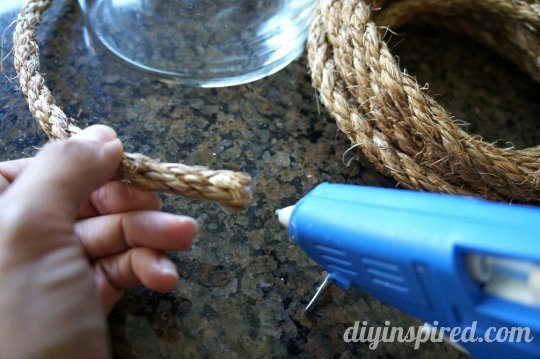
Step Two: “Measure” the desired length.
The best way to measure the amount of rope you need, wrap it around the vase without gluing it until you reach the desired height and cut it. This is easy to do with a thicker rope like the one I chose. Another option is “winging” it… haha!
Step Three: Unwrap & Glue
Unwrap the “measured” rope and glue the end to avoid fraying.
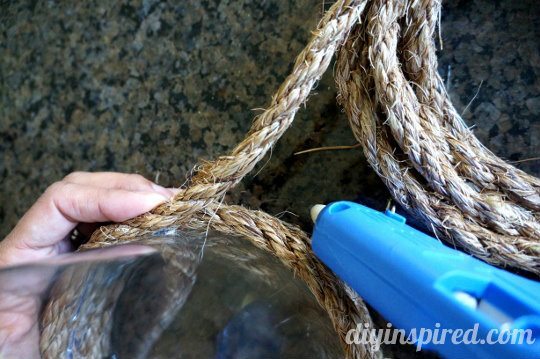
Step Four: Wrap and Attach
Start wrapping and gluing as you go! To finish it off, cut the end of the rope on an angle and glue it down.
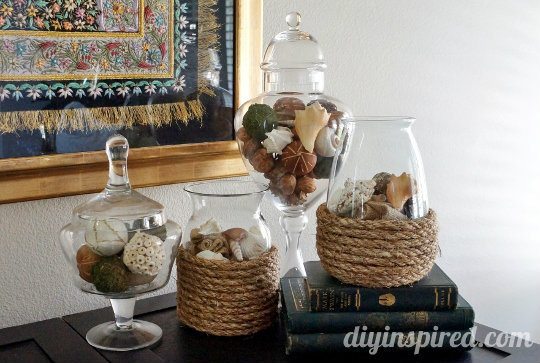
Here is the finished look. Fill your vase with flowers for spring, shells for summer or, or cotton stems for winter!

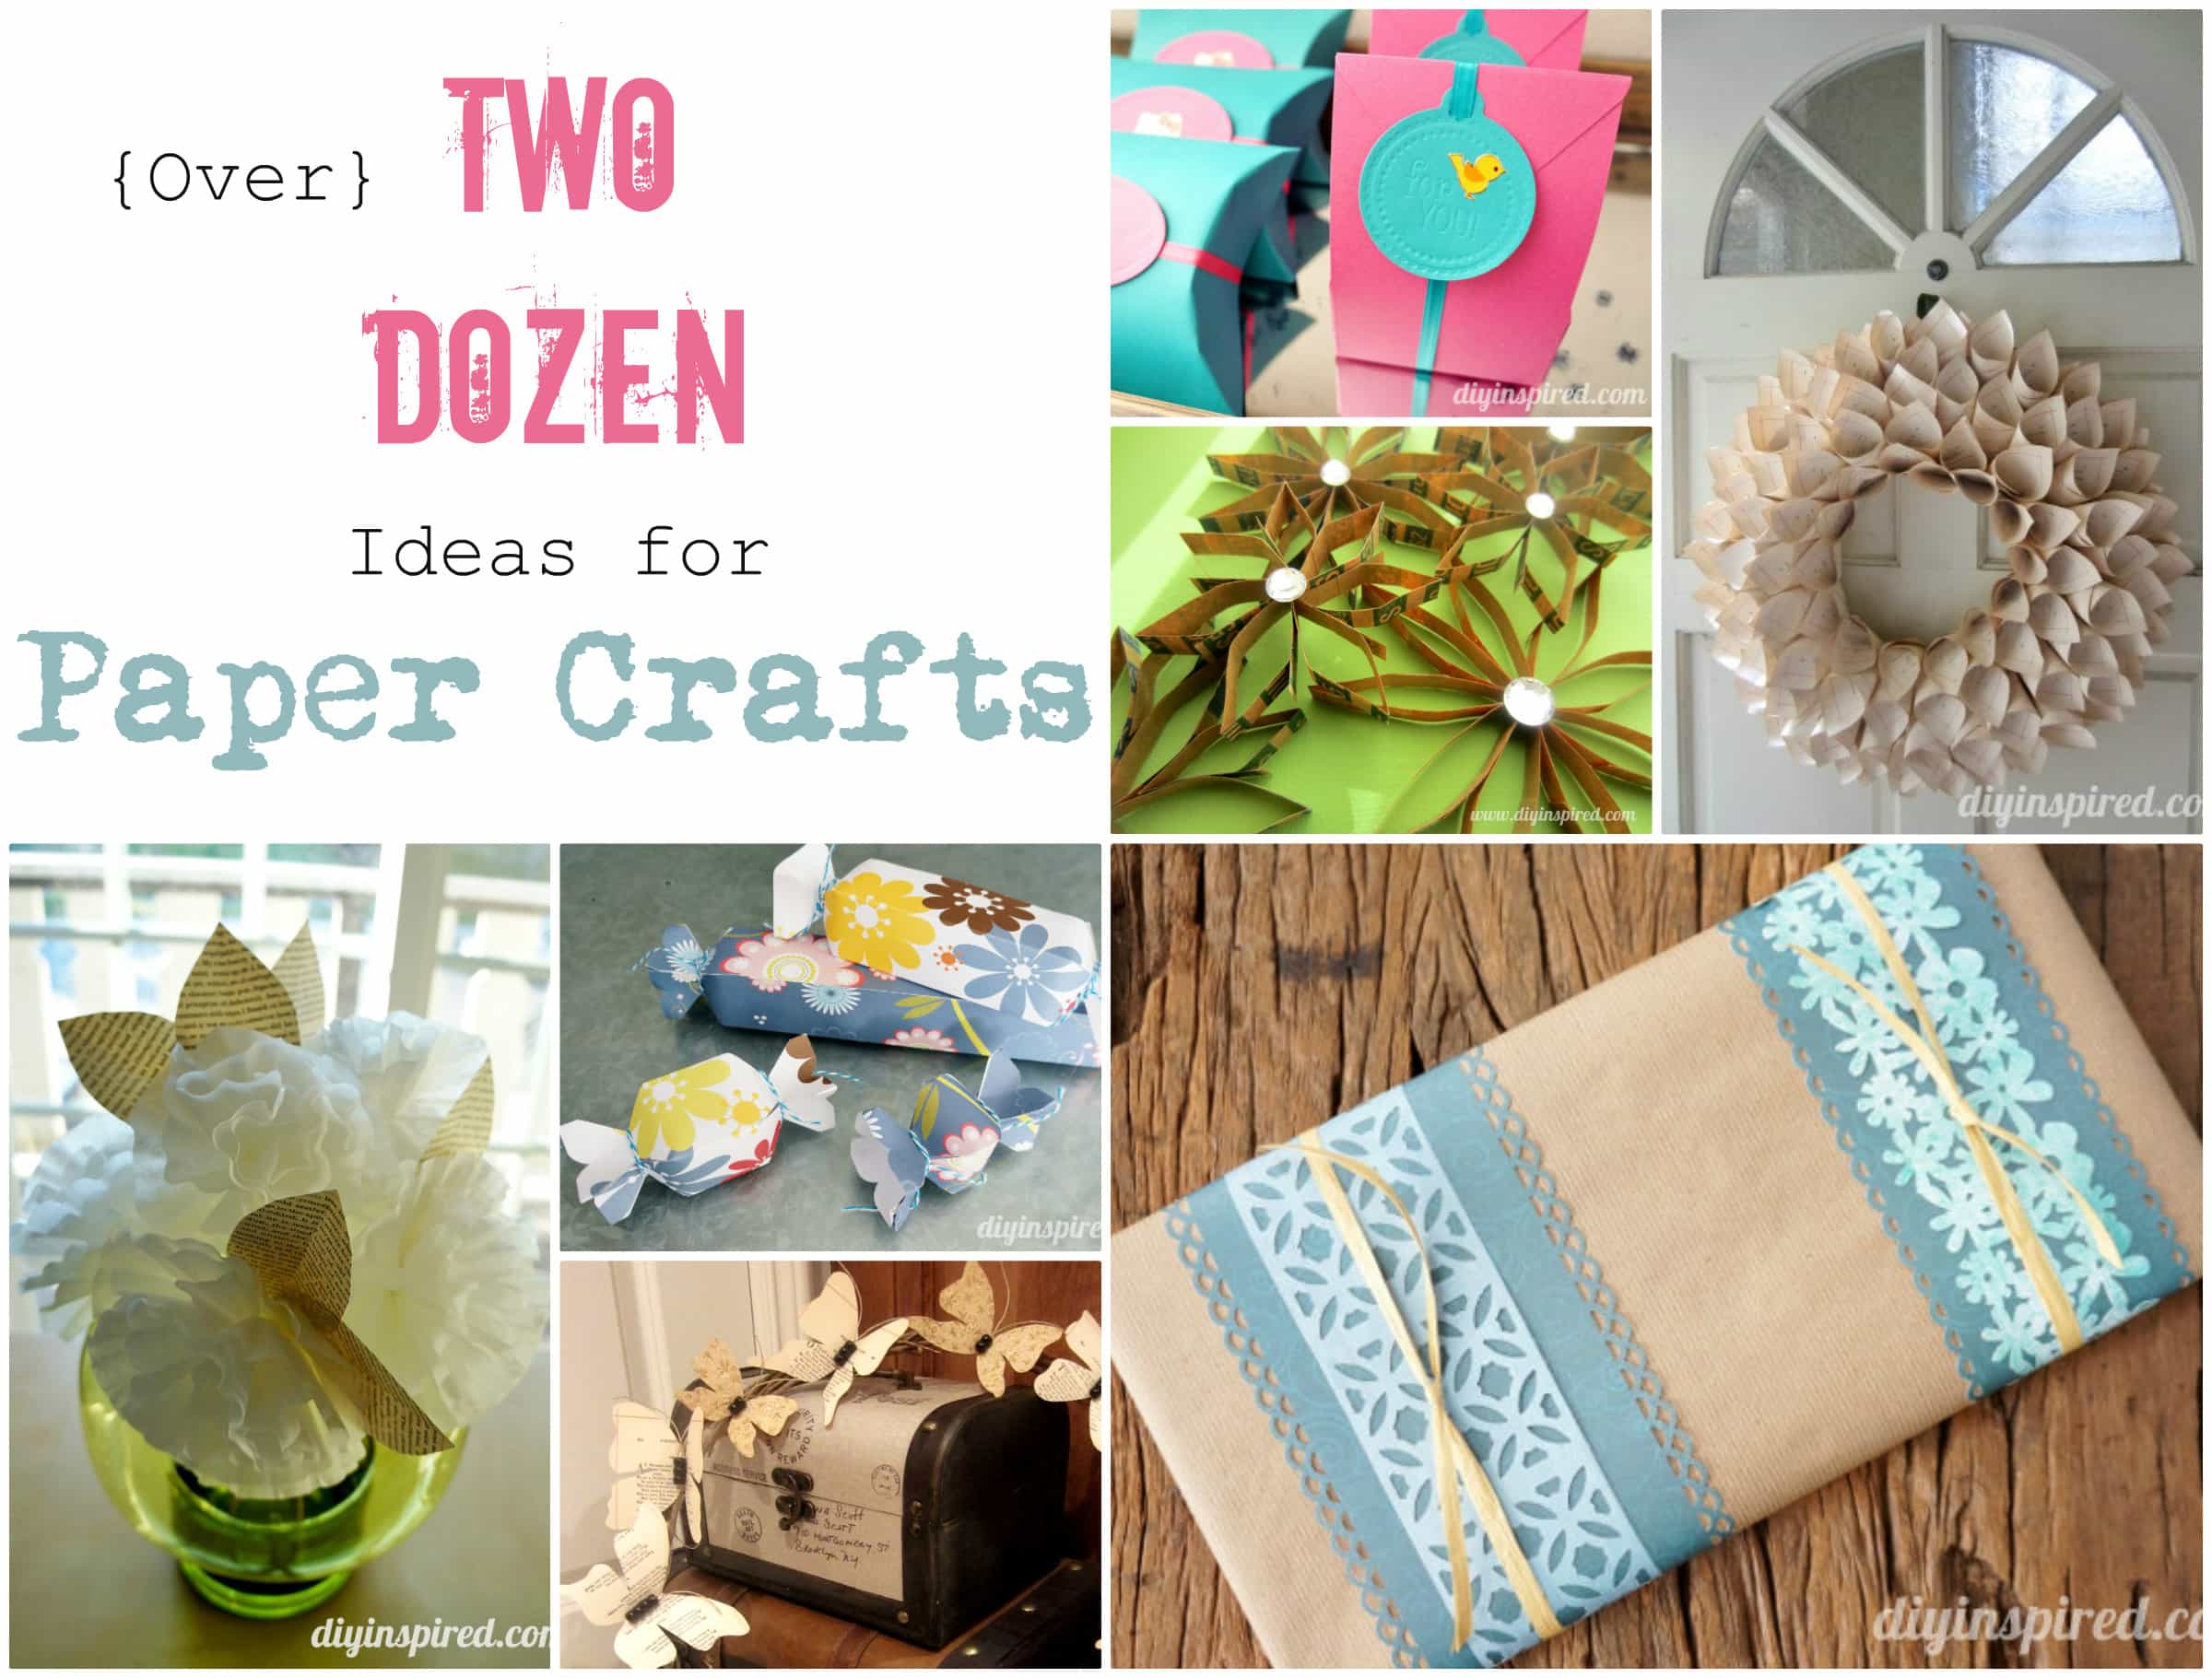
You May Also Like:
Learn how to upcycle an inexpensive folding chair from a thrift store with this simple tutorial. I love this chair! I am now on the lookout for for more folding chairs like this. I’d love a matching set, well at least one more.
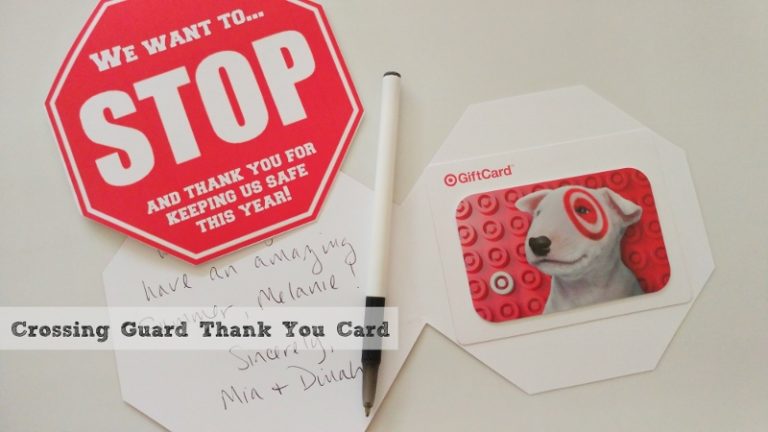
Other Fun Home Decor DIY Ideas
Here are a few more tutorials to help up your DIY home decor game! That’s a game, right? I know, I’m a dork. I hope you like them!
I love this; and I actually think I can do it. I’m not all that crafty (well depends on your definition)… so this looks very easy.
You can definitely do this one, Blondie! I’ve seen them in stores for a lot more than they cost to make.
Finally something to do with all of those florist vases I have under the sink!
Haha!! YES!! This is the perfect craft to do with those free flower vases!
Great project! It has such a summertime feel, and would look fantastic outside too 🙂
I love the chunkiness of the rope and the rustic natural touch it gives to your vase! I love adding bowls and vases of shell in my home too! Great tute – pinned!
Thank you, Heather! That means a lot coming from you because you have such great taste!! 😉
Do you think regular white glue would work just as good? I’ve got an after school girls club that would love to make these but we dont have hot glue guns…
I think it should work, because it dries clear. You may have to think of some way to hold the rope together while it dries. The great think about hot glue is that it dries in seconds! Let me know how it turns out!
Regular glue worked great! We just painted it on to the vase and wound the rope along the glued part. It was pretty sticky, but lots of fun! Thanks for the idea!
AWESOME!!! I would love to see a picture if you get a chance!
How pretty and country.
Thank you!
How do you end the rope so it ends evenly and looks neat?
Hi Joan! You can cut the end on an angle, then hot glue it down.