DIY Repairs: Yes You Can!
DIY Repairs Guest Post Written By: Liz Becker
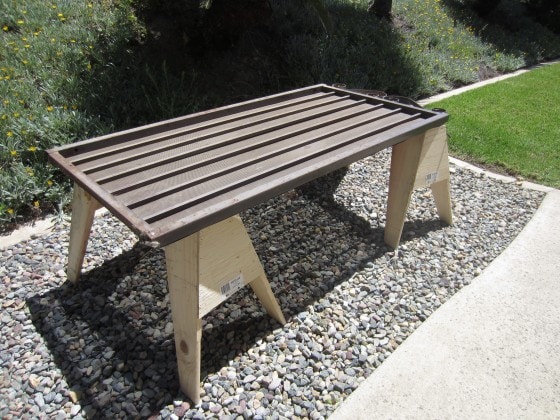
By now you know all about the concept of one man’s trash being another man’s treasure. It applies to everything from the slightly (or maybe even very) banged up stuff you find on curbs and in thrift shops. It applies even to things like wood pallets. If you know what you’re doing, you can even use this philosophy on your own appliances.
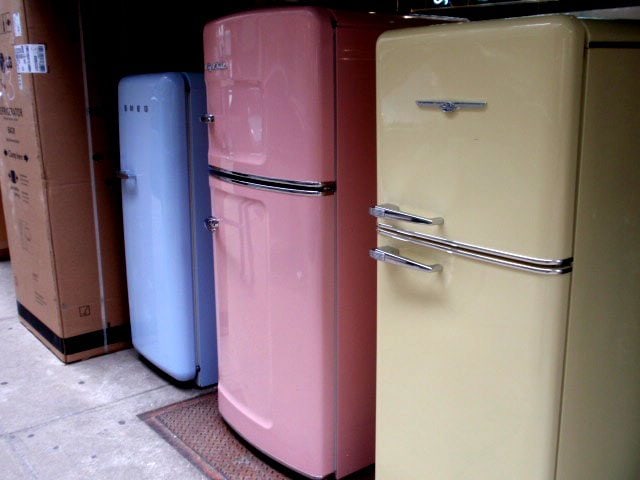
For example: that antique refrigerator that you love? You inherited it from a grandparent. It adds so much character to your kitchen…but lately it’s been misbehaving and you’re worried that you might have to toss it and go with something mass produced.
Wait!
Instead of sending it to fridge heaven, why not repair it? With the right tools and guidance you can do everything from giving the thing a thorough cleaning to installing the specialty coils you need to keep the machine running properly in spite of its age.
Before you throw out anything of character, do the following things:
1. Give it a thorough cleaning and scrubbing. Continuing with our refrigerator example, defrost the freezer and scrub down the inside and the outside. That wall of ice that builds up in the freezer? It can cause both the freezer and the refrigerator to malfunction. It can freeze the machine’s motor in place.
2. Take off the “casings” of your fridge and freezer. Make sure, obviously, that the machine is unplugged and then unscrew the linings from the machine’s frame. Unscrew any Styrofoam that might be covering the fan. Clean both sides of these linings and the Styrofoam and let it dry completely. While it dries, thoroughly inspect every piece that has been exposed to make sure that there is no ice, mold or other buildup in the workings of the machine.
3. If you do find ice, you can use hot water to help melt it safely. Then let everything dry.
4. While you’re waiting for the inside of the machine to dry, inspect the back. Make sure that the refrigerator coil is clean and intact. Inspect every inch for wear and tear and make sure that its connections are installed correctly. If it looks old or like it might be wearing down, you can order new specialty coils to replace it.
5. Scrub the drain pan clean before you put everything back together.
IMPORTANT: Do not mess with the Freon yourself unless you are actually trained to do so. No, seriously, just don’t. Yes it will be tempting to tinker with it but resist that temptation. You don’t want to accidentally render the entire machine useless (and potentially hurt yourself too). If your fridge’s Freon is the problem, hire a professional repair person to fix the machine and return it to working order.
You can use the DIY repair approach with most things in your home: your air conditioner, your stove or oven, etc. Be careful with heating machines, though—you don’t want to accidentally set anything on fire!
DIY Repairs Guest Post Written By: Liz Becker