How to Paint a Dresser
Easy DIY Projects: How to Paint a Dresser, 2 ways
I salvaged this chest of drawers when one of my best friends moved (AKA: It was free!!). Although it was already beautifully hand painted, it wasn’t my style. I decided to repaint it using a wall stencil and then repainted it again with a second makeover. Today, I’m sharing two ways to paint a dresser. Here are the steps on how to paint a dresser. Here is the before:

Painting an old dresser
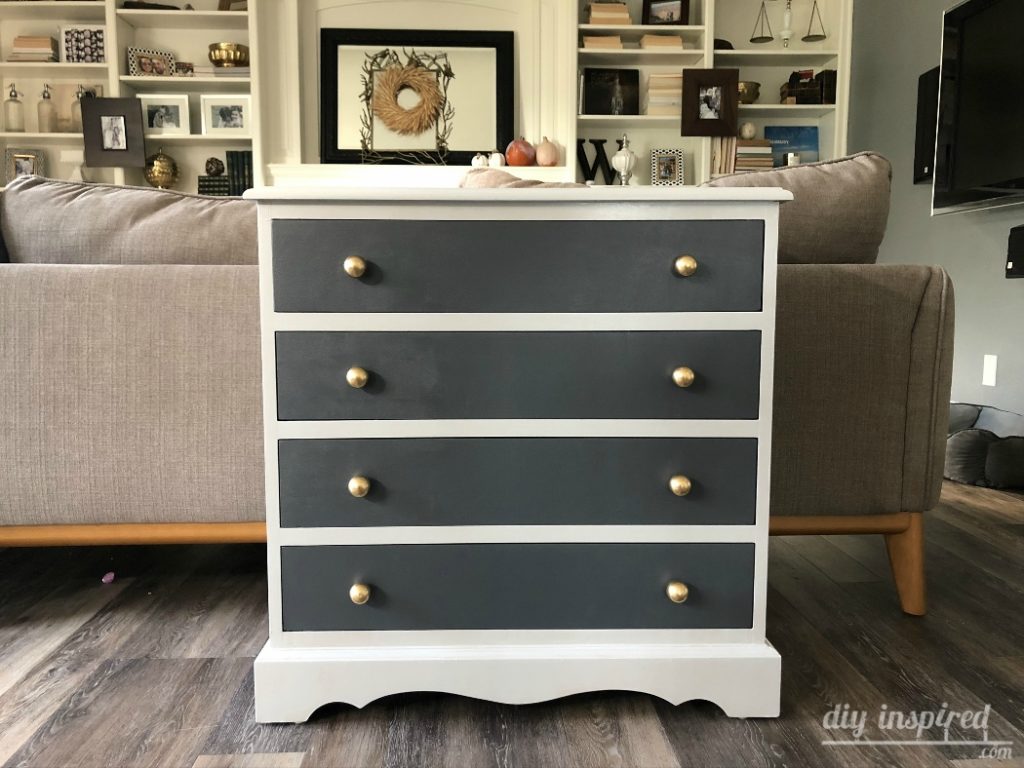
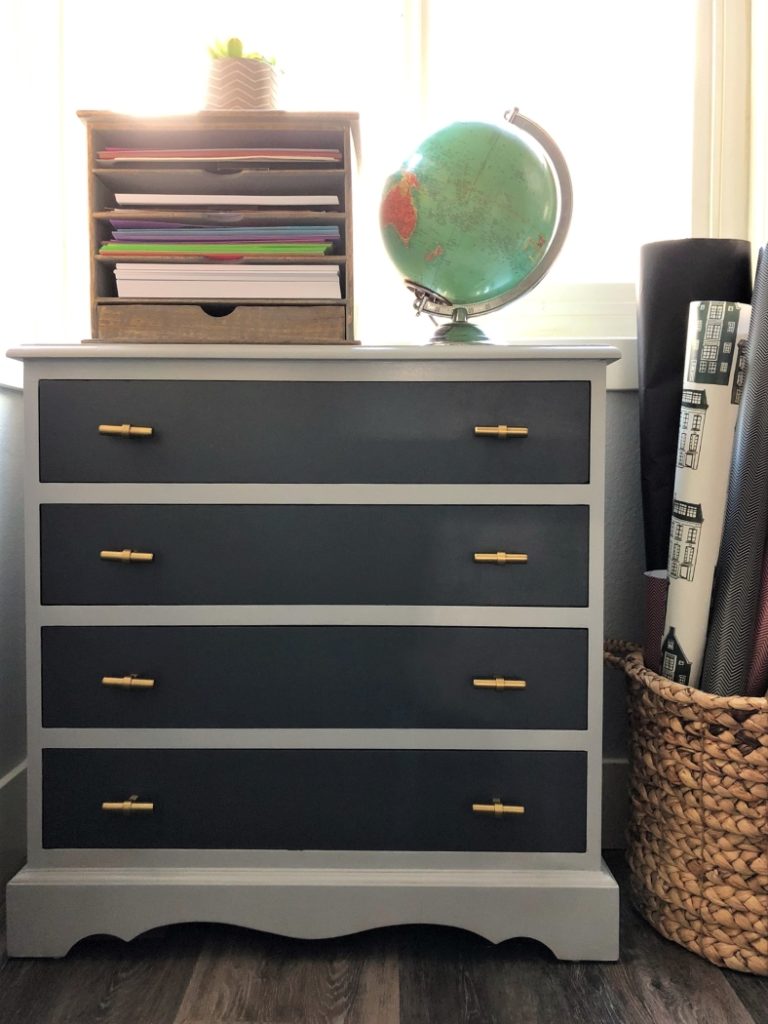
Let’s go backwards. I want to share my most recent makeover first because the stencil project was done YEARS ago. Back then, my style was much different. This makeover is how it looks today.
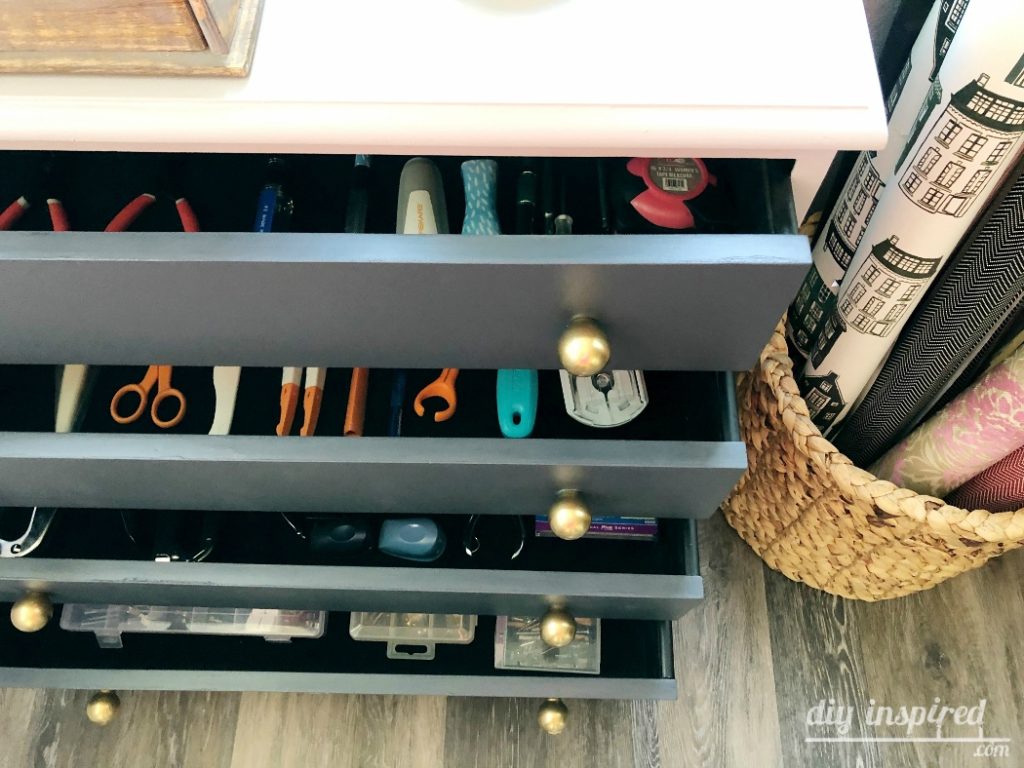
It’s in my craft room and it is SO functional, especially because the drawers inside are lined with velvet. I keep all my craft tools organized inside.
You can view the entire tutorial here: How to pant a Dresser for Free. This includes the full materials list and step by step instructions.
I also did a video:
After I completed this one, I ended up updating the knobs as well.
How to Paint a Dresser & Stencil It
This was one of my first furniture makeovers EVER, back in 2011. I’m not going to lie; it was quite taxing to stencil because of the several coats of primer and paint. Needless to say, it took several days to paint but I was happy with the finished DIY product. I did not need to sand this dresser because the surface was already smooth. I did, however need to apply two coats of primer, since the existing artwork was so dark in color. Be sure to check out my article for when and how to use primer for DIY painting projects and furniture makeovers.
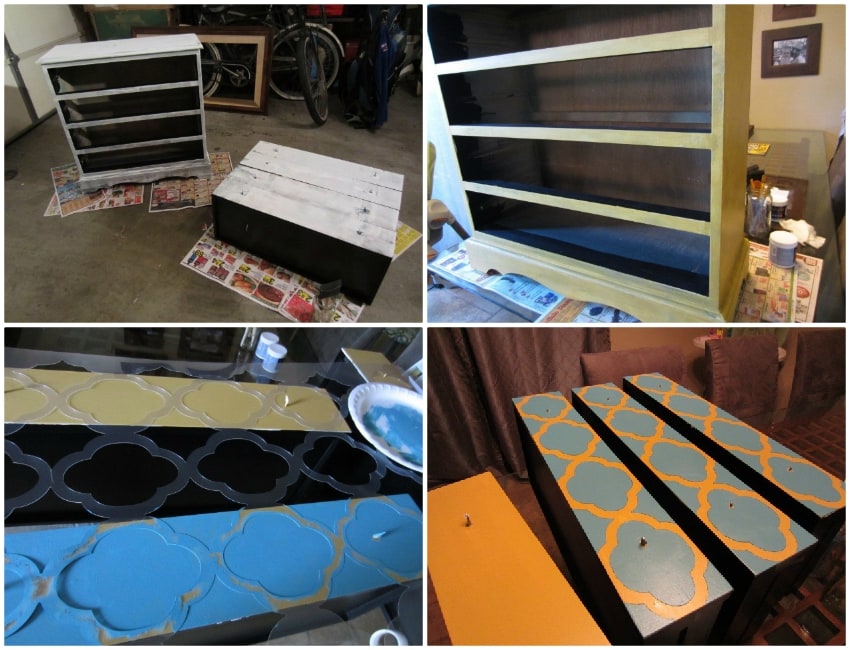
Here’s how I stenciled it.
- I painted two coats of the base color next and then I used a wall stencil for the design. On a side note, smaller stencils will make your project much easier! Make sure the paint is completely dry in between each coat.
- When stenciling the drawer with the accent paint color, make sure the stencil is flat. Keep adding coats until you reach the desired color.
- Add a coat of polyurethane and allow it to dry overnight.
- For the final touch, I purchased blue ceramic knobs at Habitat for Humanity Restore for only 25 cents each! Habitat for Humanity Restore has everything you need for DIY any project.

Tip: A sample size of paint is plenty for this project. You can find sample sizes at a discount (50 cents to $1) at Lowes “Oops Table” or at Habitat for Humanity Restore. Another inexpensive option is to use spray paint.
I hope you like my tips on How to Paint a Dresser.
You May Also Like
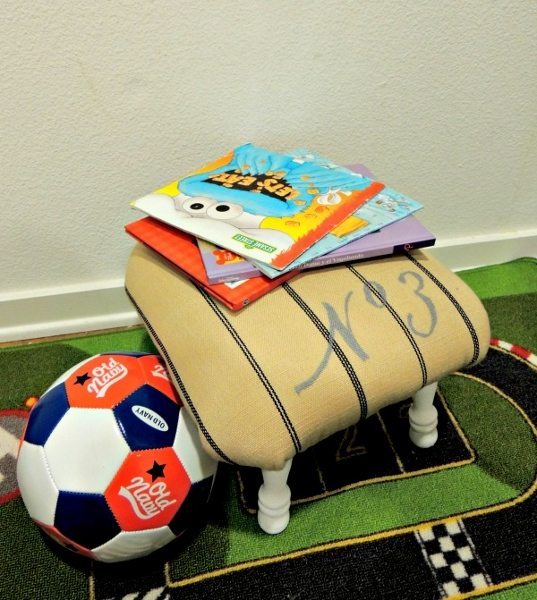
Check out the matching craft room stools I made over as well.
This post was originally written on June 20, 2011 and since been updated and improved.


love this blog! i like the dresser before and after =)