Paper Finger Puppet Craft for Kids

This household always saves paper scraps. In fact, we have a paper scrap bin that is easily accessible in the craft room for the littles. All the left over scraps from my paper crafts and DIY invitations and cards get placed in there. My “mini-me” asked me the other day if we could make a finger puppet, so we pulled out the paper scrap bin and made this easy paper finger puppet craft for kids.
Read the step by step tutorial below or watch this video!
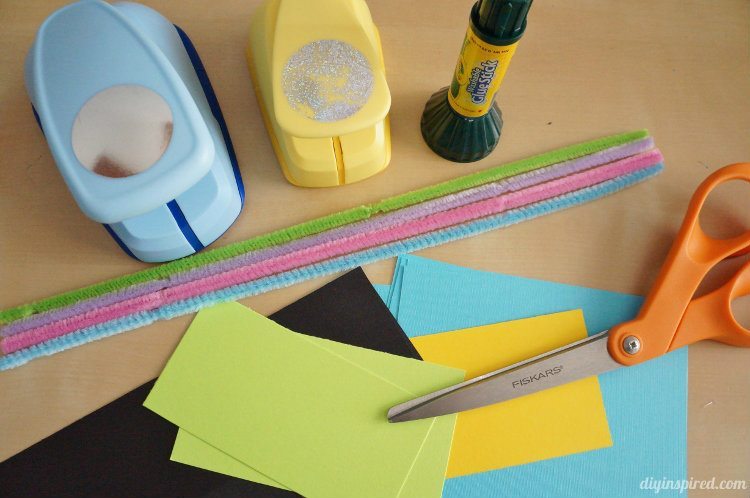
Materials:
- Paper Scraps in Three Colors
- Circle Punches
 (optional)
 - Scissors
- Glue Stick
- Pipe Cleaners
- Pencil/Pen/Marker (to curl the eye lashes)
 (optional)

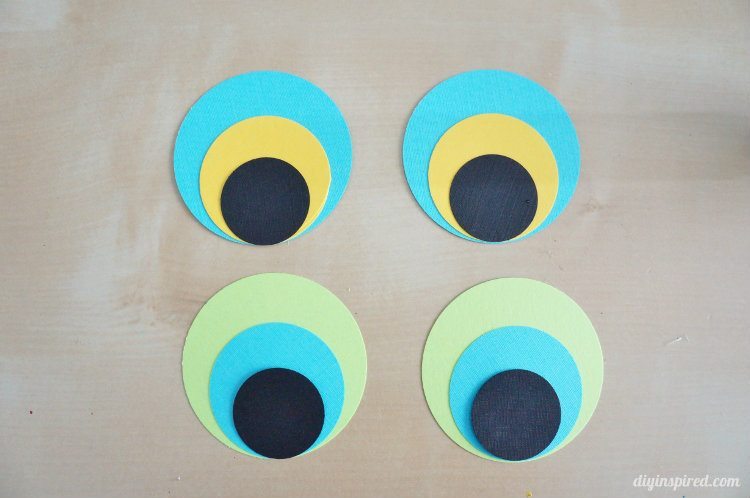
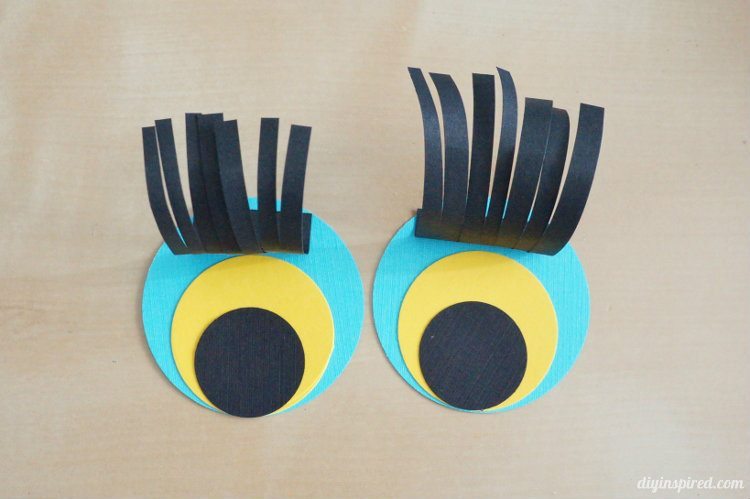
The first thing we did was punch out circles in three different sizes for the eyes. You need 4 large, 2 medium, and 2 small circles for one puppet. We glued them as shown. The remaining two large circles will be for the back of the eyes.
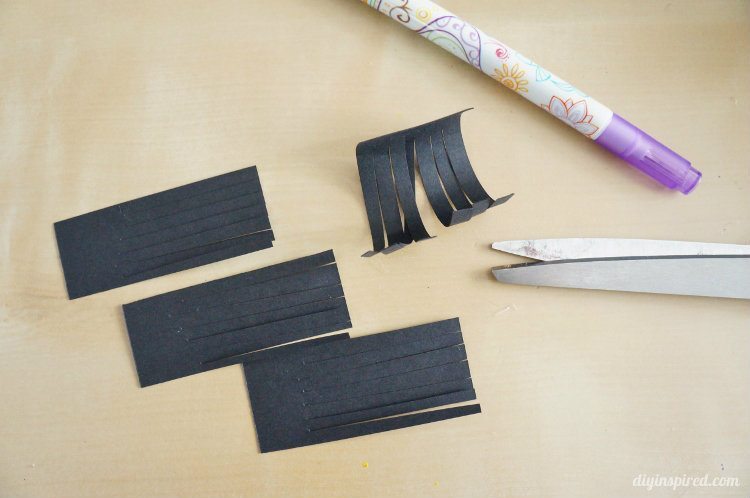
Next we cut out rectangles for the eye lashes. You need two rectangles for one puppet. Fringe the rectangles lengthwise with scissors. Next, curl your lashes with a pen or pencil, by rolling it.
Glue on the lashes.
Next cut a small piece of pipe cleaner and shape it into a “v”. Glue the left over large circle to back of the eye, with the pipe cleaner in between. This way, the back is covered. Here is the front.
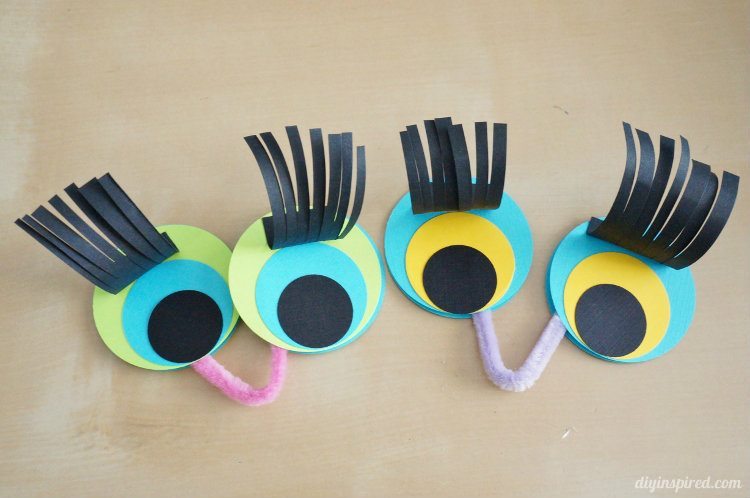
The back will look like this.
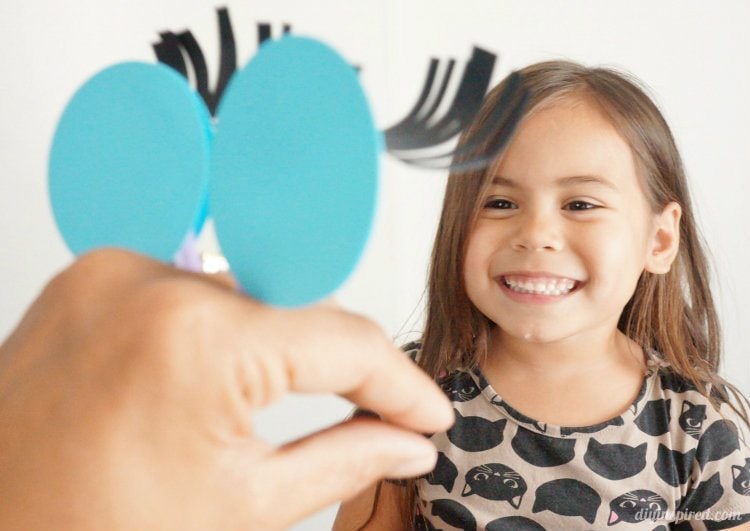
Place the puppet in between your fingers and form your fingers into a beak and mouth!


More Kid’s Craft Ideas: