Tips for Hanging Pictures
Tips for Hanging Pictures and Artwork to Make a Gallery Wall
Today to share with you my tips for hanging pictures and art. I received a beautiful bamboo mount 8X8 photo of my daughter. I love this picture because it sums up her personality… mismatched clothes because she has to pick out her own, messy hair because she won’t let me put it in pig tails anymore, and arms raised with a huge smile so happy for her new found independence. She’s such a ham!
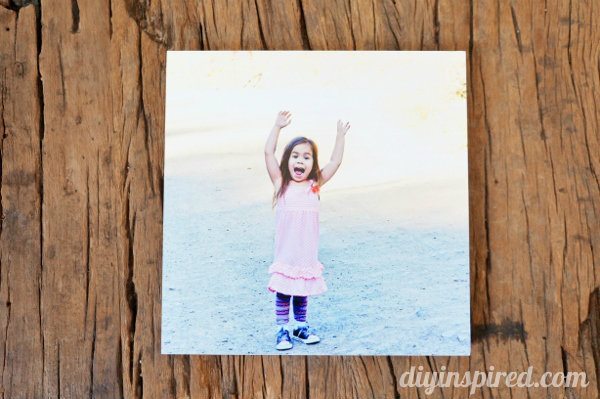
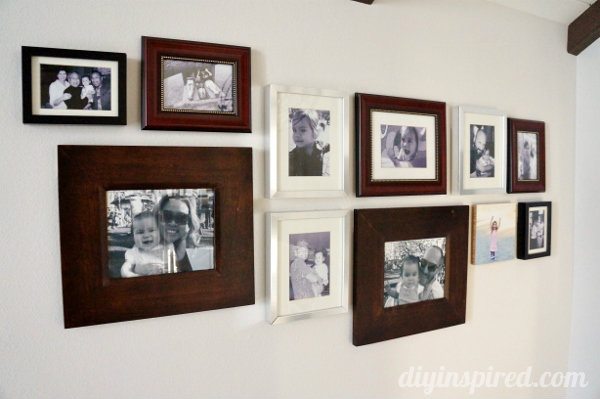
Anyway, I wanted to create a photo gallery way of family photos. I did a black and white photo gallery and my new bamboo mounted photo of Mia is an awesome pop of color.
General Guidelines to Follow
General Height Guidelines I have learned:
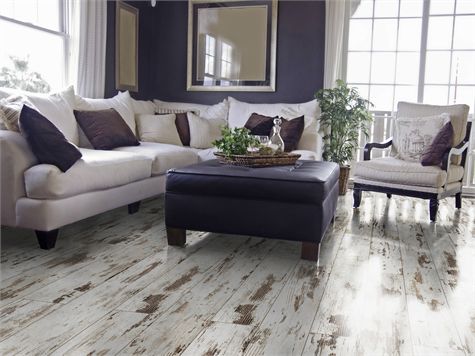
- For hanging photos above a couch, measure 10” above the back of the couch.
- When hanging photos on a hallway wall, measure up from the floor 5-6 feet.
- For hanging photos on a dining room or living room wall, measure up from the floor 4-4.5 feet.
Gallery Wall Tips
My Tips for Hanging Pictures for a Home Gallery Wall:
- I decided to stick to three types of frames only: black, silver, and wood.
- I used mostly black and white photos because I thought it made it look more modern.
- Use a variety of frame sizes: 8X10, 5X7, 4X6
- I kept one vertical imaginary straight line all the way across the wall and placed the photos above or below the line.
- I used a photo mat for some of the photos which created a little more dimension.
- Social networking sites are a great resource to get family photos if your collection is lacking.
- Photo wall adhesive strips are DEFINITELY the way to go when hanging ANY picture frames. No holes!!! You can get them at several retail stores. It also makes it easier, because you don’t have to worry about aligning a nail and frame hook.
- Lastly, arrange all of your photos and take pictures of them to help you choose the right arrangement. I did this a few times until I was satisfied.
Tips for Arranging Art
Here are a few of my favorite tips on how to arrange art.
- Use Paper First: Choose the pictures you would like to mount, trace, and cut out the shapes. Tape and position the paper on your wall in various placements to help you choose the desired arrangement.
- Center: Start with the largest central image and work smaller pieces outward around the dominant piece.
- Off Center: Art arrangement does not necessarily have to be centered on a wall.
- Think Outside the Wall: Display you art or photos on bookshelves, mantels, or inside armoires.
- Small Frames in Small Spaces: Hang smaller framed pieces of artwork in cozy spots such as a book shelf or oddly shaped corner.
- 3-D Display: Purchase frame risers. It will offset artwork a few inches from the wall and will highlight select pieces.
Like it? Pin it!
You May Also Like
Note: This article was originally published on February 19, 2014 and has since been improved and updated.
Great tips! Sometime it’s hard to remember that a little kitchyness is fun.
We will soon be hanging pictures in our new home so I’m pinning this for inspiration!
Yay! Congrats on your new home, Steph!!! I can’t wait to see it on The Silly Pearl! 😉