Vintage Toolbox Serving Caddy
Upcycle a Flea Market Vintage Toolbox
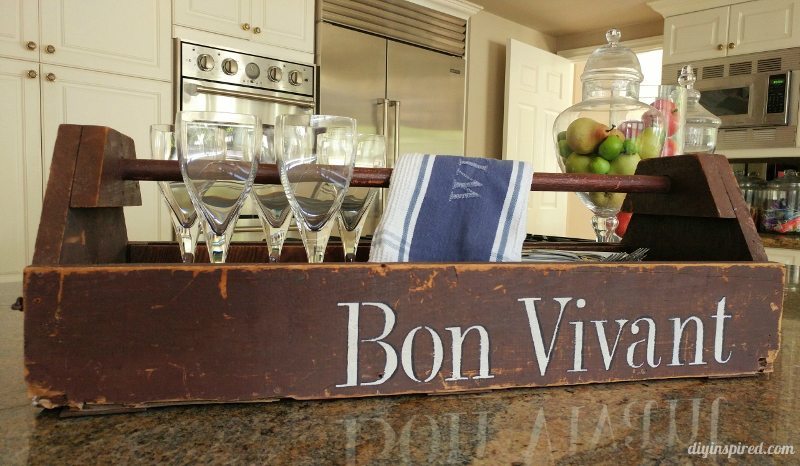
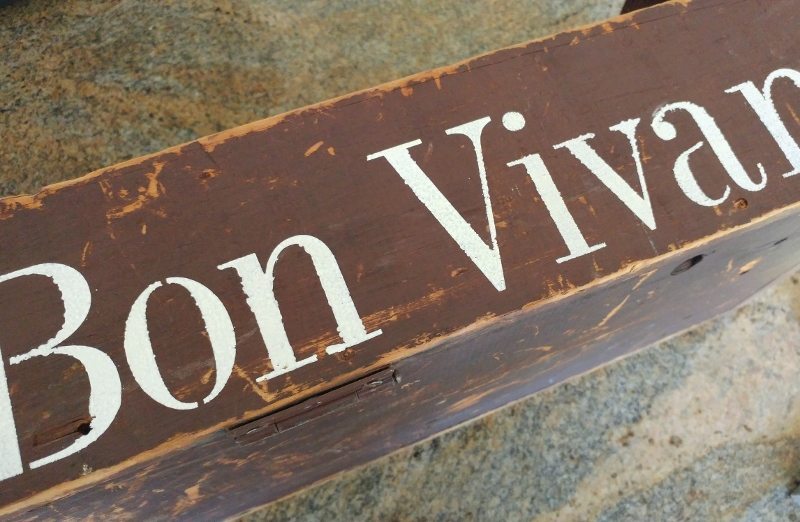
The other day I posted a picture of this vintage toolbox I found at the Long Beach Antique Swap Meet. It’s fairly large and beat up and I bought it for $20.00. I asked my Facebook friends: “Help: I have this old wooden toolbox that I’d like to use for entertaining. Carry drinks, plates, napkins, glasses, condiments, even fresh flowers in it or use it as a coffee station. I want to stencil some words on it. What should it say??” I got some great answers (and funny ones too) and decided on “Bon Vivant”. Bon Vivant is a person who enjoys a sociable lifestyle. I thought this was perfect for an entertainment caddy to use during parties in my home. Here’s how I did it and turned it from trash to treasure.
Stenciling the Vintage Toolbox
Time: 30-45 Minutes
Materials
- Acrylic Craft Paint (2 or more colors)
- Stencil Brush

- Letter Stencils
- Fine Paint Brushes for Lettering
- Sand Paper
- Clean Cloth


Instructions
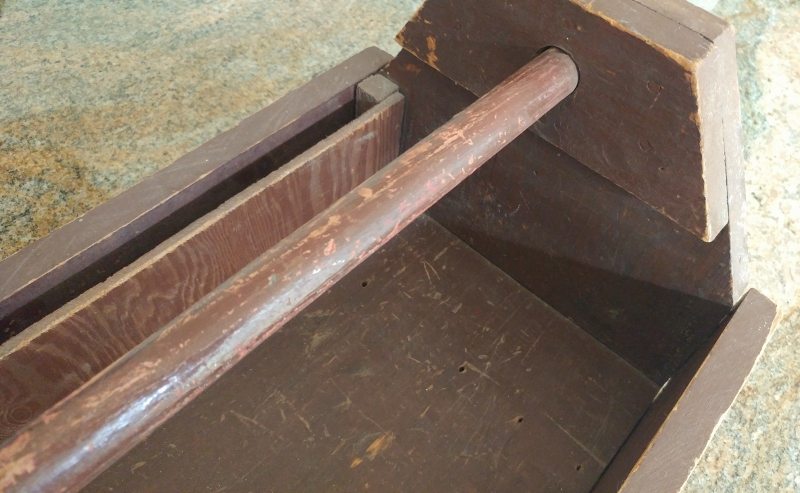
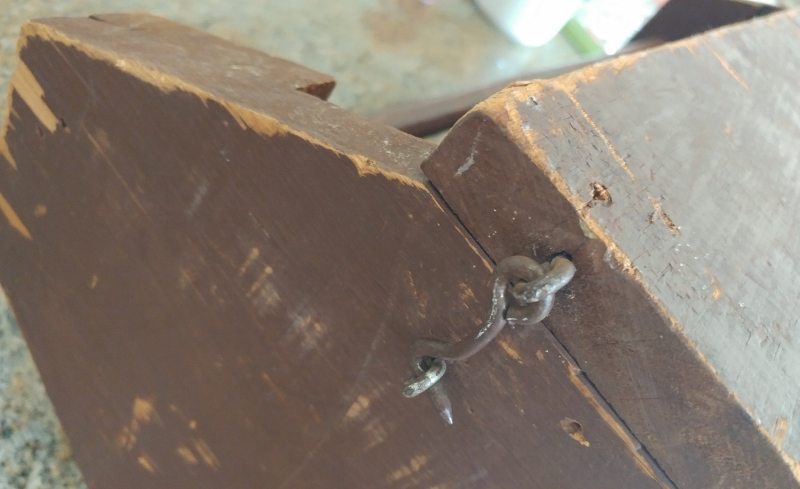
Here is the toolbox. It’s pretty beat up but I like all the nicks and scratches. I feel like it gives it character and some sort of history. There were several ideas on my mind. I contemplated painting the whole thing, even refurbishing it, but ended up deciding that I like the brown color and the blemishes weren’t so bad either. It had character. Also, I love the latch in the front, so you can open it.
The scratches seem to tell a story. Who knows where this old toolbox had been. Who owned it? Where did it travel from? It was brown and beat up, but for some reason I loved it that way.

I Googled “Bon Vivant” and it means, “a person who enjoys a sociable and luxurious lifestyle.” It was perfect. Short. Sweet. Applicable. I started by stenciling the word backwards because I wanted it towards the right side of the toolbox.
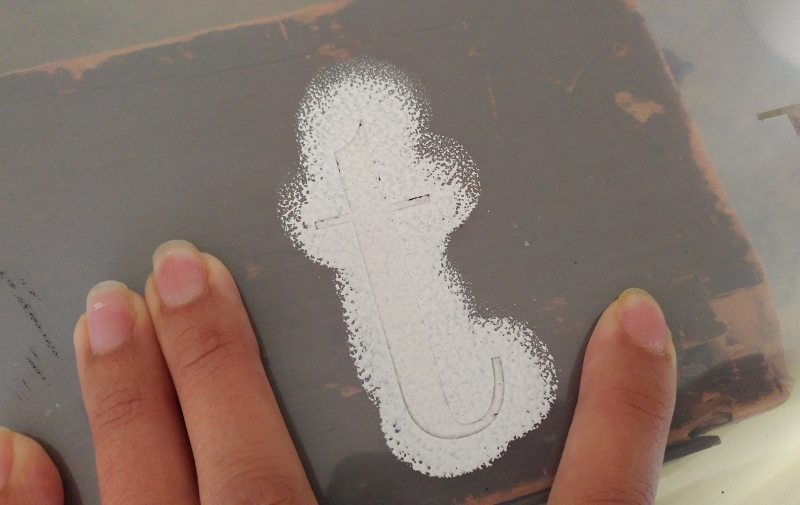
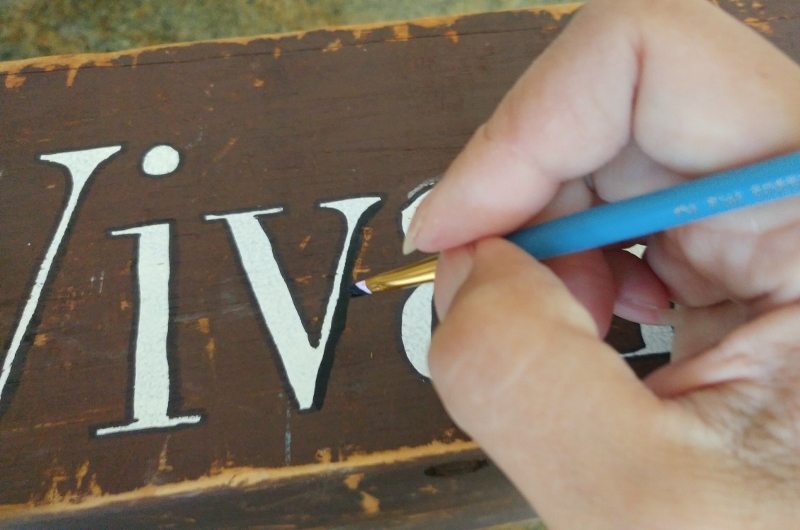
Because of the type of wood and stencils I had, there was a little bleeding, which was fine. I knew what to do.
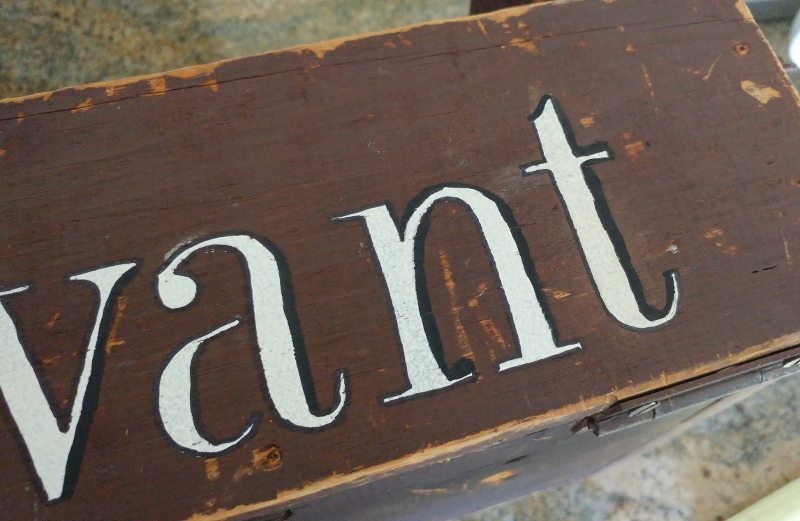
I fixed the bleeding by outlining the letters in black, painting the letter shadows by hand. Not perfect, just like the box, but that’s fine too!
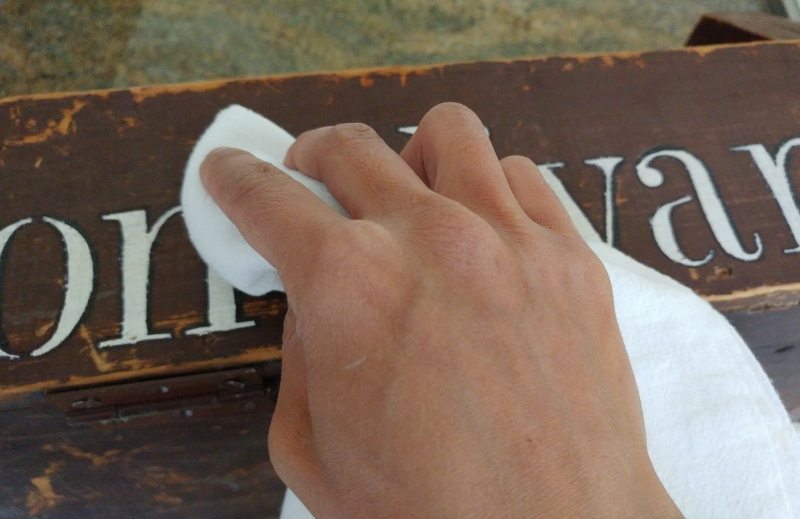
Once the paint dried, I lightly sanded it with an 80 grit sand block.
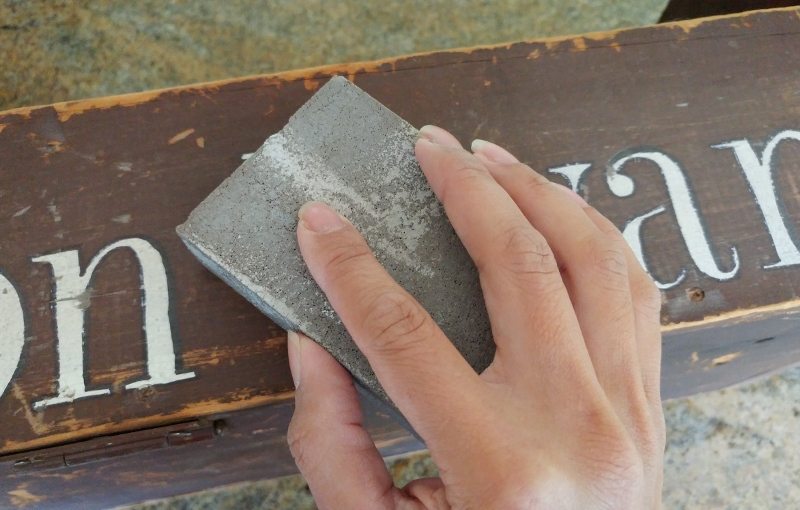
I wiped it down with a clean cloth to get rid of the debris.
It turned out great. I am going to use it for entertaining. It’ll make a great caddy to display things on my kitchen island, or to carry things out to the pool this summer.
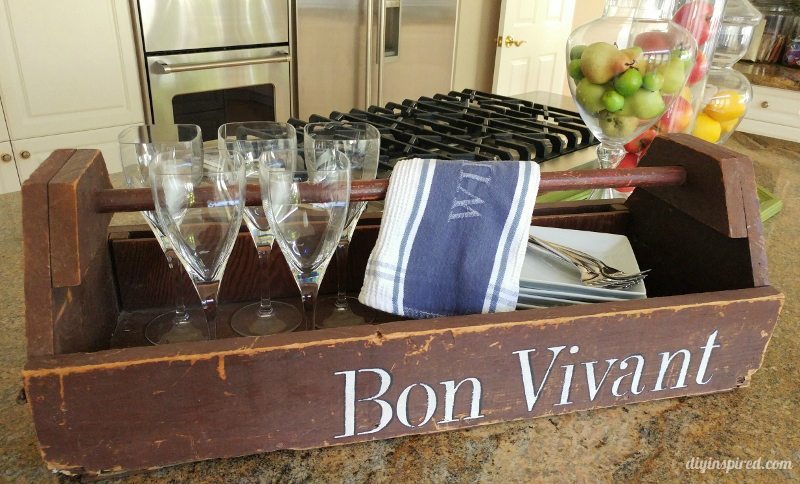
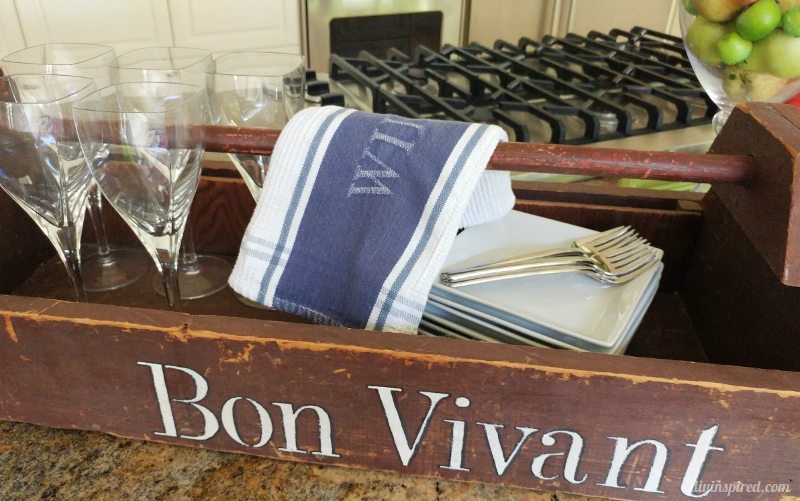
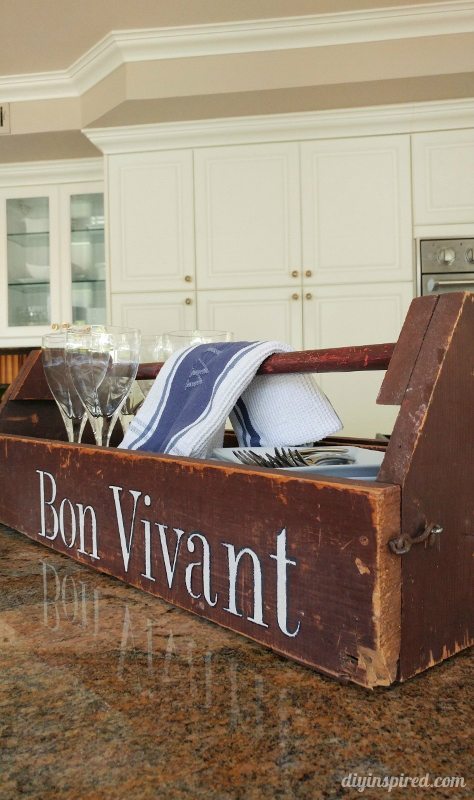
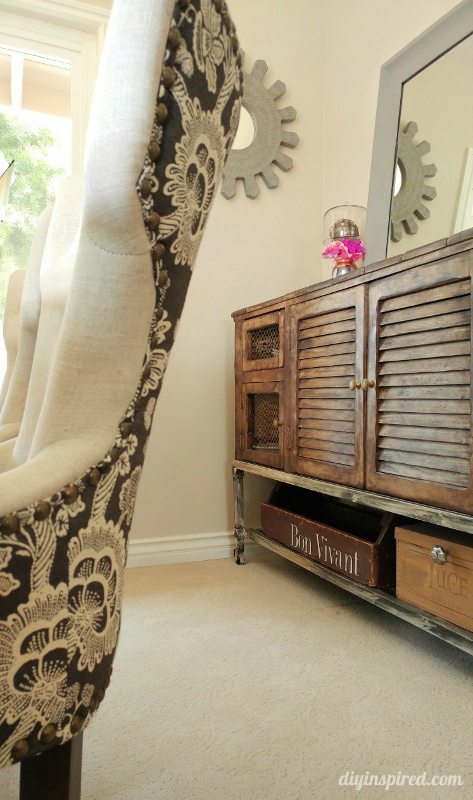
It even fits nicely under the buffet in my dining room when it’s not in use!
You May Also Like
Here is another DIY stenciled serving tray idea. I made this out of redwood. It’s an easy wood project for beginners.
A Few More DIY’s to Consider
These are all fun and easy home decor tutorials.


I love how your caddy turned out. It is so versatile. It makes a great display piece, storage container, or caddy for an outside dining event. Thanks for the idea!!!
Thank you so much, Shannon!
Looks great Dinah! Thank you for sharing! Carolina at Ironmongery Experts